Dockless Seatpost Height Fix
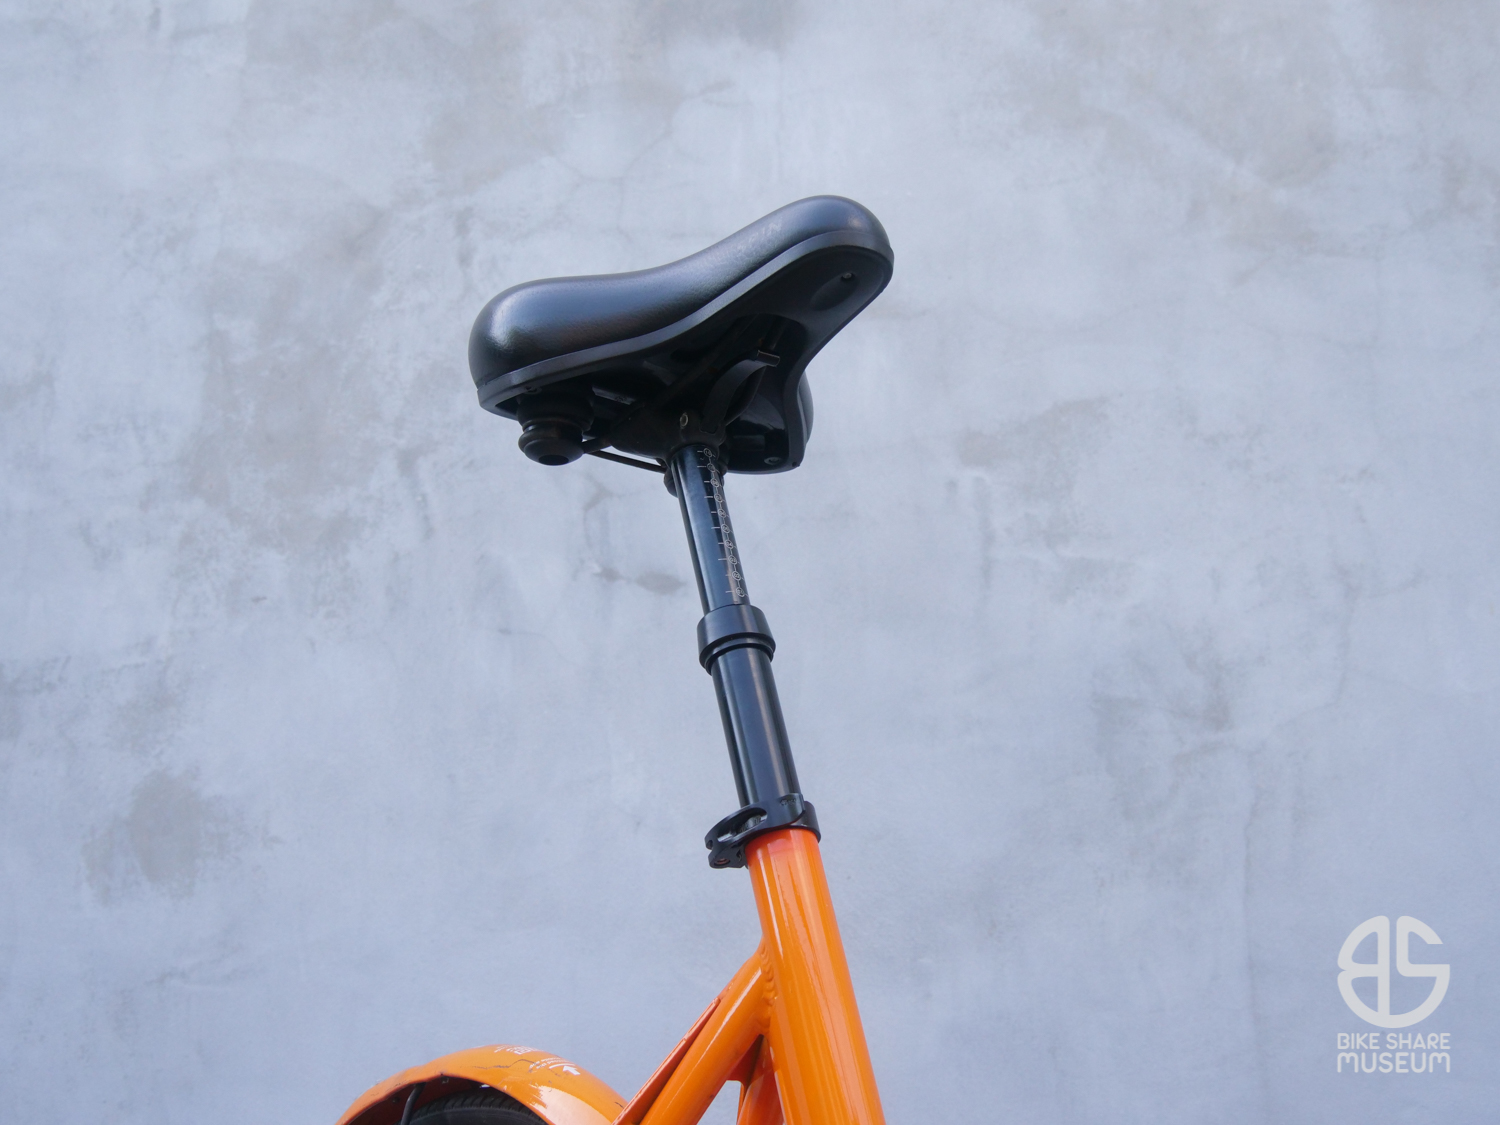
Many retired dockless bikes equipped with “dropper” seatposts are now in private hands as daily commuters, but these seatposts are sometimes a bit short.
Taller riders may find that the gas-adjustable seatposts on these bikes do not extend high enough to make riding comfortable. While the posts may appear fixed to this height, they’re basically the same as mountain bike dropper seatposts – minus the remote handlebar actuator – adapted for dockless bike use. As such, there’s a lot more seatpost to work with than what’s visible.
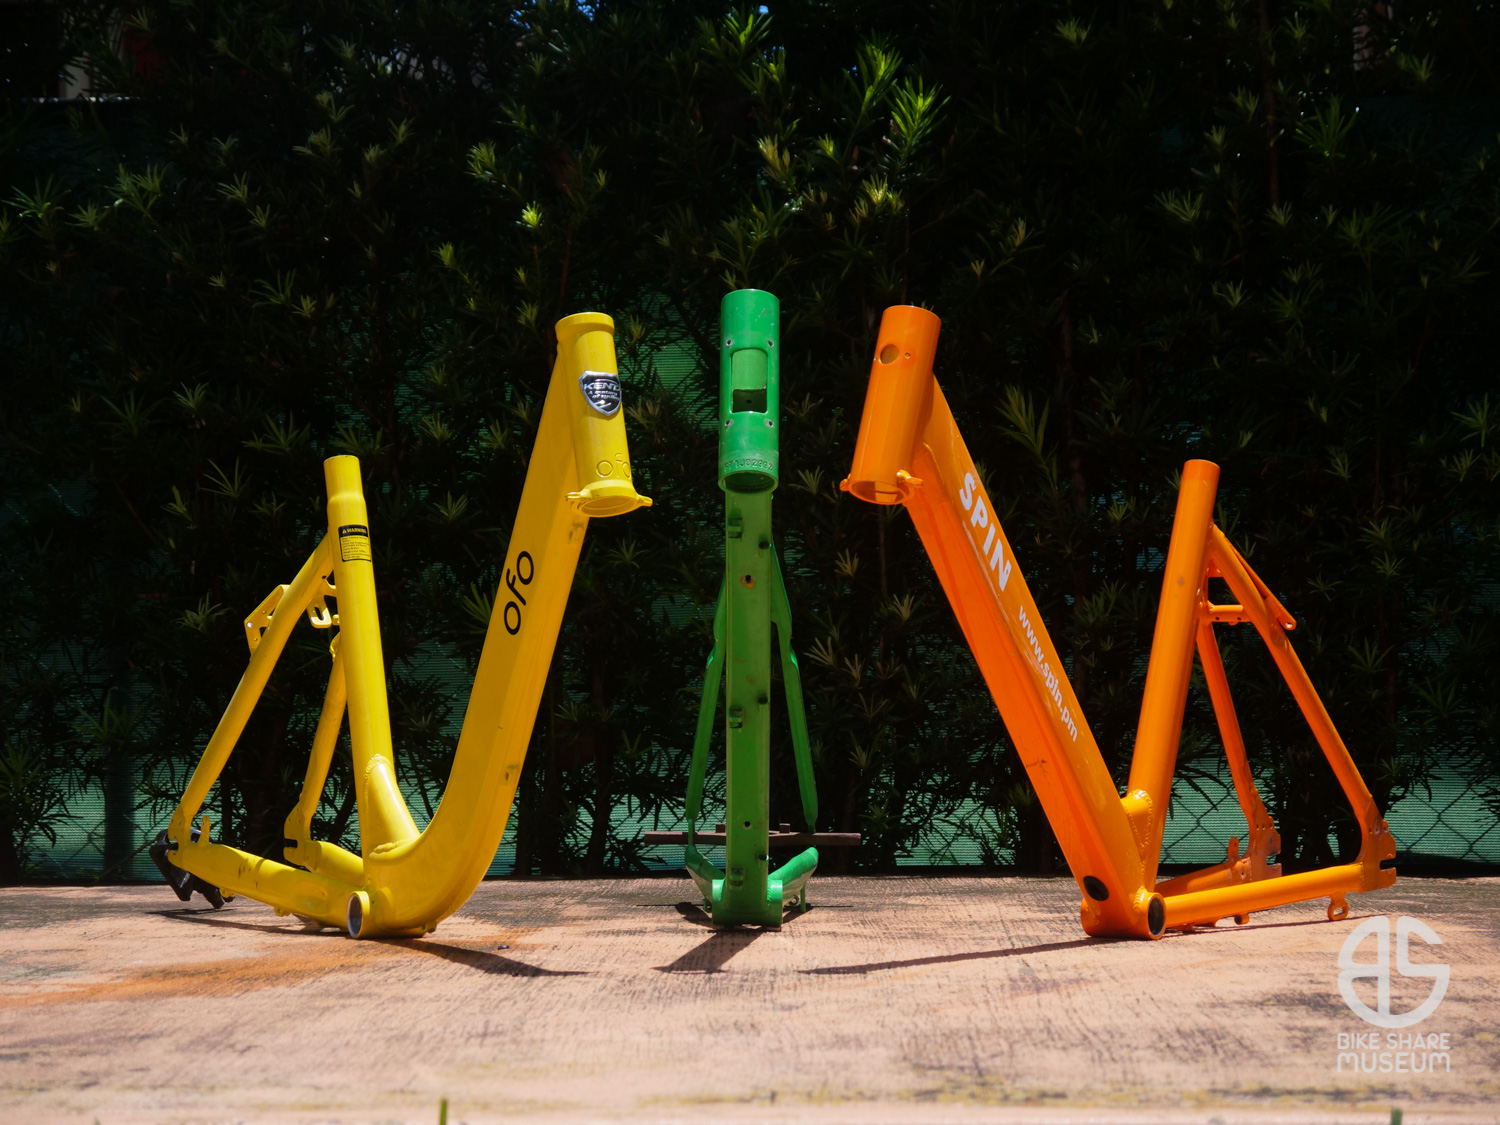
This simple conversion will allow you to raise the factory gas-adjust post to a taller overall height – or replace it entirely. This guide applies only to Hsin Lung (HL) posts that look like those shown below. They’ve been used on bikes by ofo, Spin, and Gotcha in black, and silver on LimeBike and V-Bikes. I have not examined MoBike’s similar design.
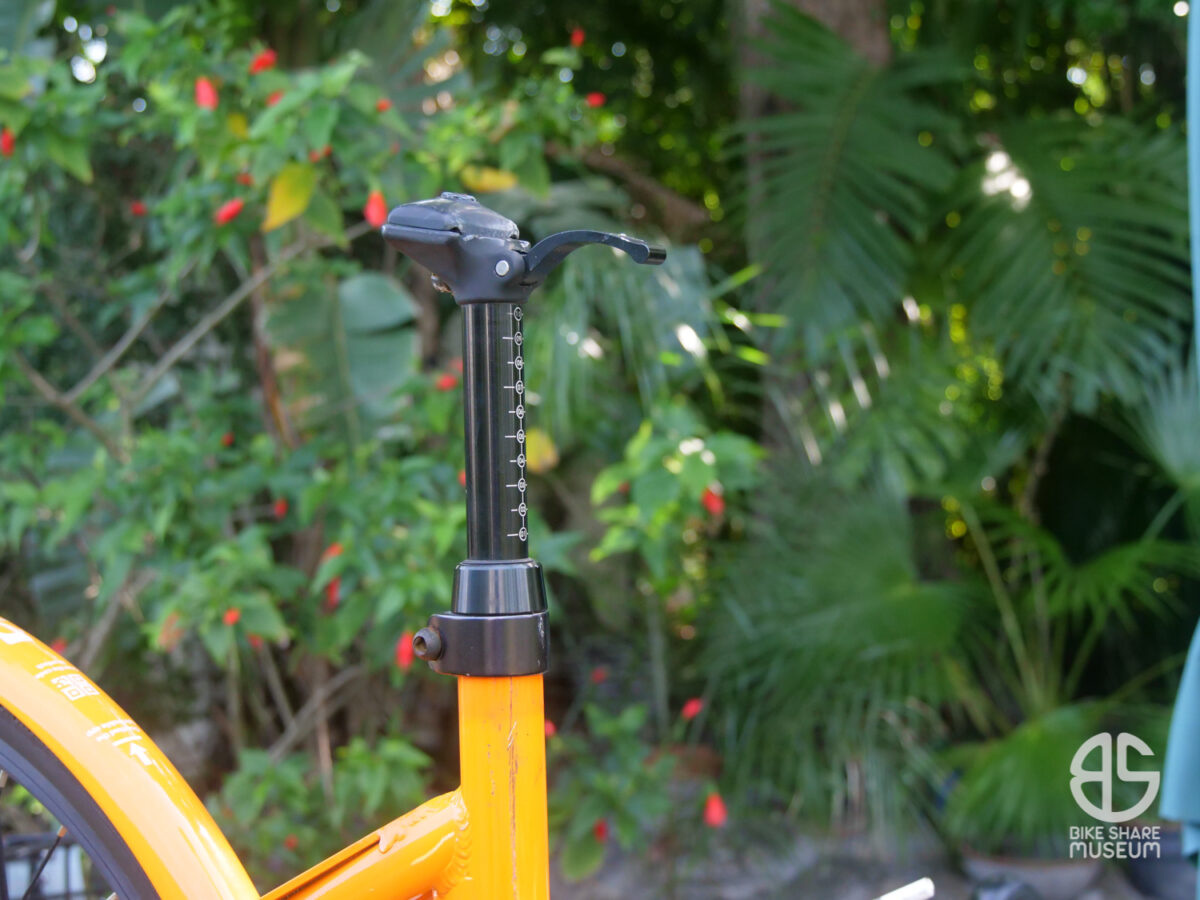
To perform this conversion, one must loosen the built-in seatpost collar on the dropper post. To do so is no different than any other conventional seatpost collar, but these are almost always secured with the unique tri-wing bit used exclusively on dockless bike applications. Our article, How to fix your ofo, explains everything about this tool and where to get it.
If you do not have the tri-wing tool on hand, you may have luck removing it with a Torx T27 bit (or a force-fed T30). It’s not ideal, but doable if no other option exists.
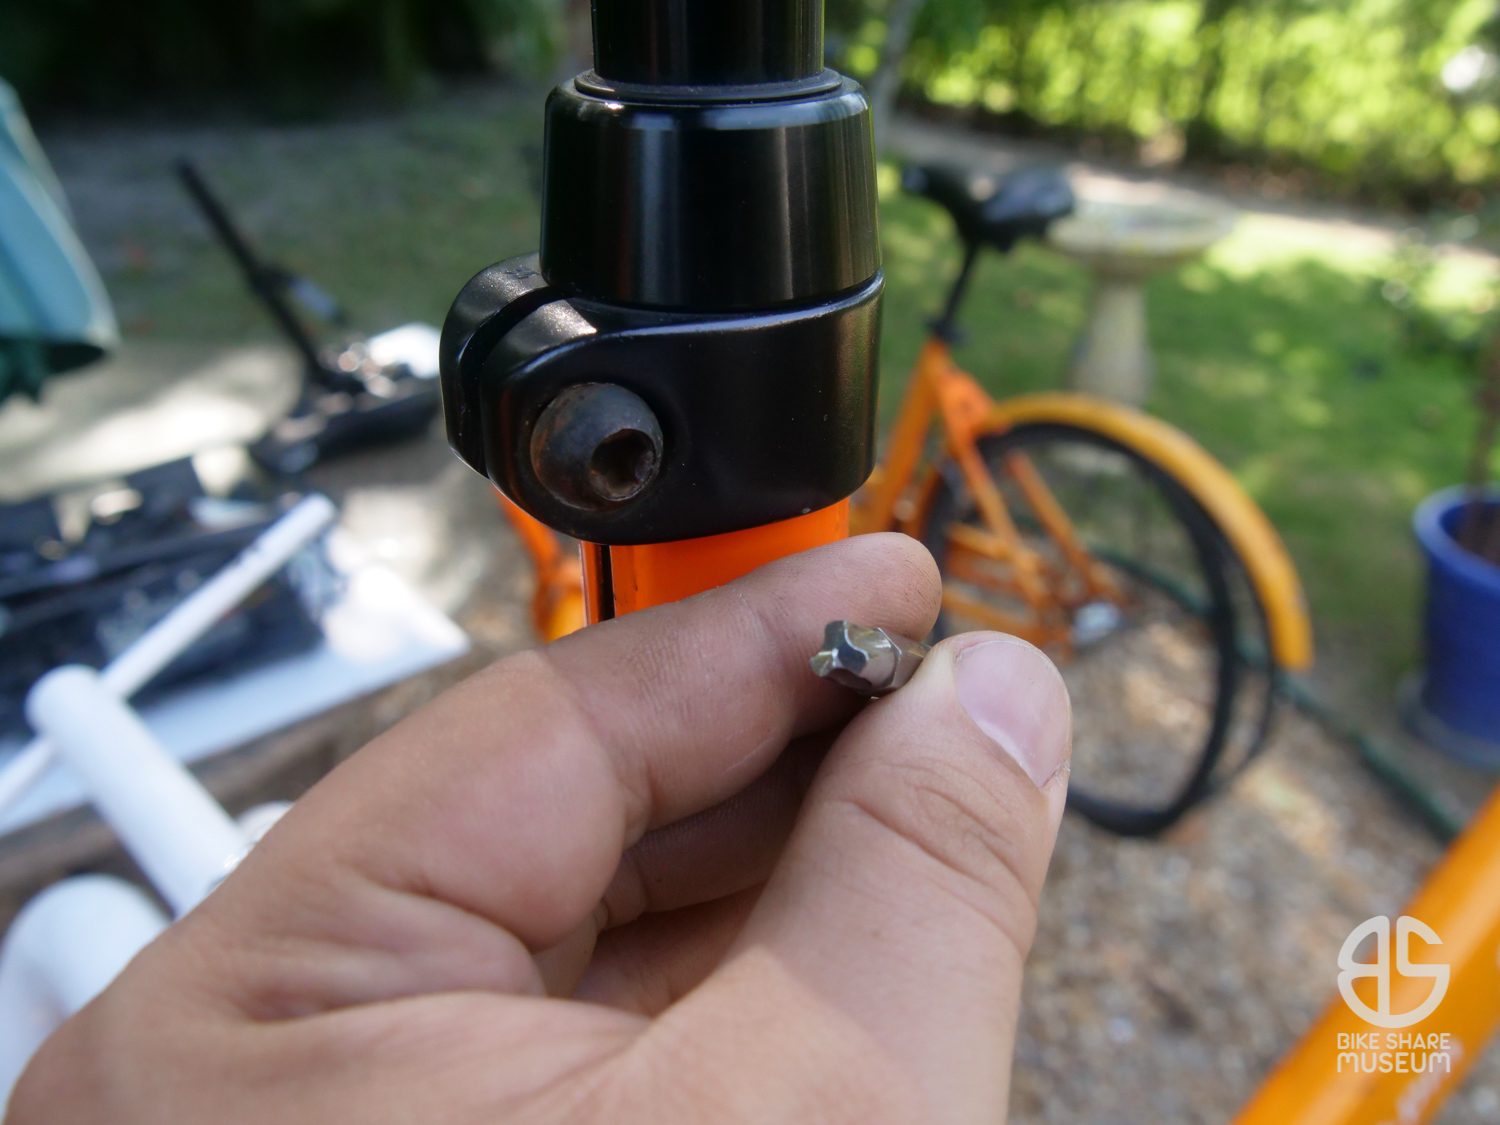
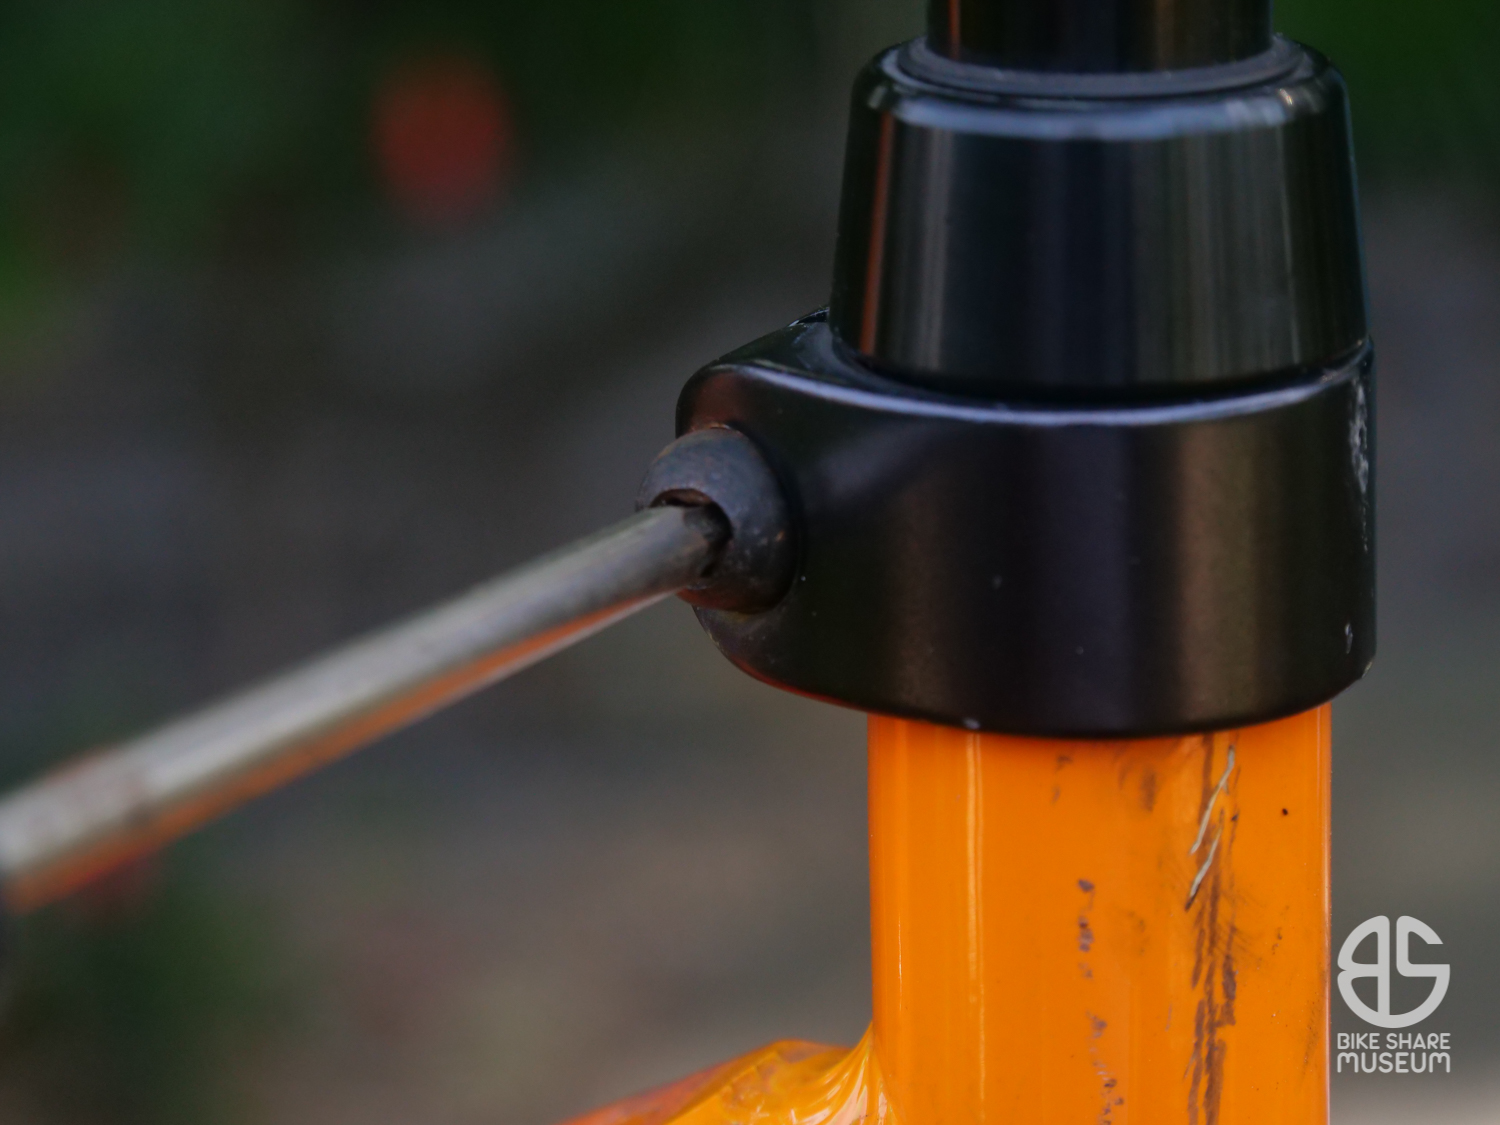
Keep in mind that this particular seatpost bolt is sometimes quite tight and set with blue threadlocker, so your success with Torx may vary (this is especially the case if you try to undo the saddle clamp bolt – they are always insanely tight).
The seatpost will begin rotating almost immediately when the collar is loosened. Keep loosening until you can pull the seatpost and collar out of the frame.
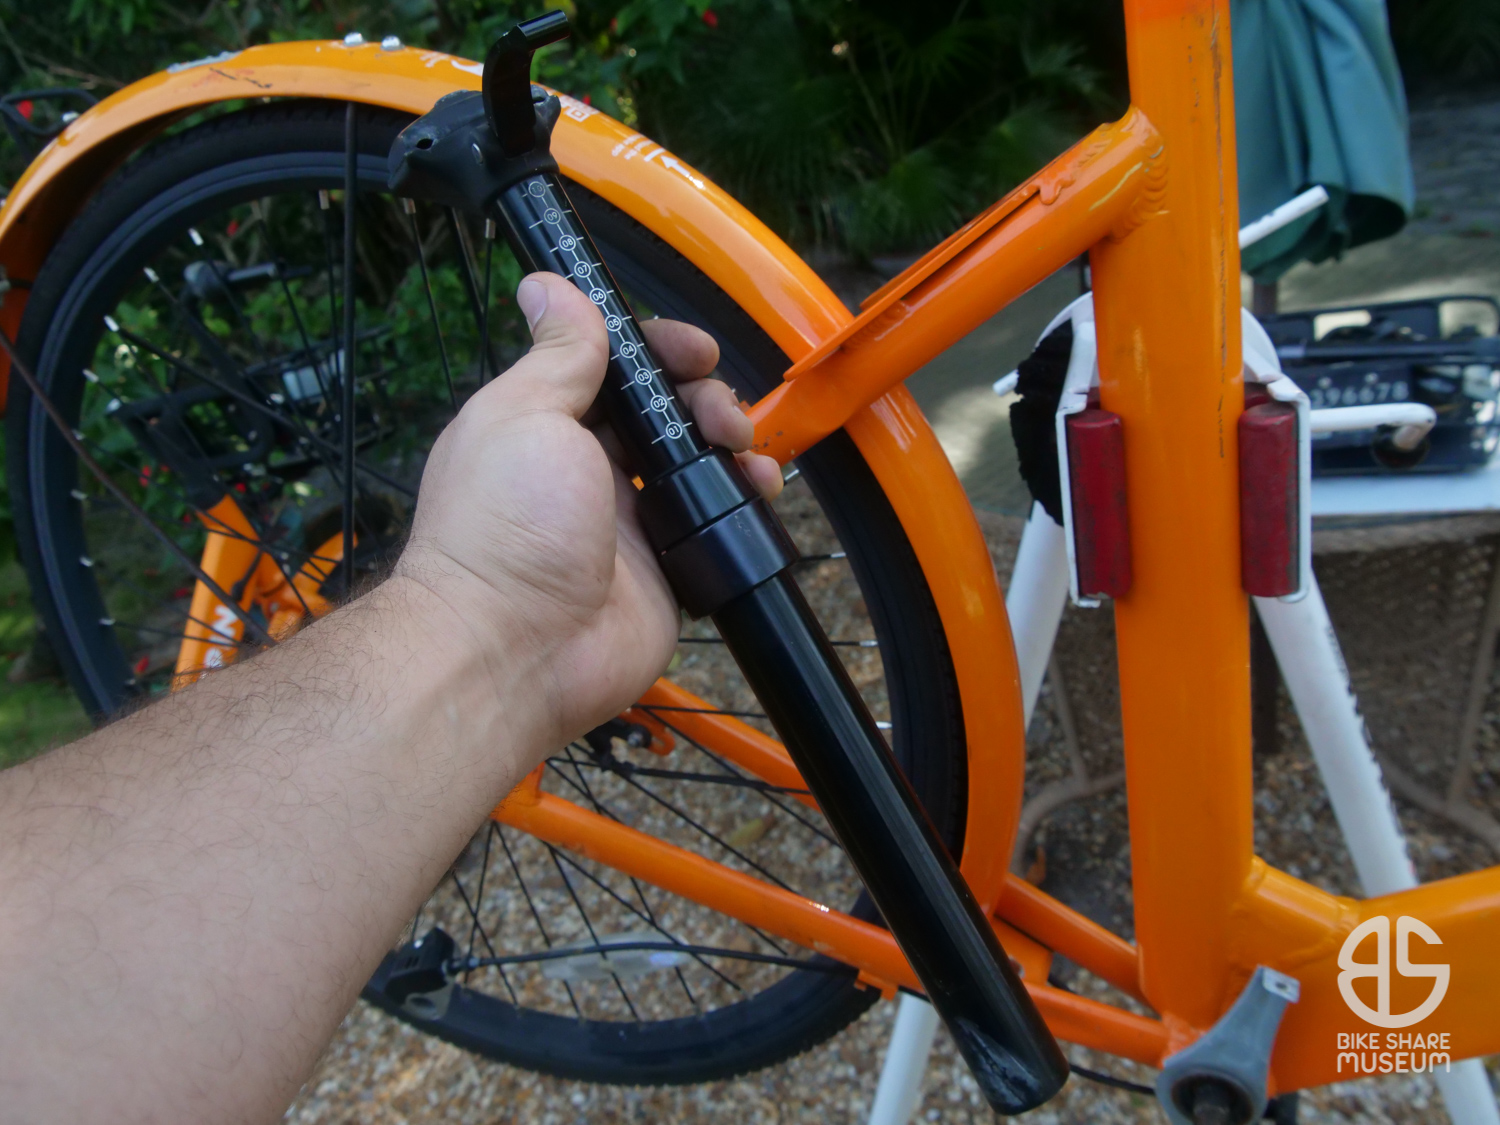
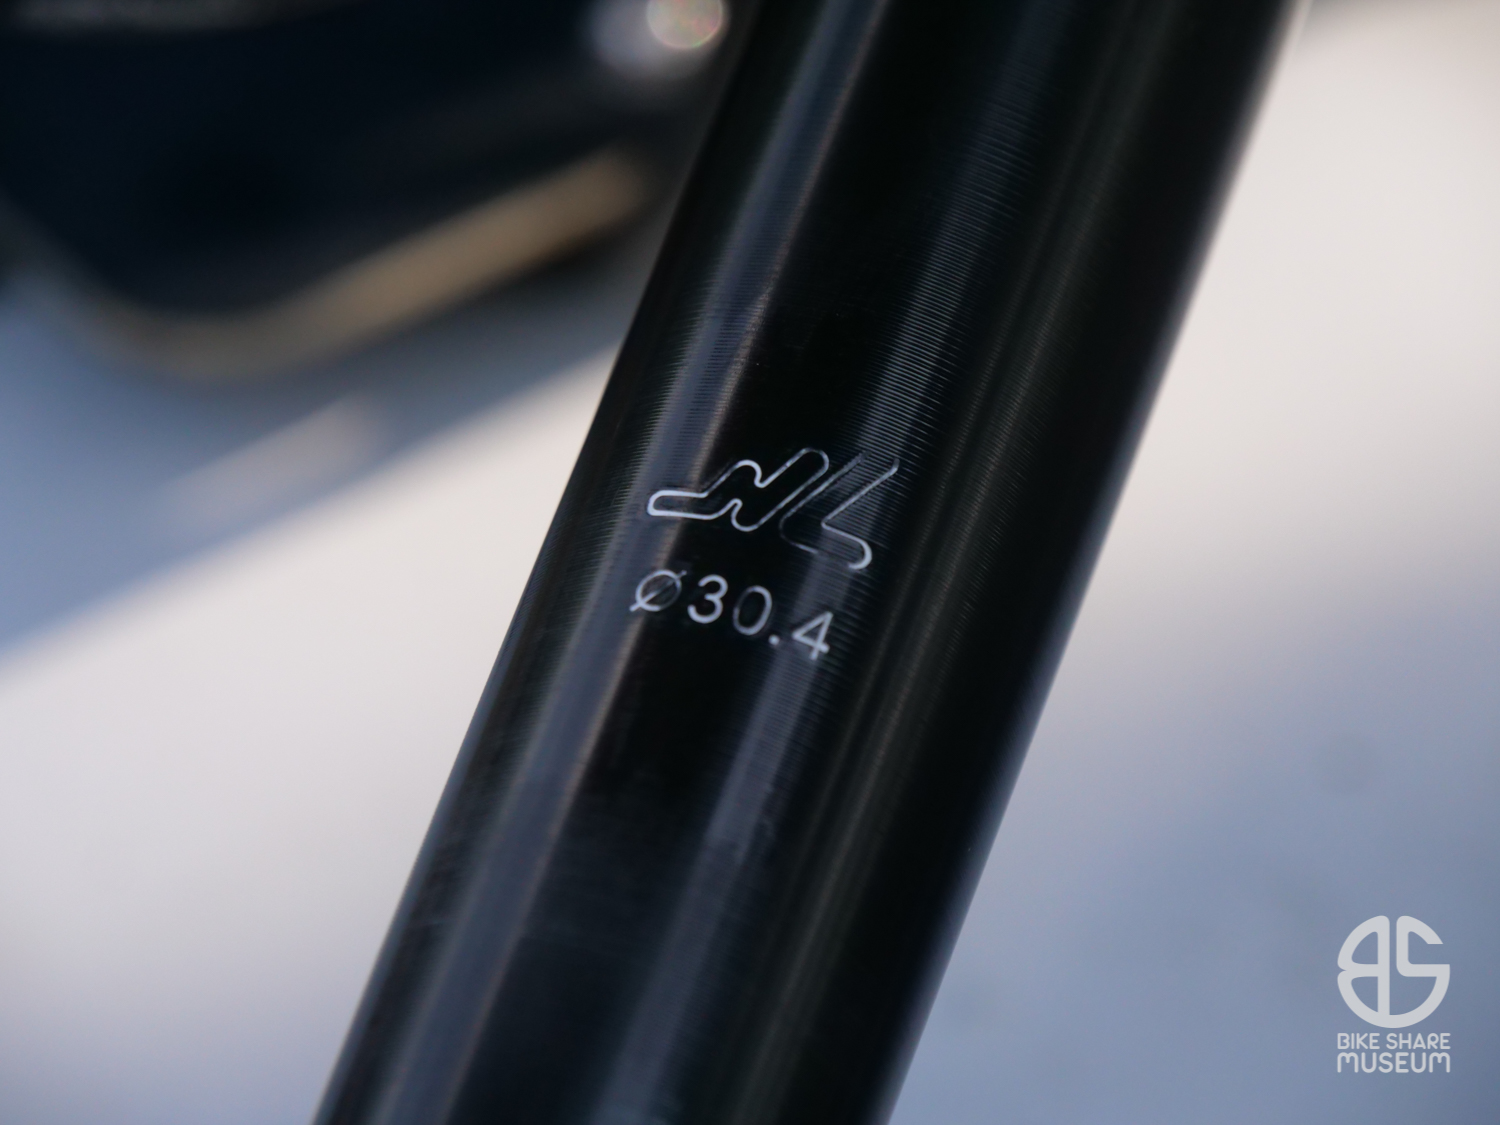
Every single Hsin Lung bike share dropper post I’ve seen has been 30.4mm. Collars are usually can range from 34.9mm on aluminum frames (the collars are usually marked “35” on the top of the collar too).
With the seatpost out of the frame, the built-in collar will be loose and jiggling about. We want to remove the collar entirely, so remove the bolt and carefully pry the ears apart. The collar is pretty soft aluminum and may even spread with your fingers. I used the ham-fisted screwdriver method, which is fairly overkill, but effective.
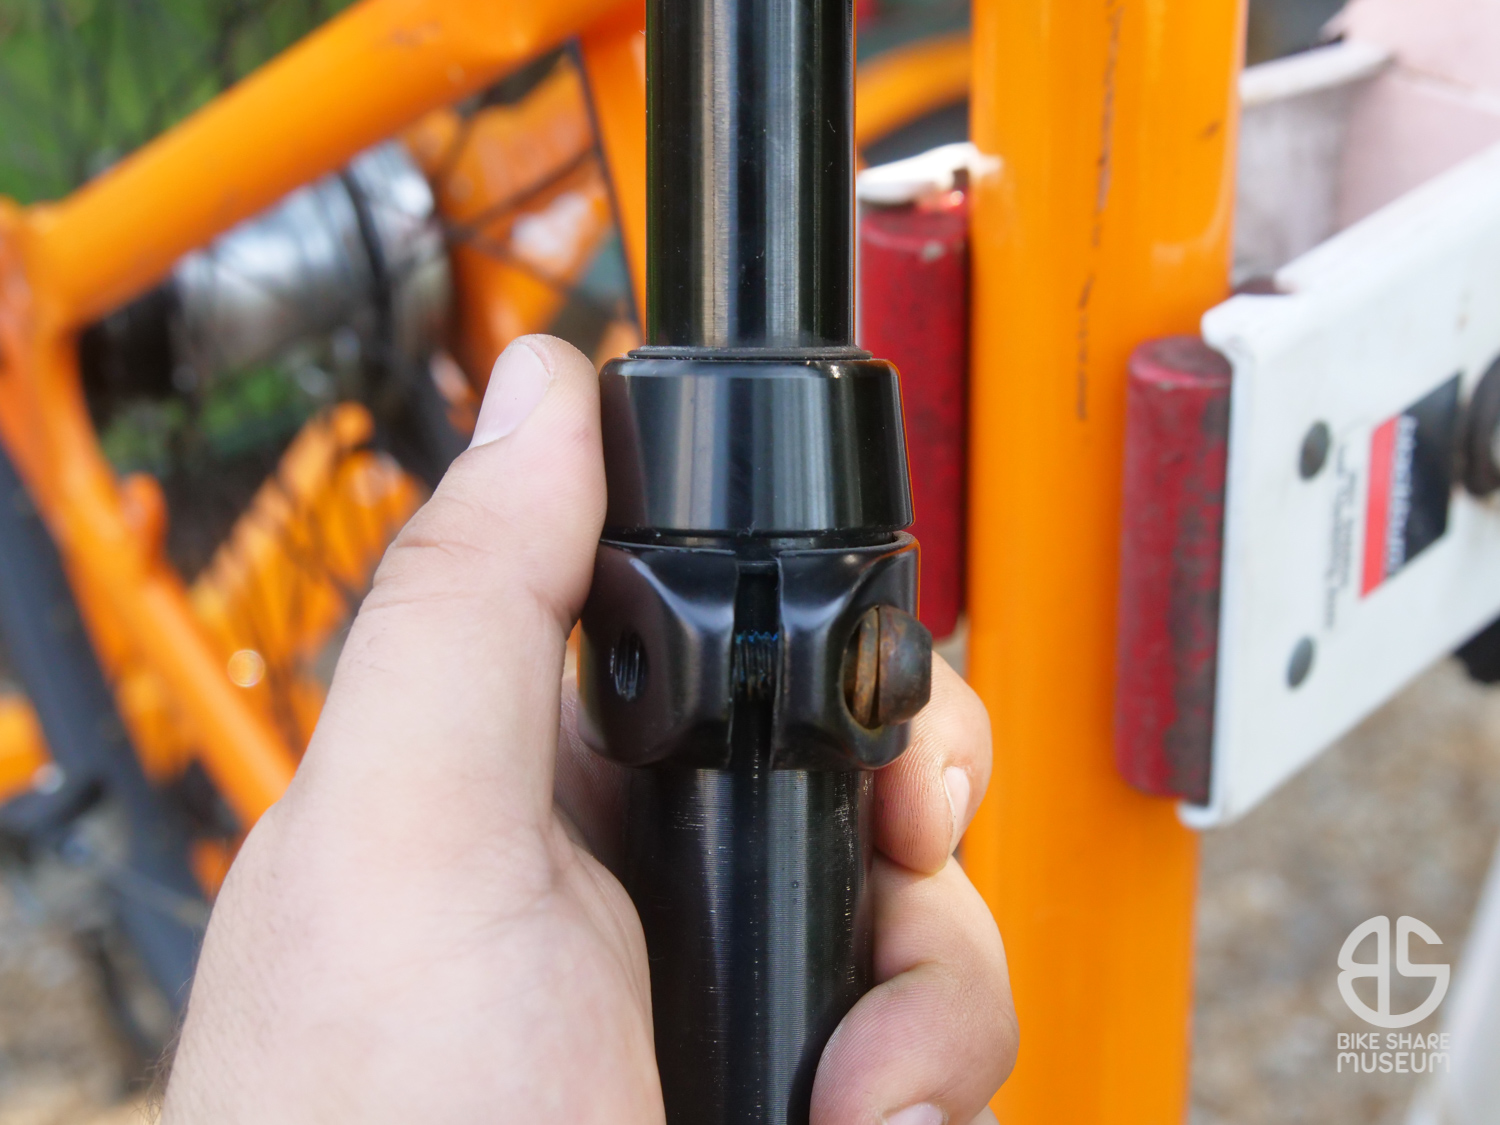
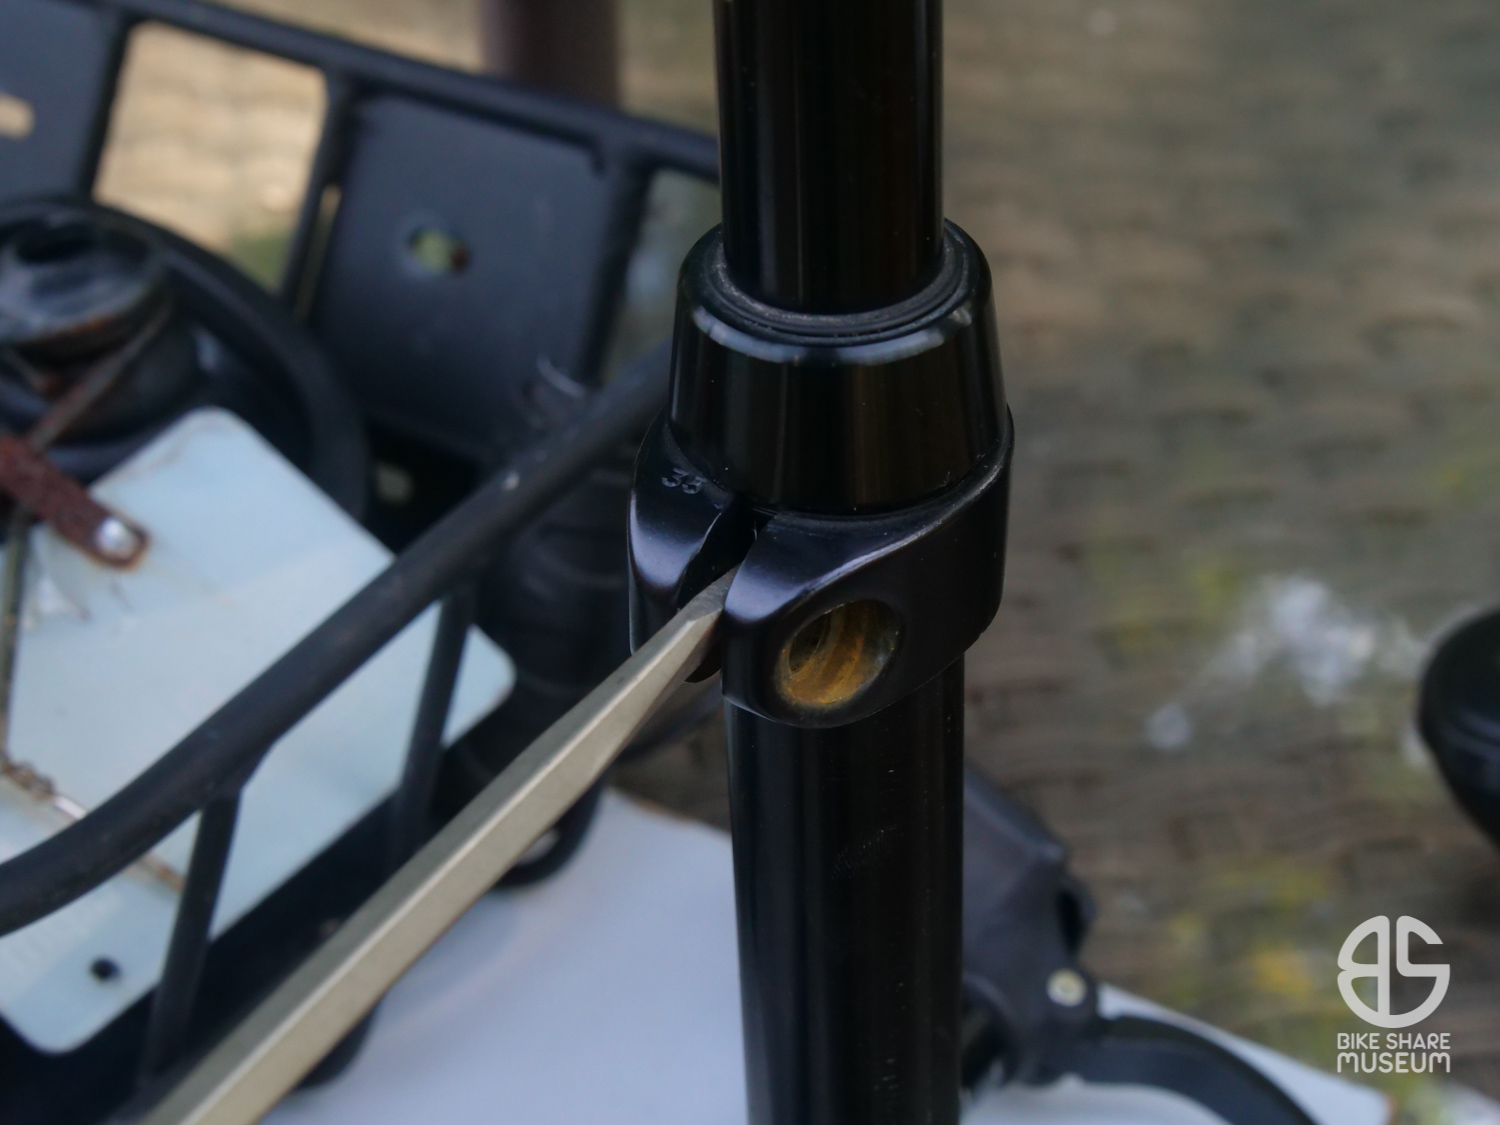
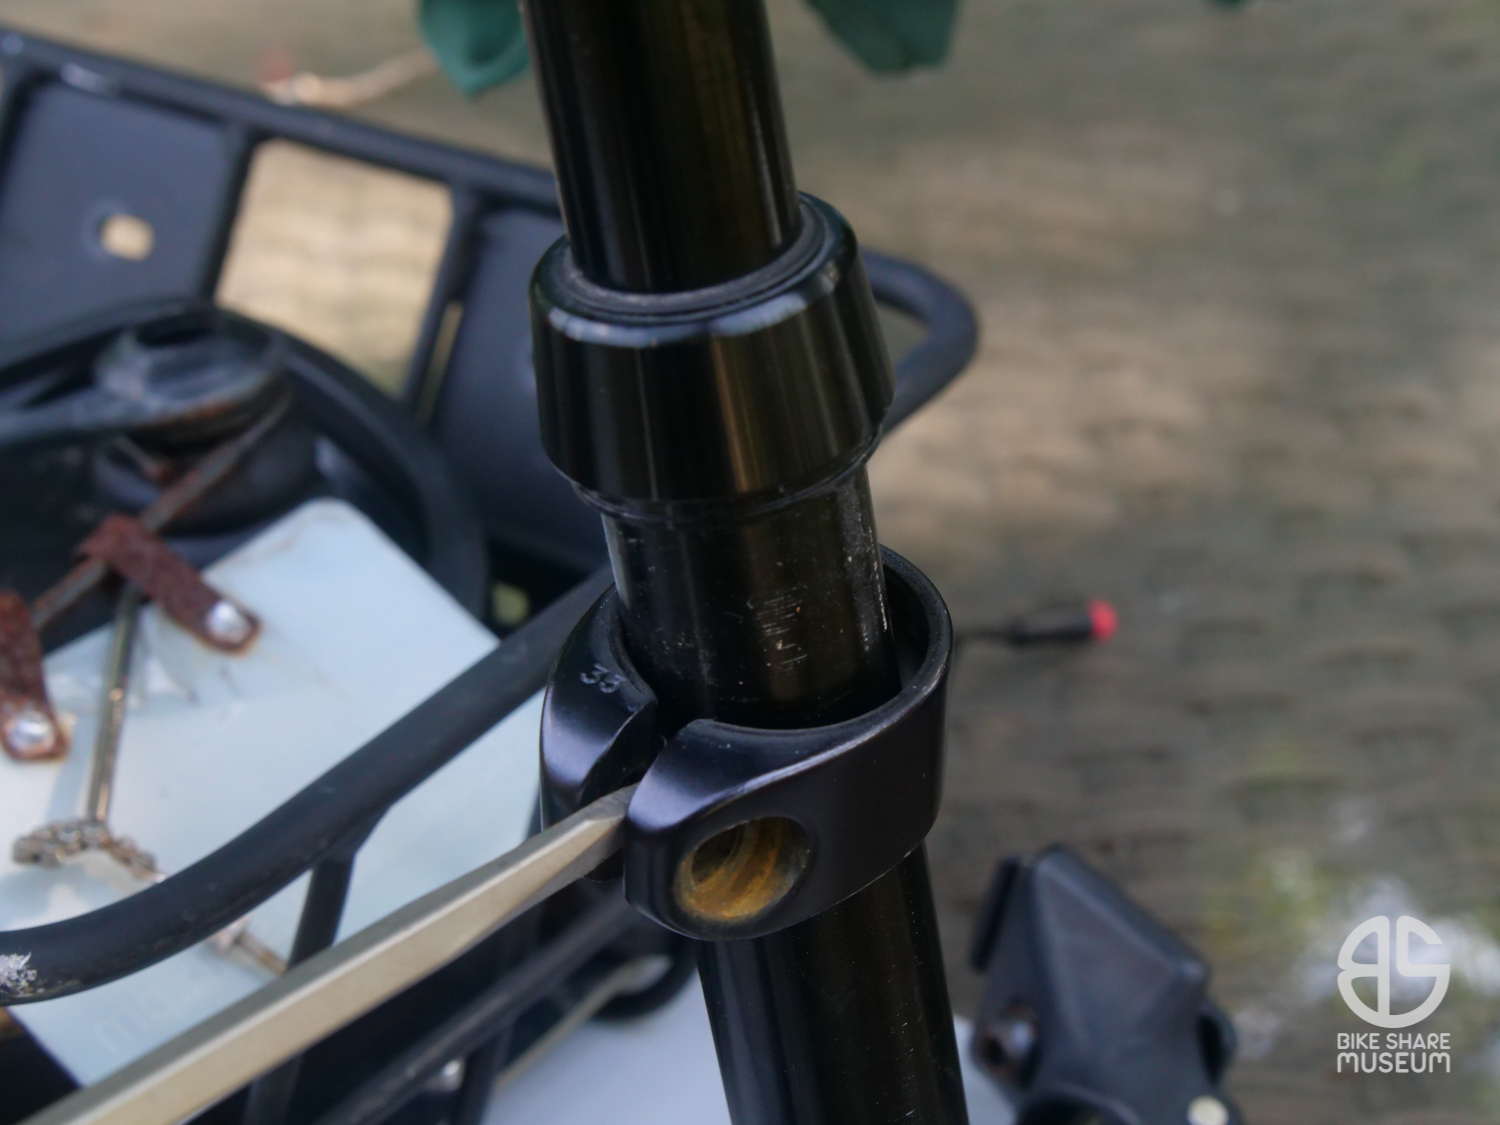
Perhaps unsurprisingly, the next thing to do is to put a standard 34.9mm seatpost clamp (Note: Gen 2’s use 31.8mm) on the frame. The one below is a generic quick release clamp that I pulled out of the parts bin, but you could adapt any 34.9mm clamp – including the type that includes rack mounts built in. Heck, you can even re-use the clamp that you removed from the seatpost! (FYI: If you have a Generation 1 or 2 Spin, they do NOT use dropper seatposts. Both also use completely different seatpost sizes).
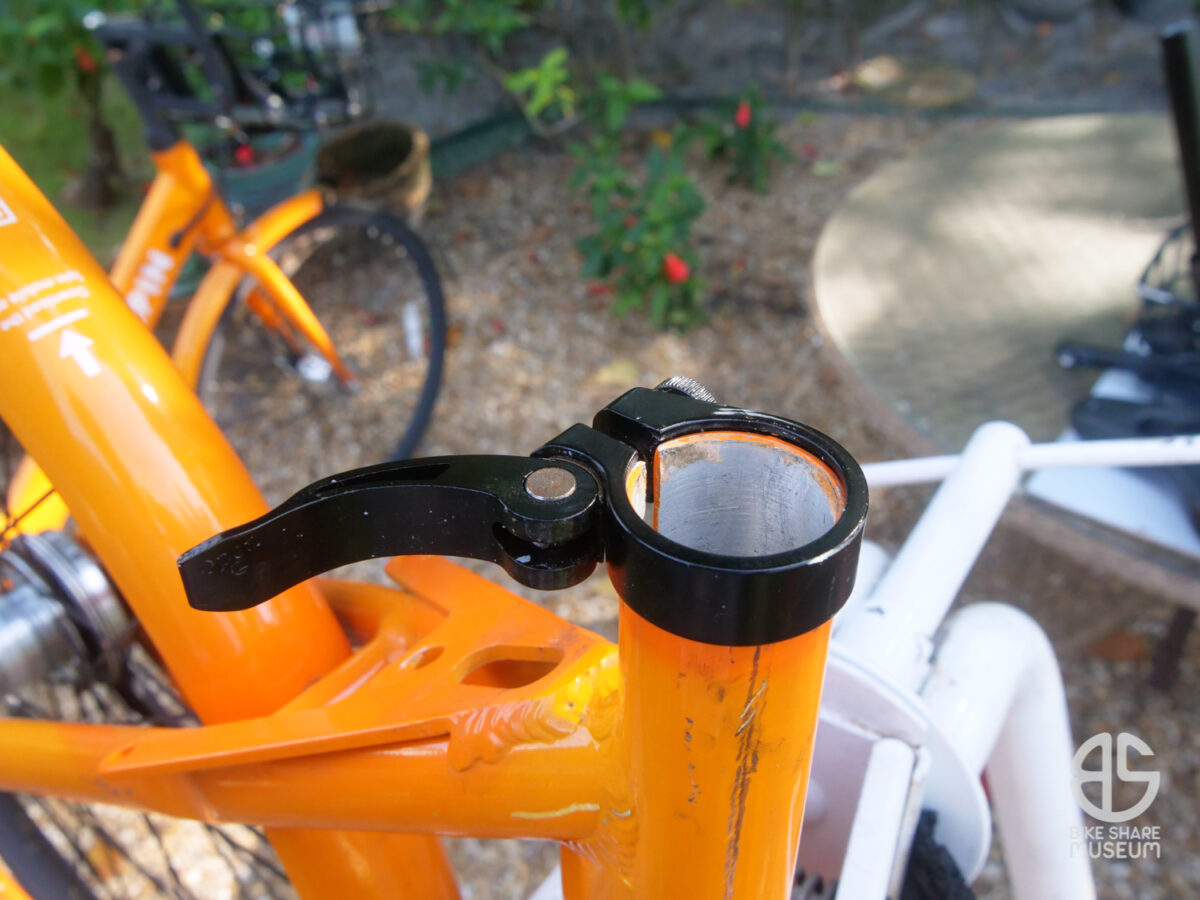
You can also install a conventional 30.4mm replacement seatpost at this point if you choose – but if you prefer the thrifty solution of reusing the original post, slide it right in, using your preferred seatpost grease.
Be forewarned that the flared ring where the collar was attached can loosen/unscrew if turned counterclockwise. I am not sure if this part of the post maintains any pressurization or not, and I haven’t committed one of these posts to the “disassembly test” to find out. To play it safe, give the ring a twist clockwise until tight.
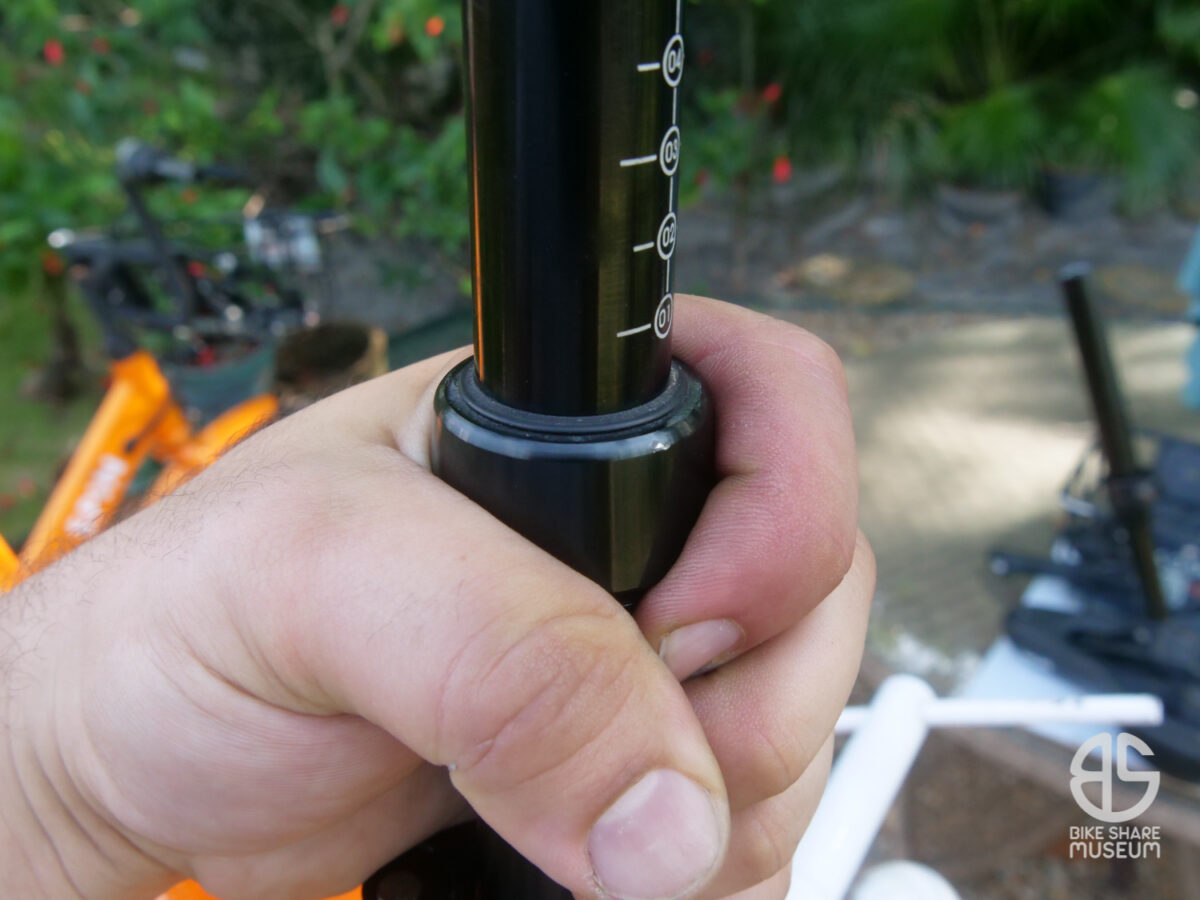
Close the quick release/tighten the seatpost collar at your preferred height. Done.
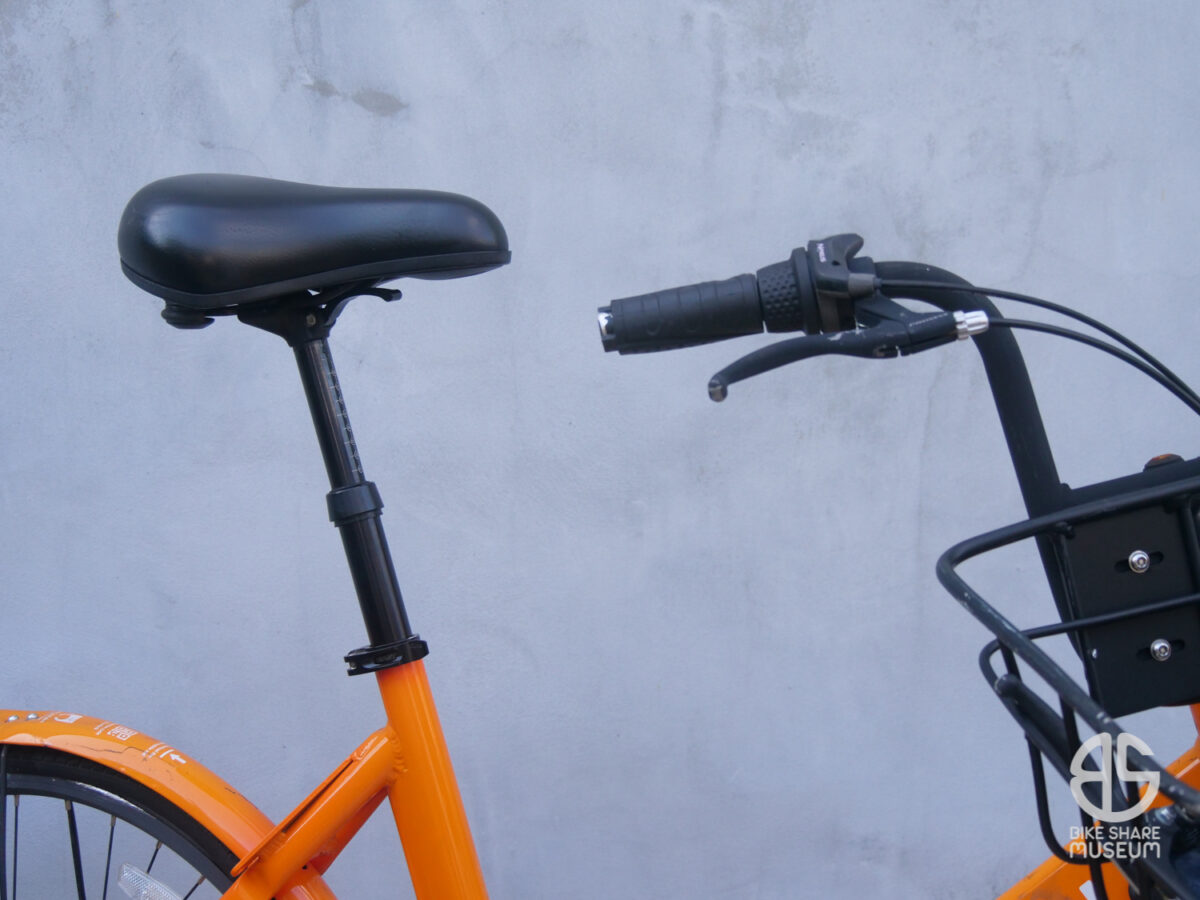
Many thanks to @justsimonr and @DavidsonIGD on Twitter for inspiring this article with their dropper post adaptations on their ofos.


