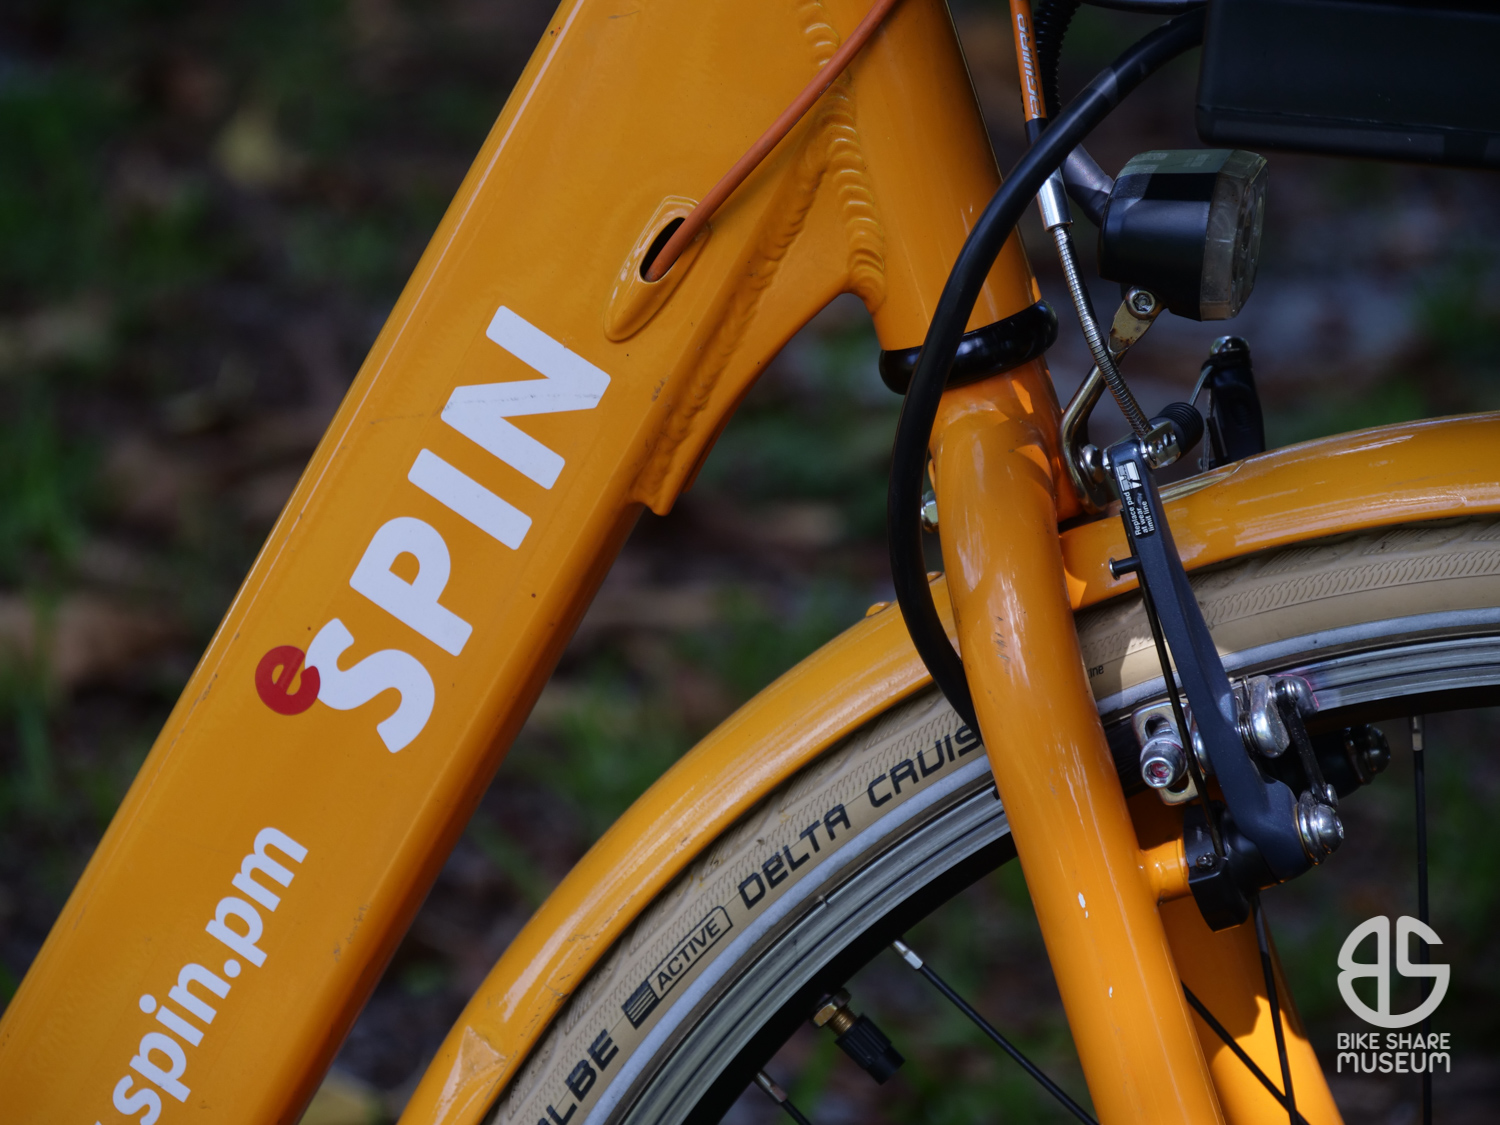
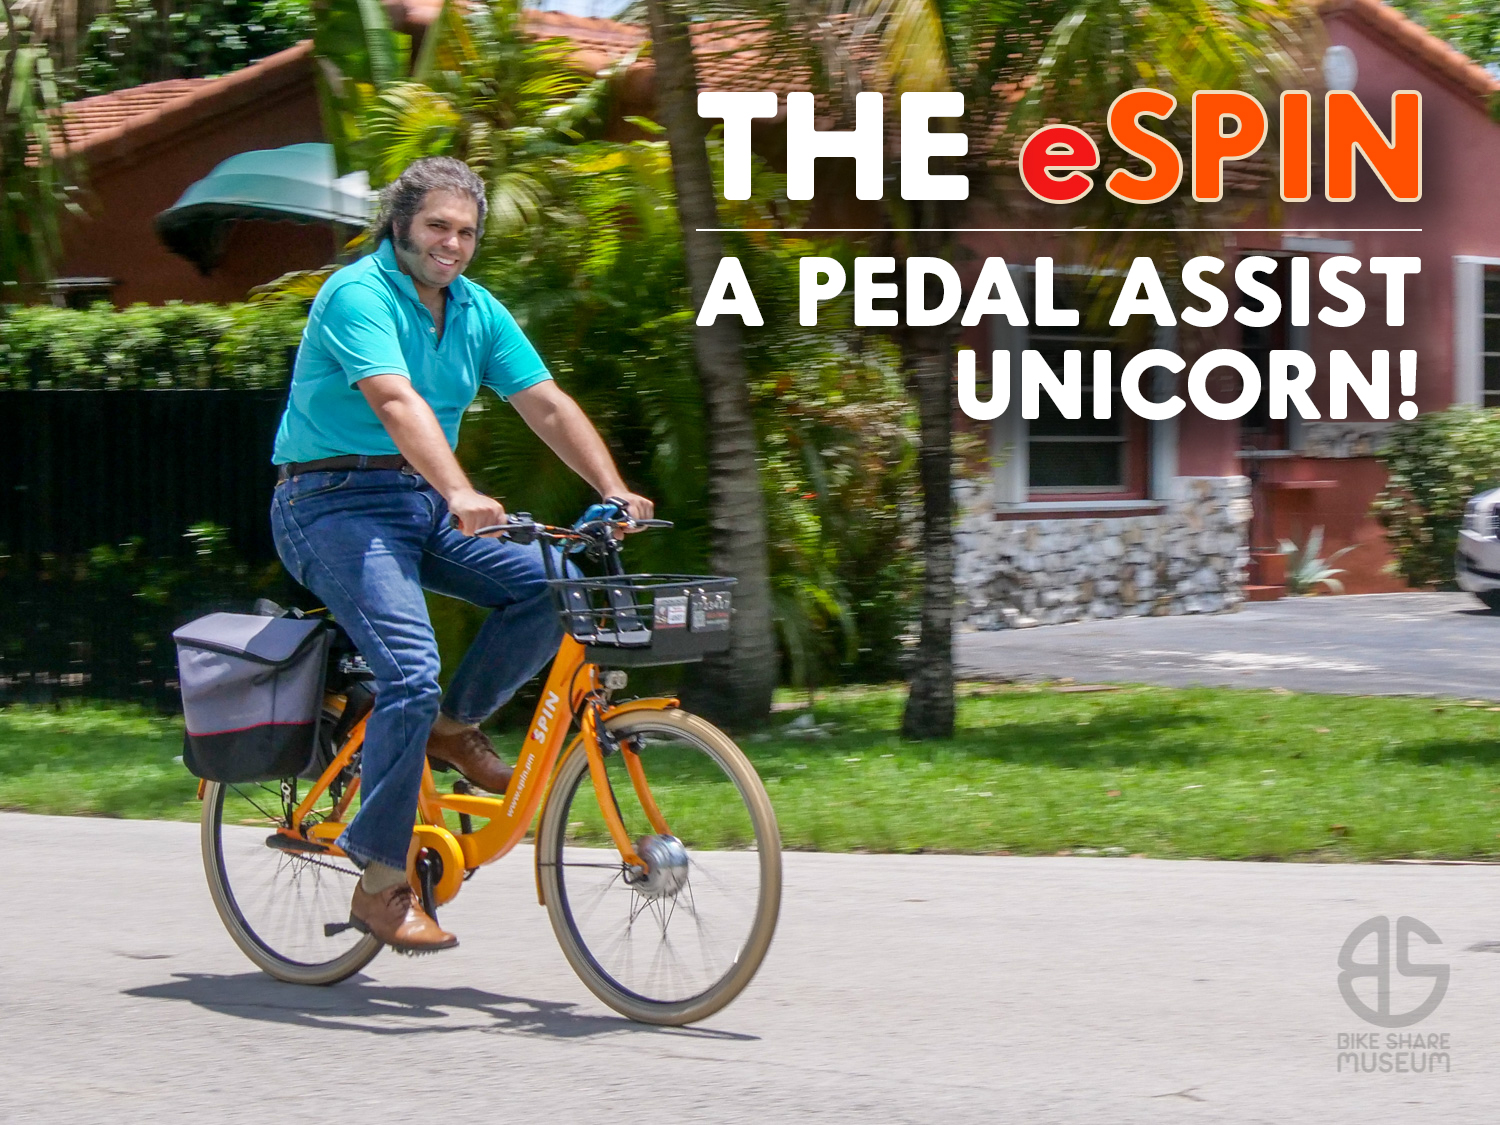
Peaches & Cream becomes the eSpin!
It’s been a week of absolute doom and gloom with the JUMP e-bike debacle, so I thought it’s about time to liven up the mood.
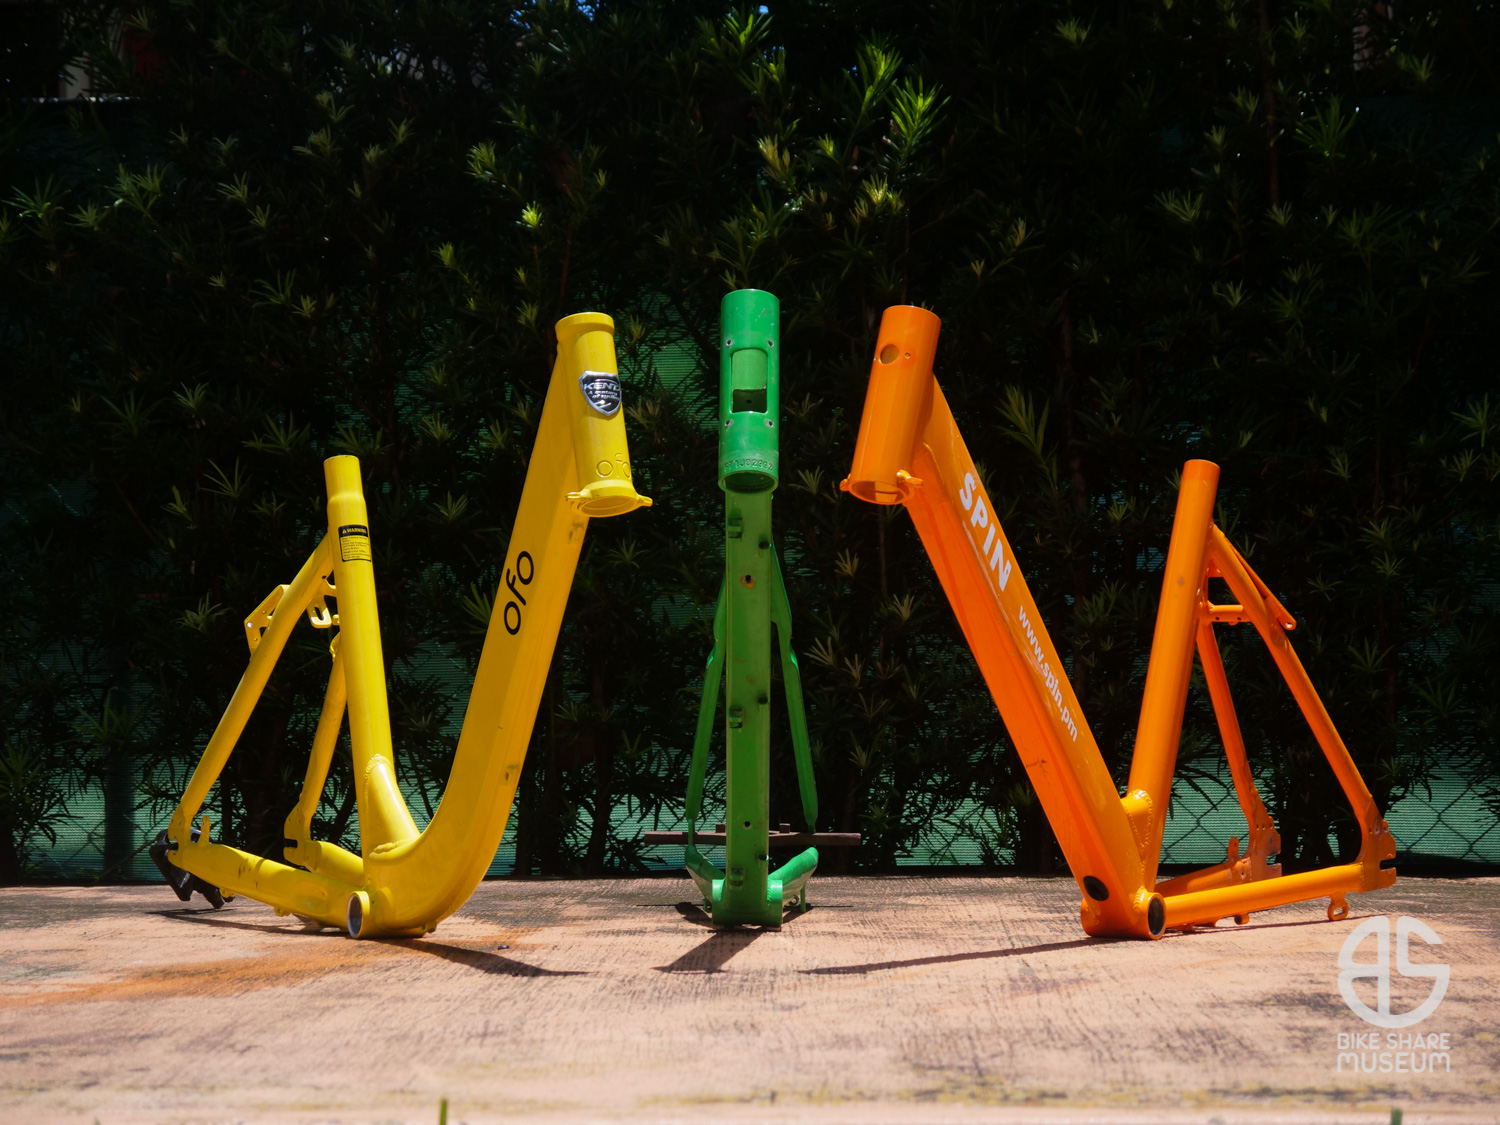
Remember our Hot Rod Spin, Peaches & Cream? This was the very first Spin I ever saw up close, and the inspiration to contact them to see if we could save a few bikes for the museum. Much to my surprise, this would launch a 500+ bike donation across Miami and Homestead, Florida.
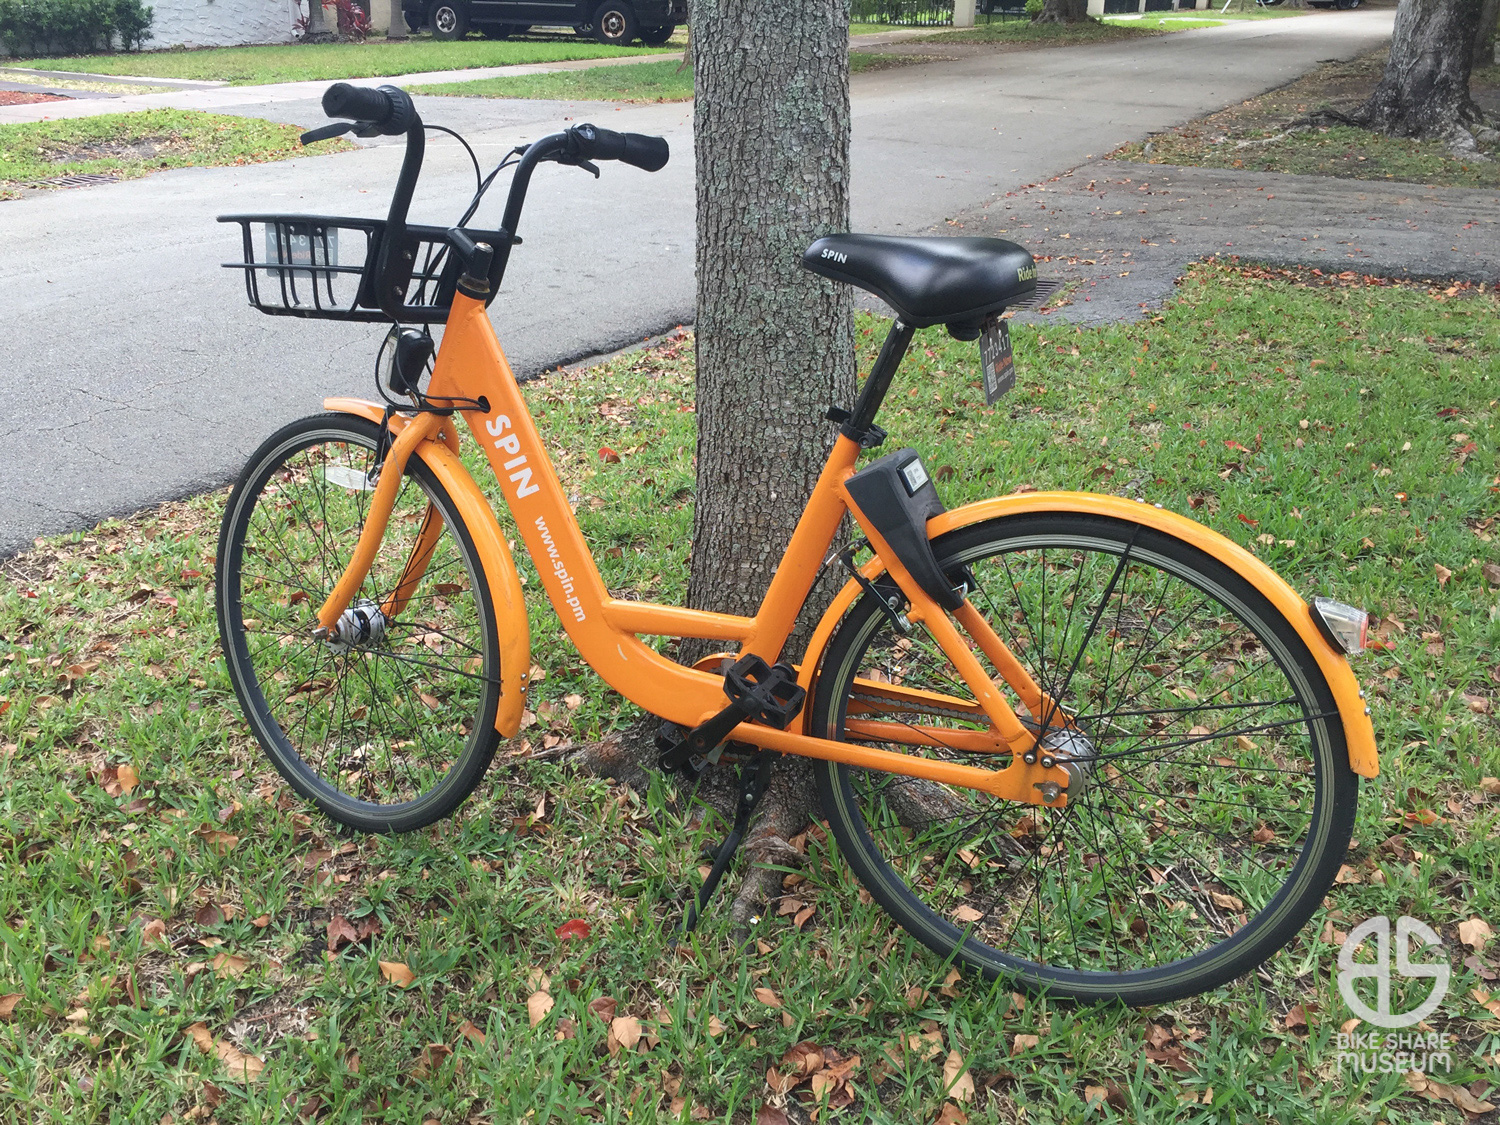
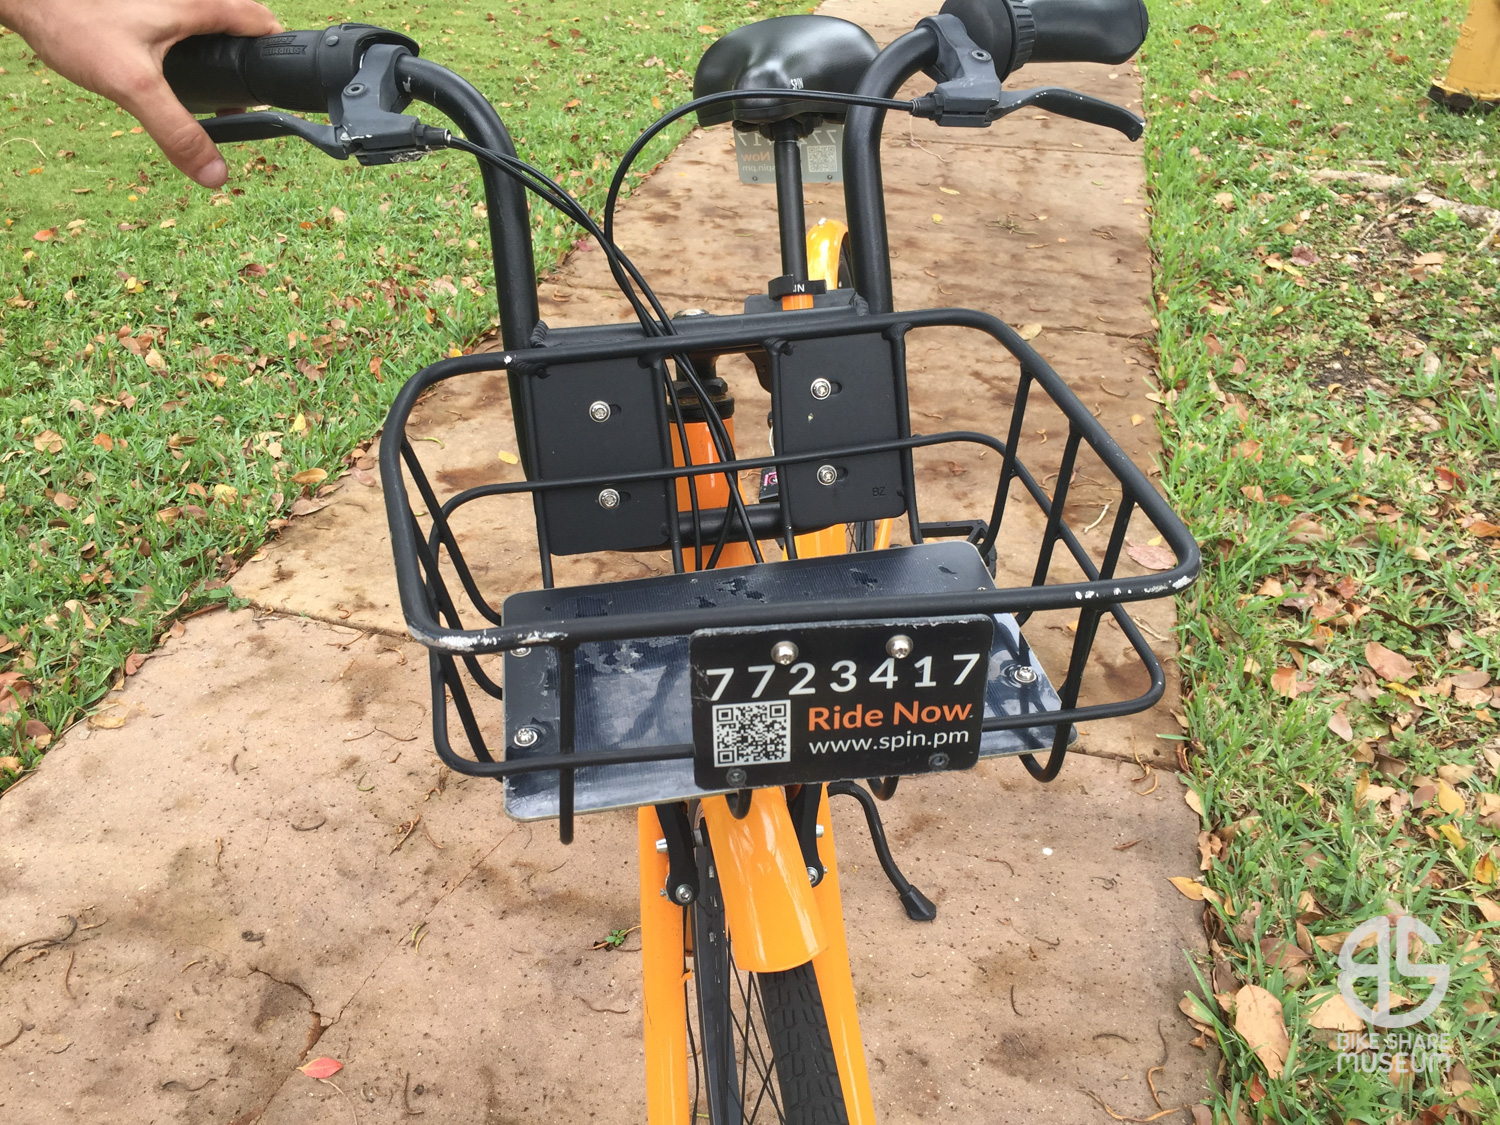
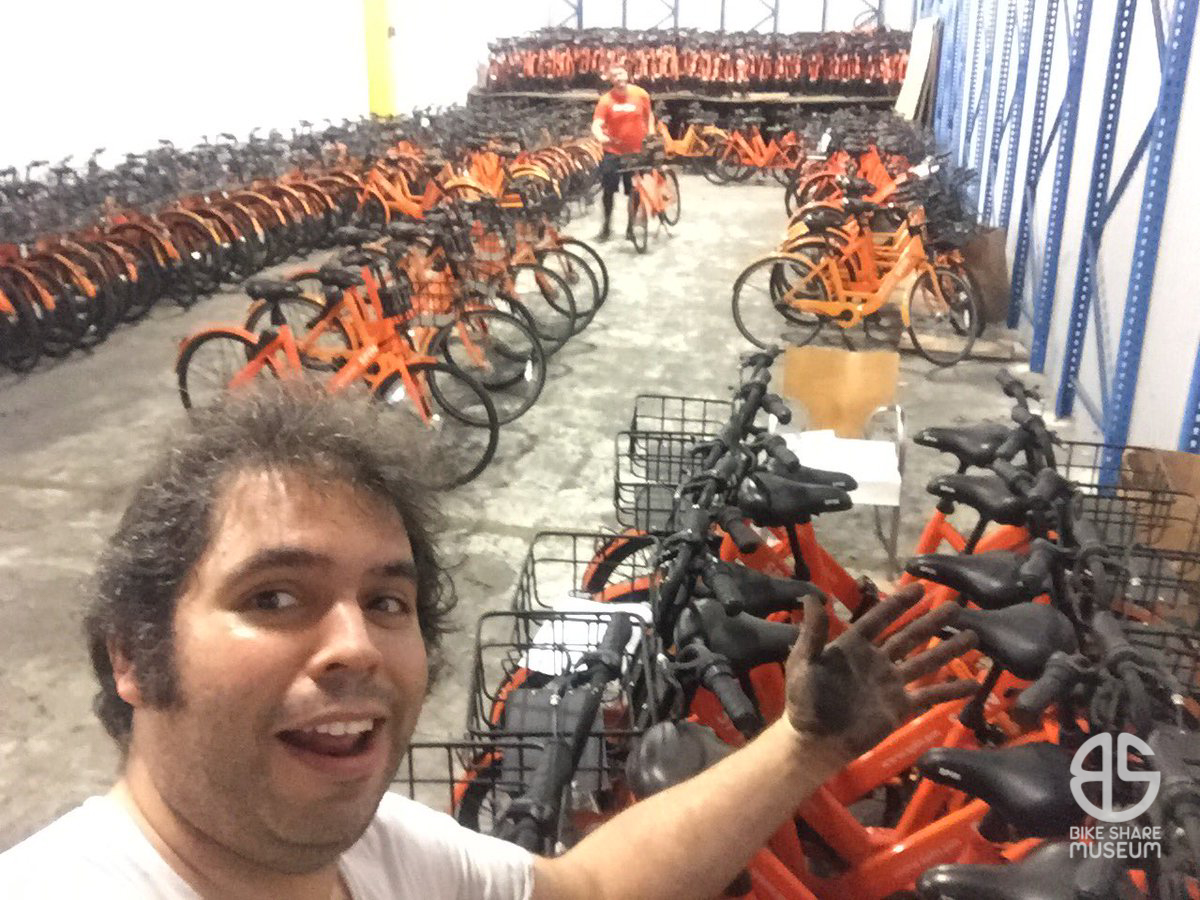
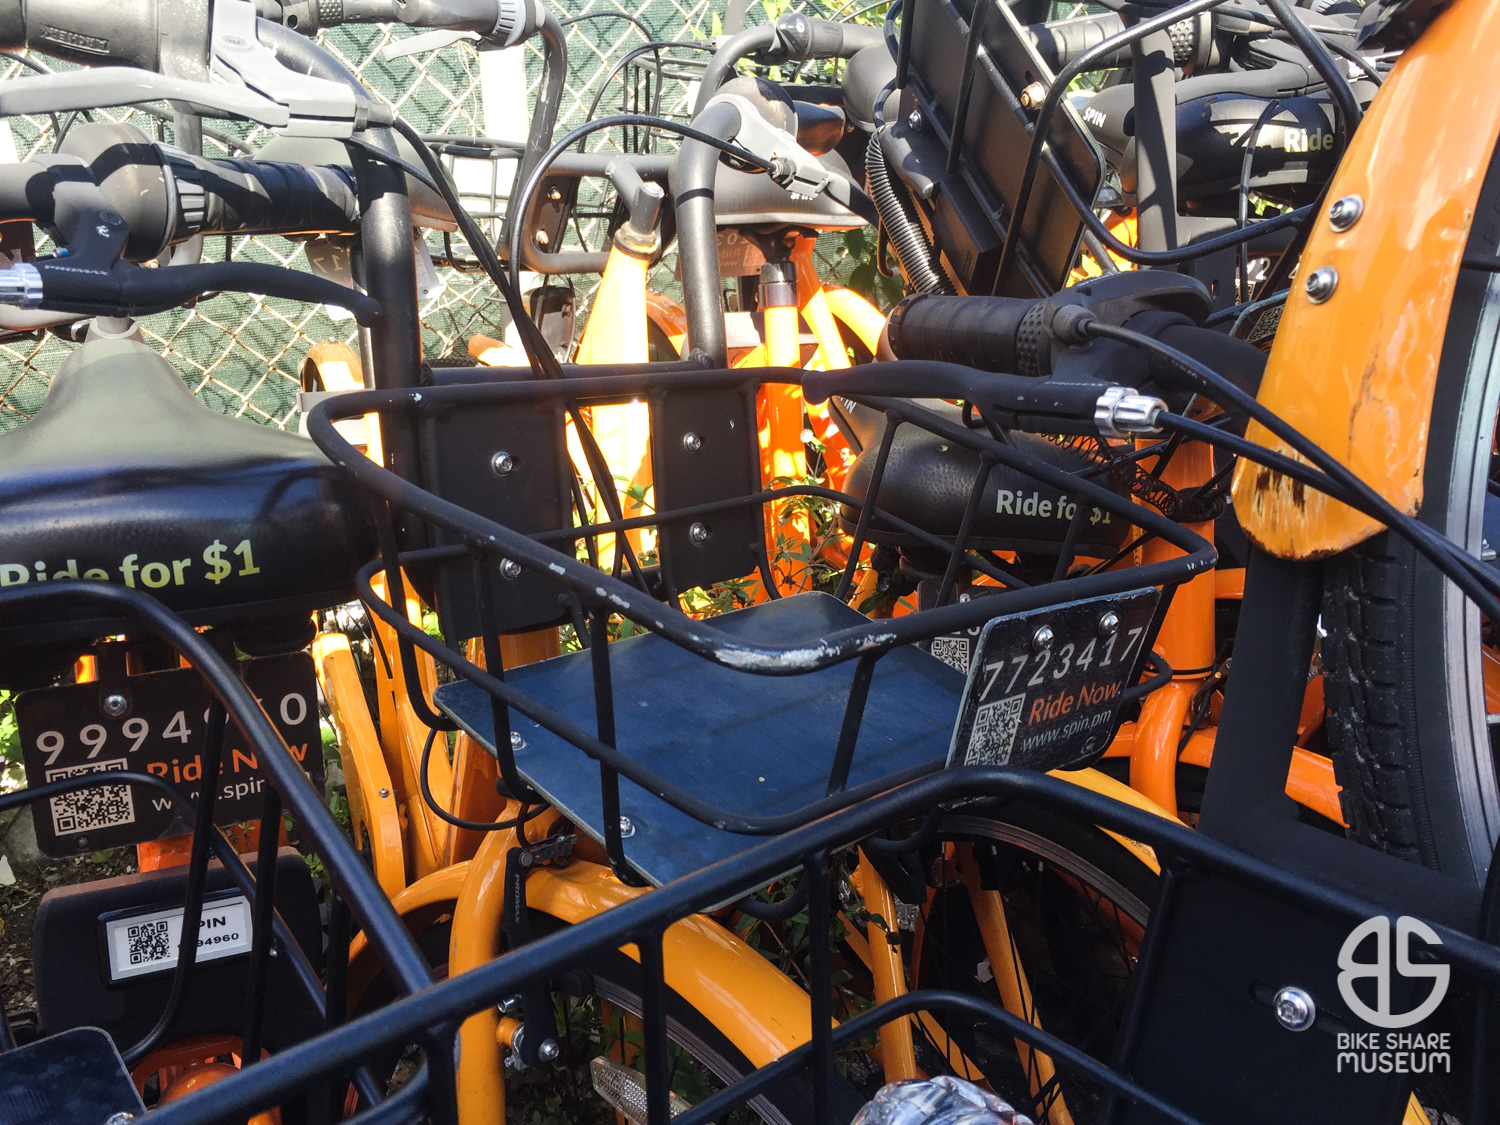
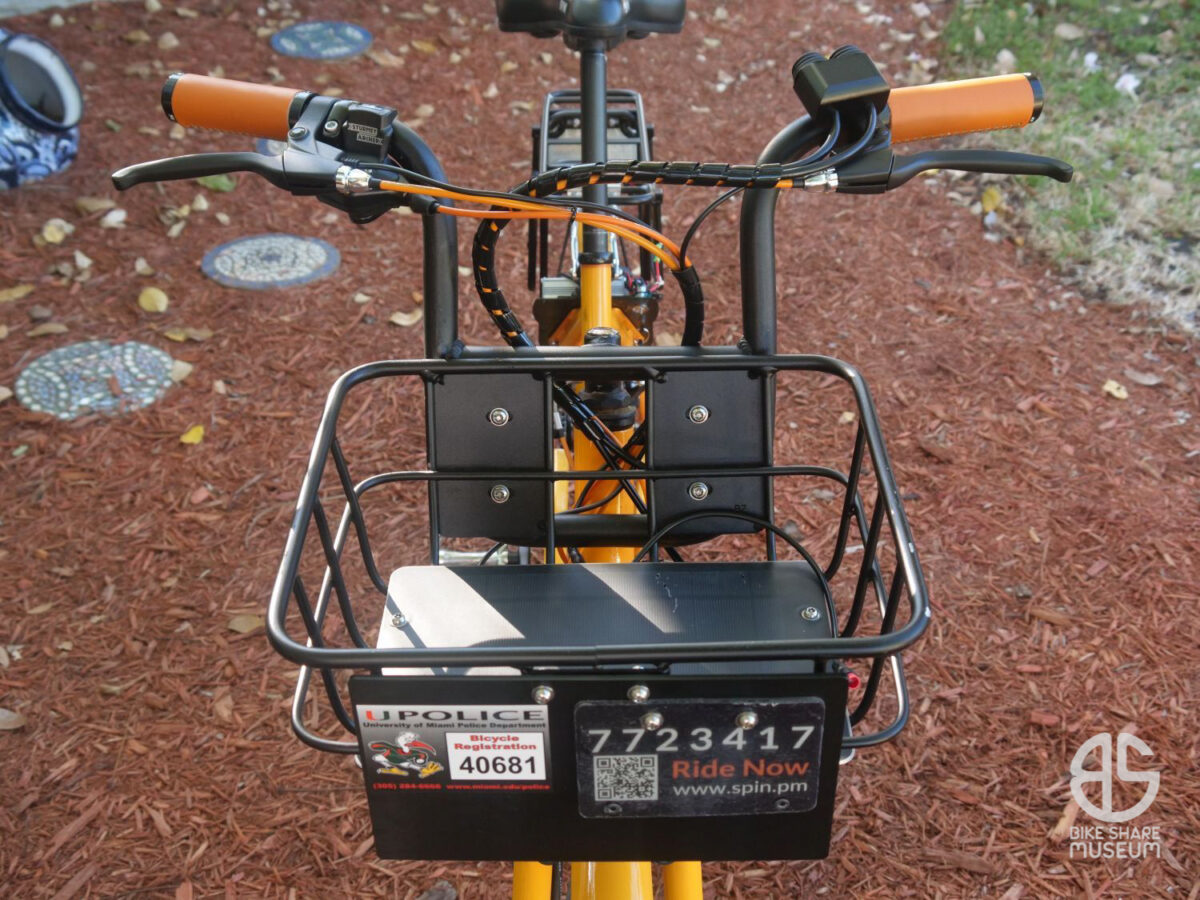
Long story short, while rummaging through the massive piles of bicycles to refurbish, I happened across a familiar serial number – 7723417, that very Spin that was on the side of the road that day.
It was looking a little worse for wear in the pile of the roughest bikes, but I put it to the side and soon customized it into a nice little commuter. With a pair of hand-me-down tires from my 1951 Raleigh Sports, the name Peaches & Cream stuck.
But ever since I rode my first JUMP 5.0, I’ve been eager to turn something into an e-assist pedelec, and Peaches was the ideal candidate. Plus, the idea of building it on the Spin Gen 2 platform presented a fun “what if?” scenario: What if Spin had launched an ebike along with their scooters? (they almost did…twice).
Then this showed up on eBay at a price too good to pass up:
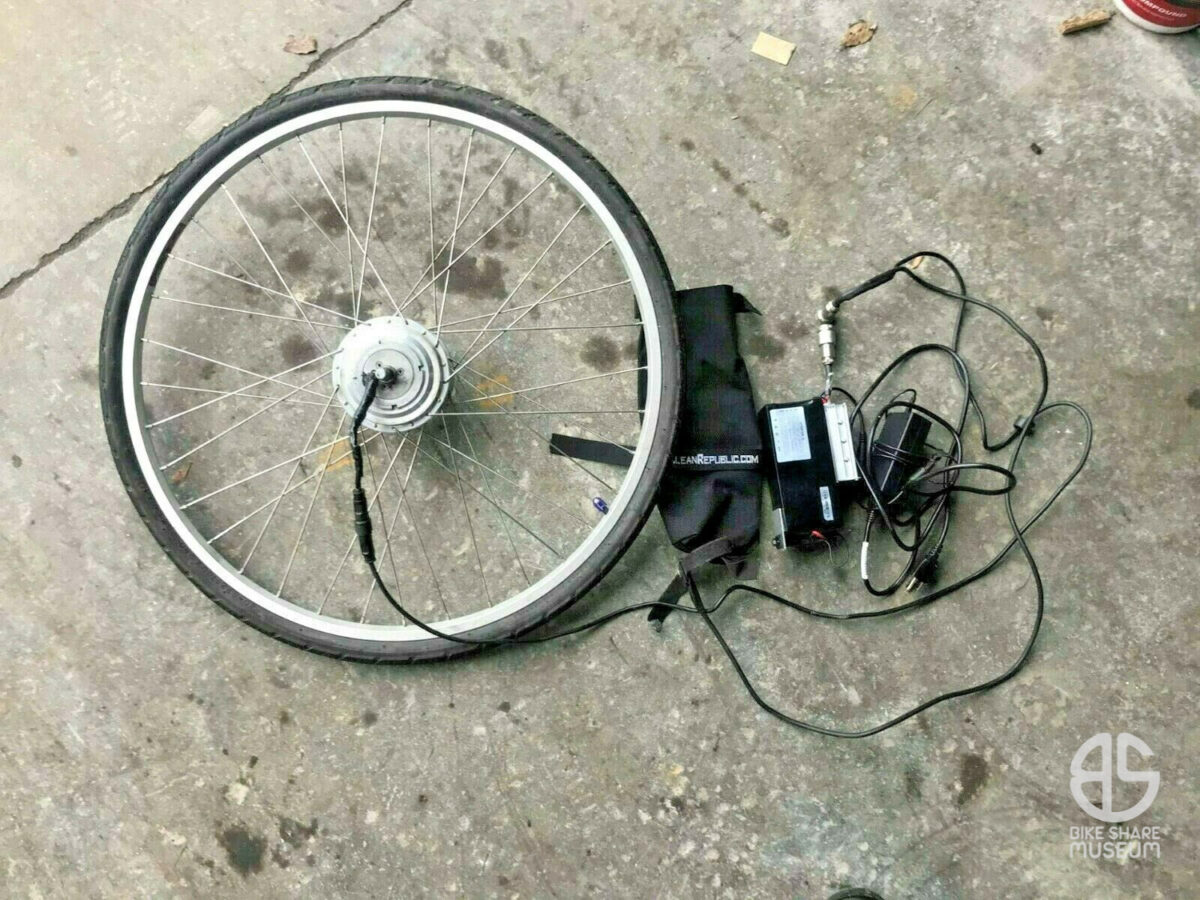
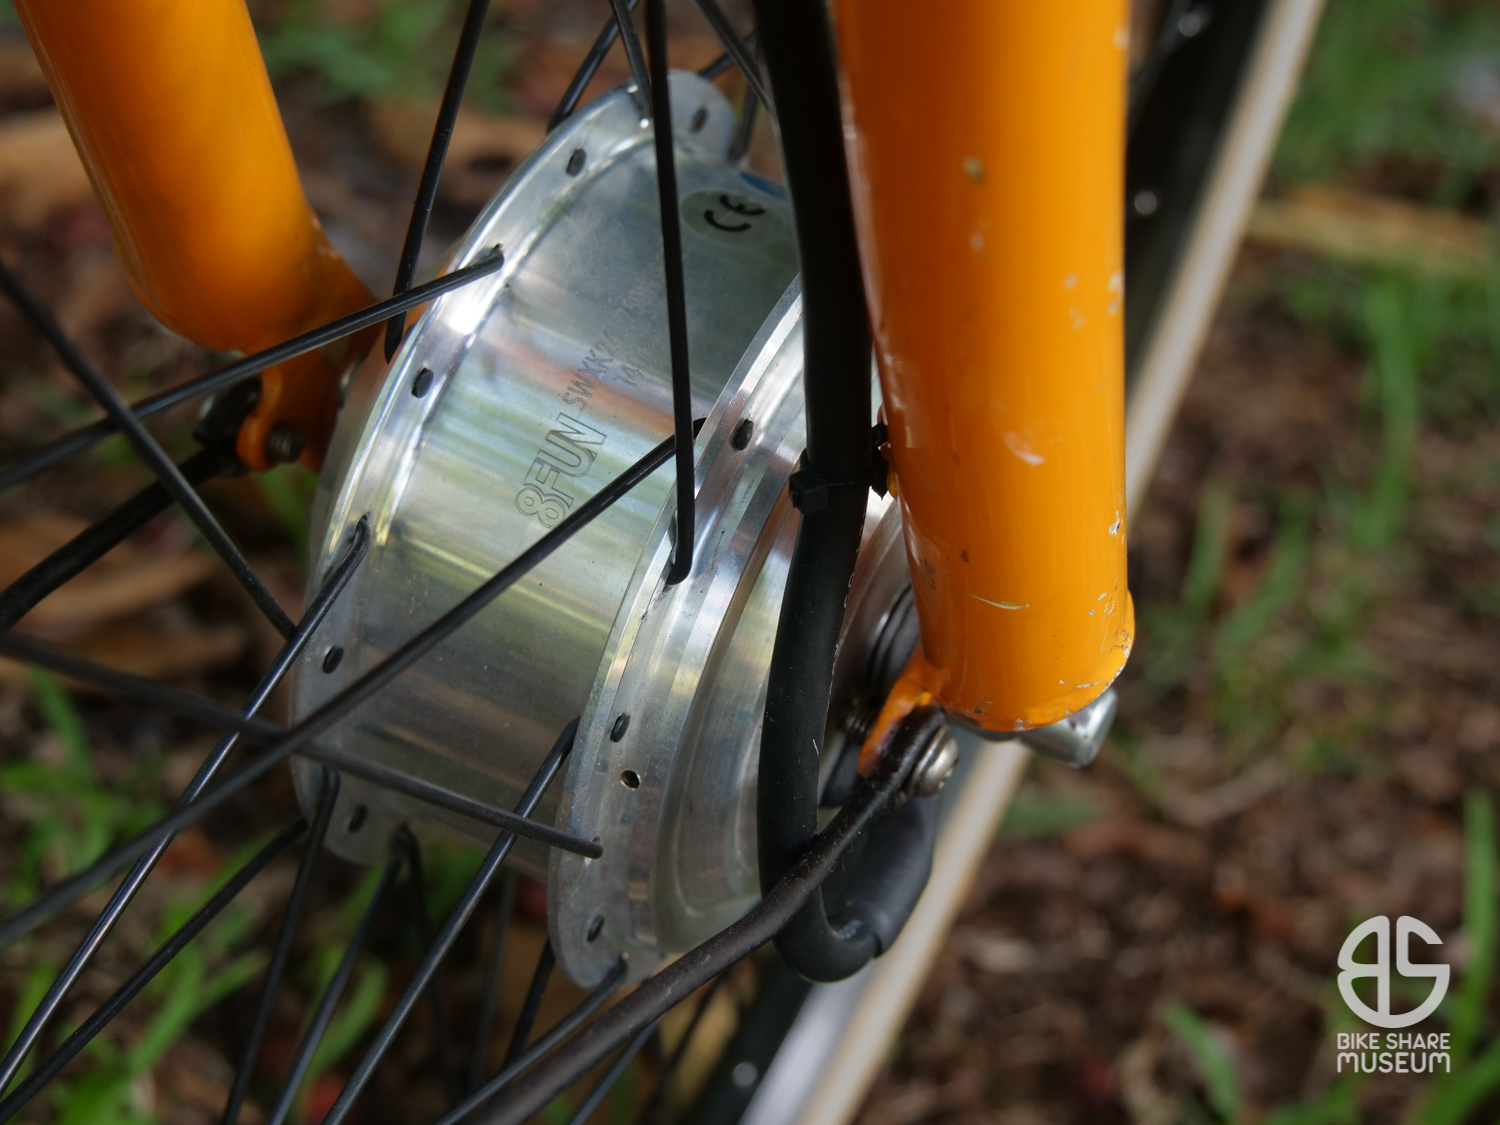
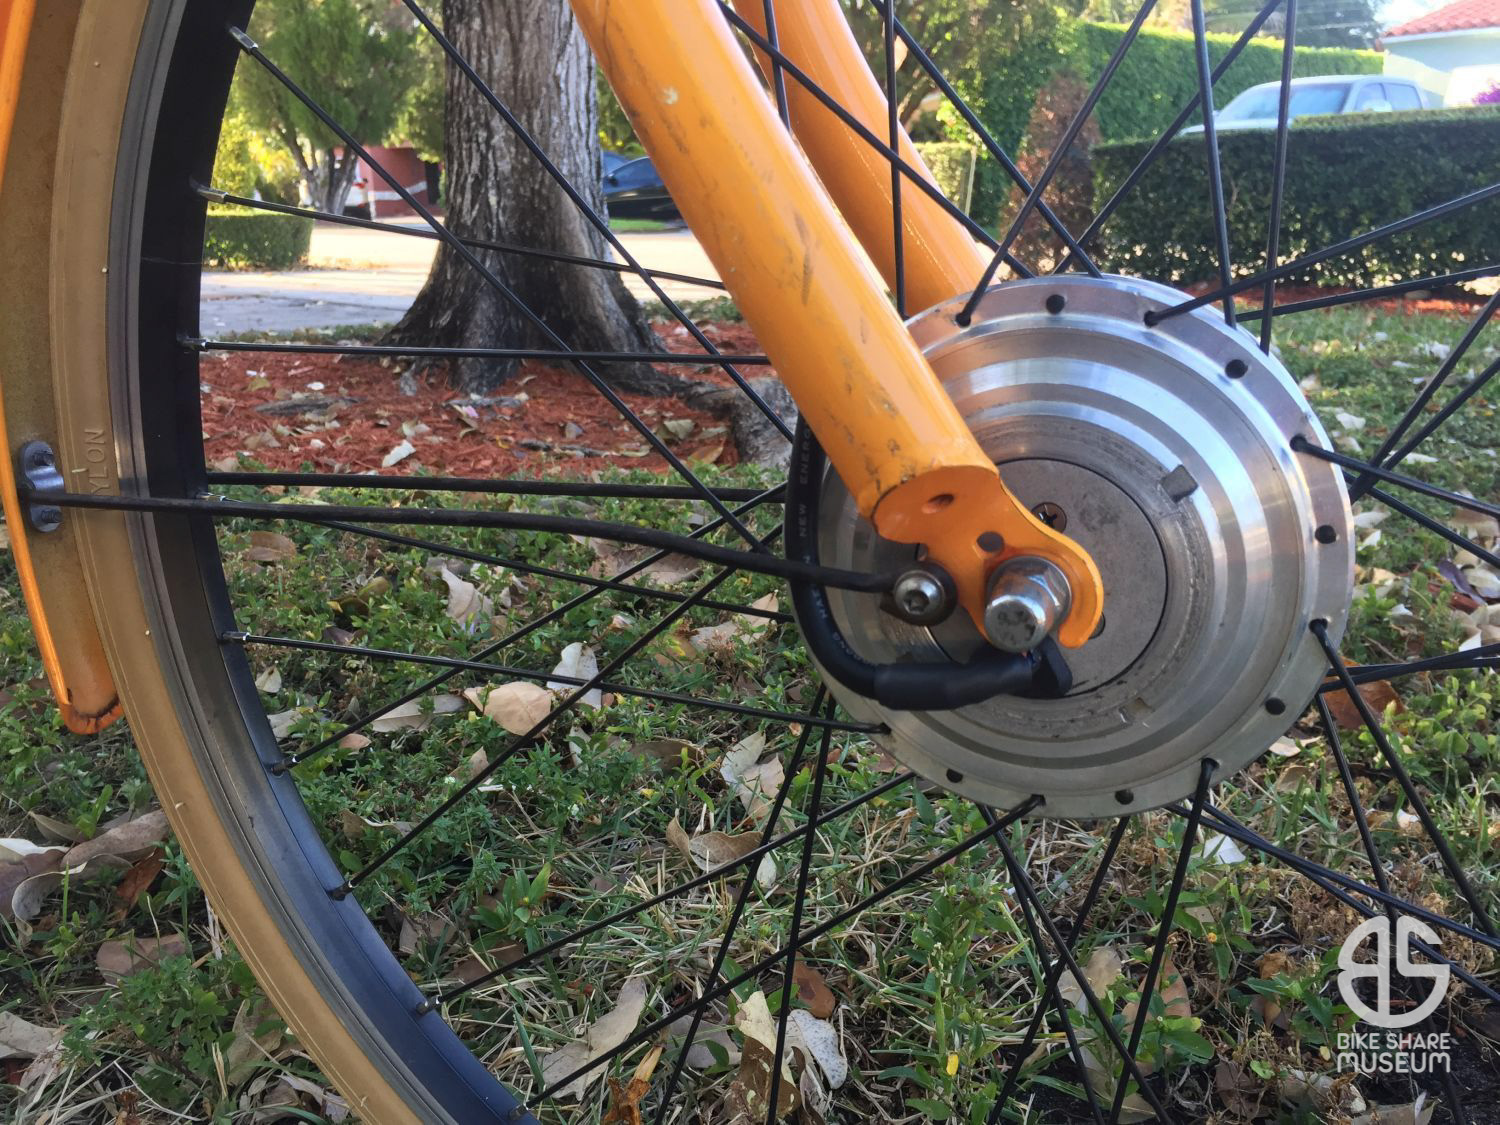
This is an 8FUN (Bafang) SWXK24V / 250W front drive motor from an older Clean Republic Hilltopper kit. The 24V system is fairly unusual – and almost unique to Clean Republic – but the price was too good to pass up.
That’s not to say it was without issues. Electrical tape was hiding a disaster of frayed wires underneath, and what was supposed to be a 24V battery charger turned out to be a 19.5v power supply. Not a good combination with Li-Ion batteries. Thankfully, there was no evidence of prior or potential explodum.
Though the Hilltopper is designed as a straightfoward bolt-on kit – with a small button that one straps to the handlebar with a bit of Velcro – I wanted to go for a bike that’s exclusively pedal assist – a pedelec.
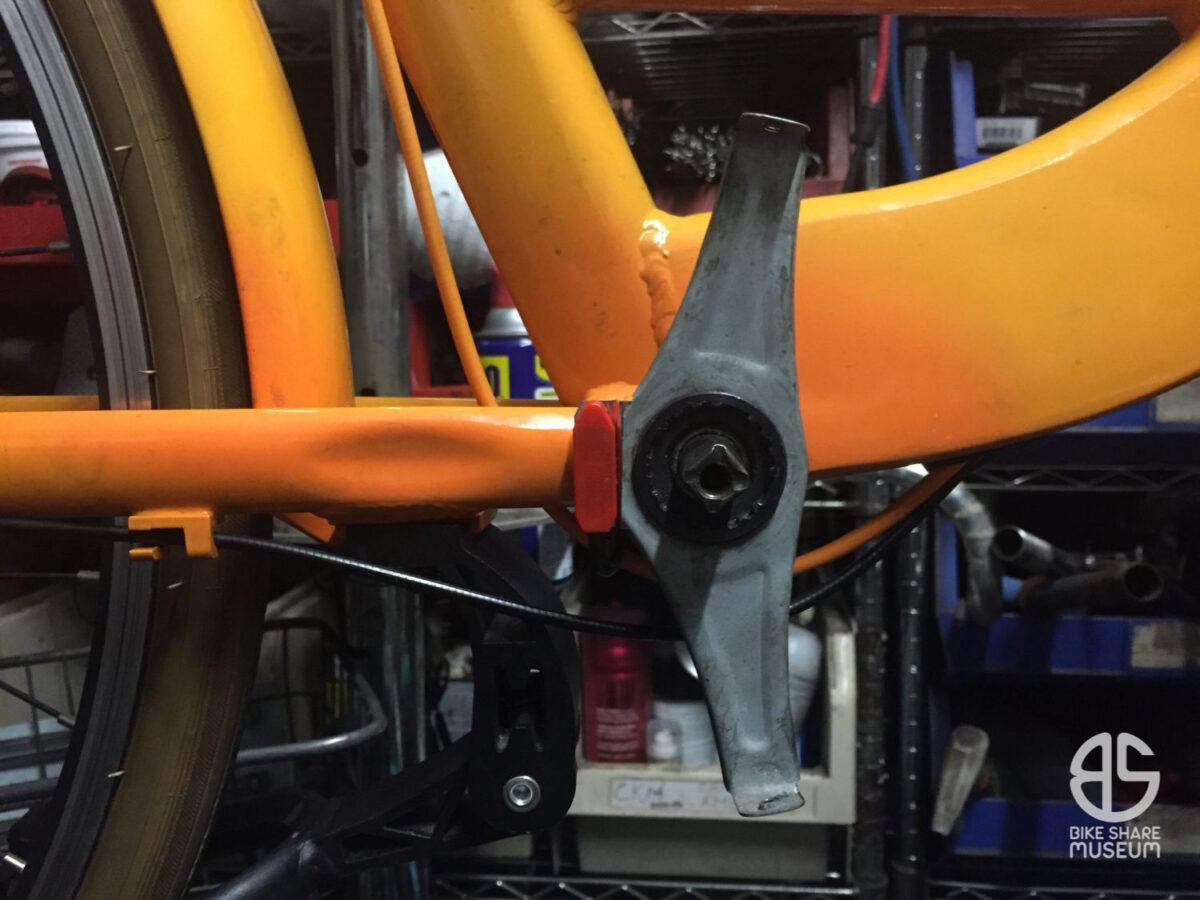
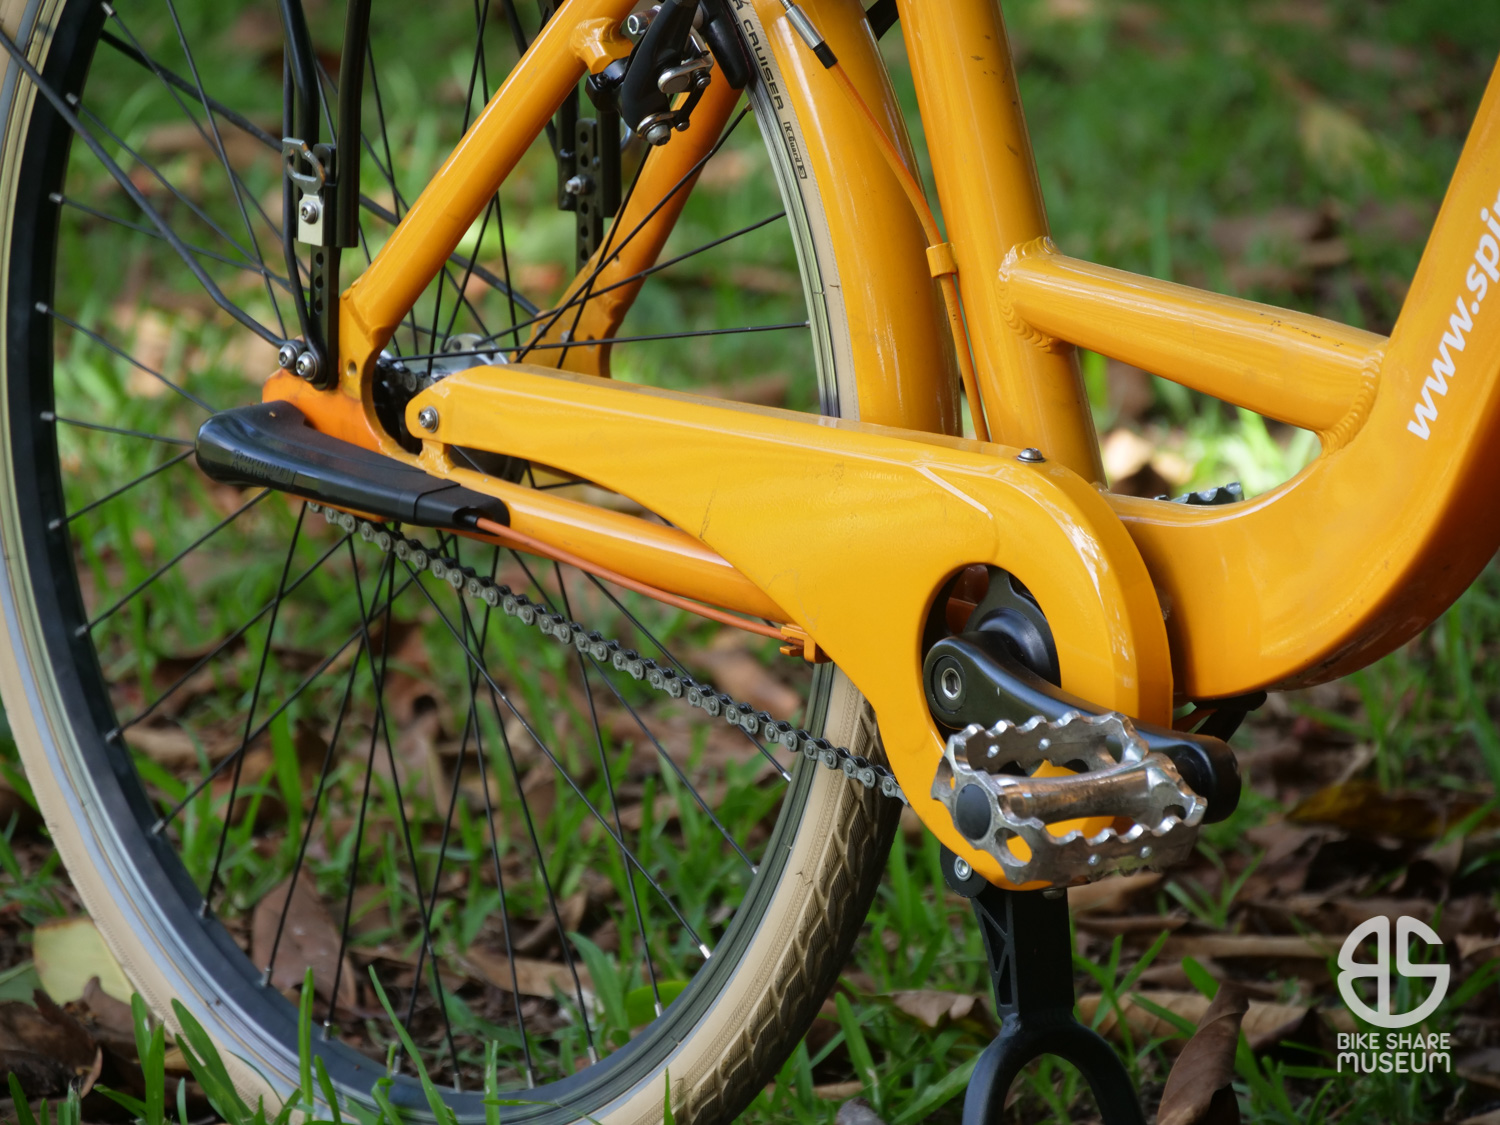
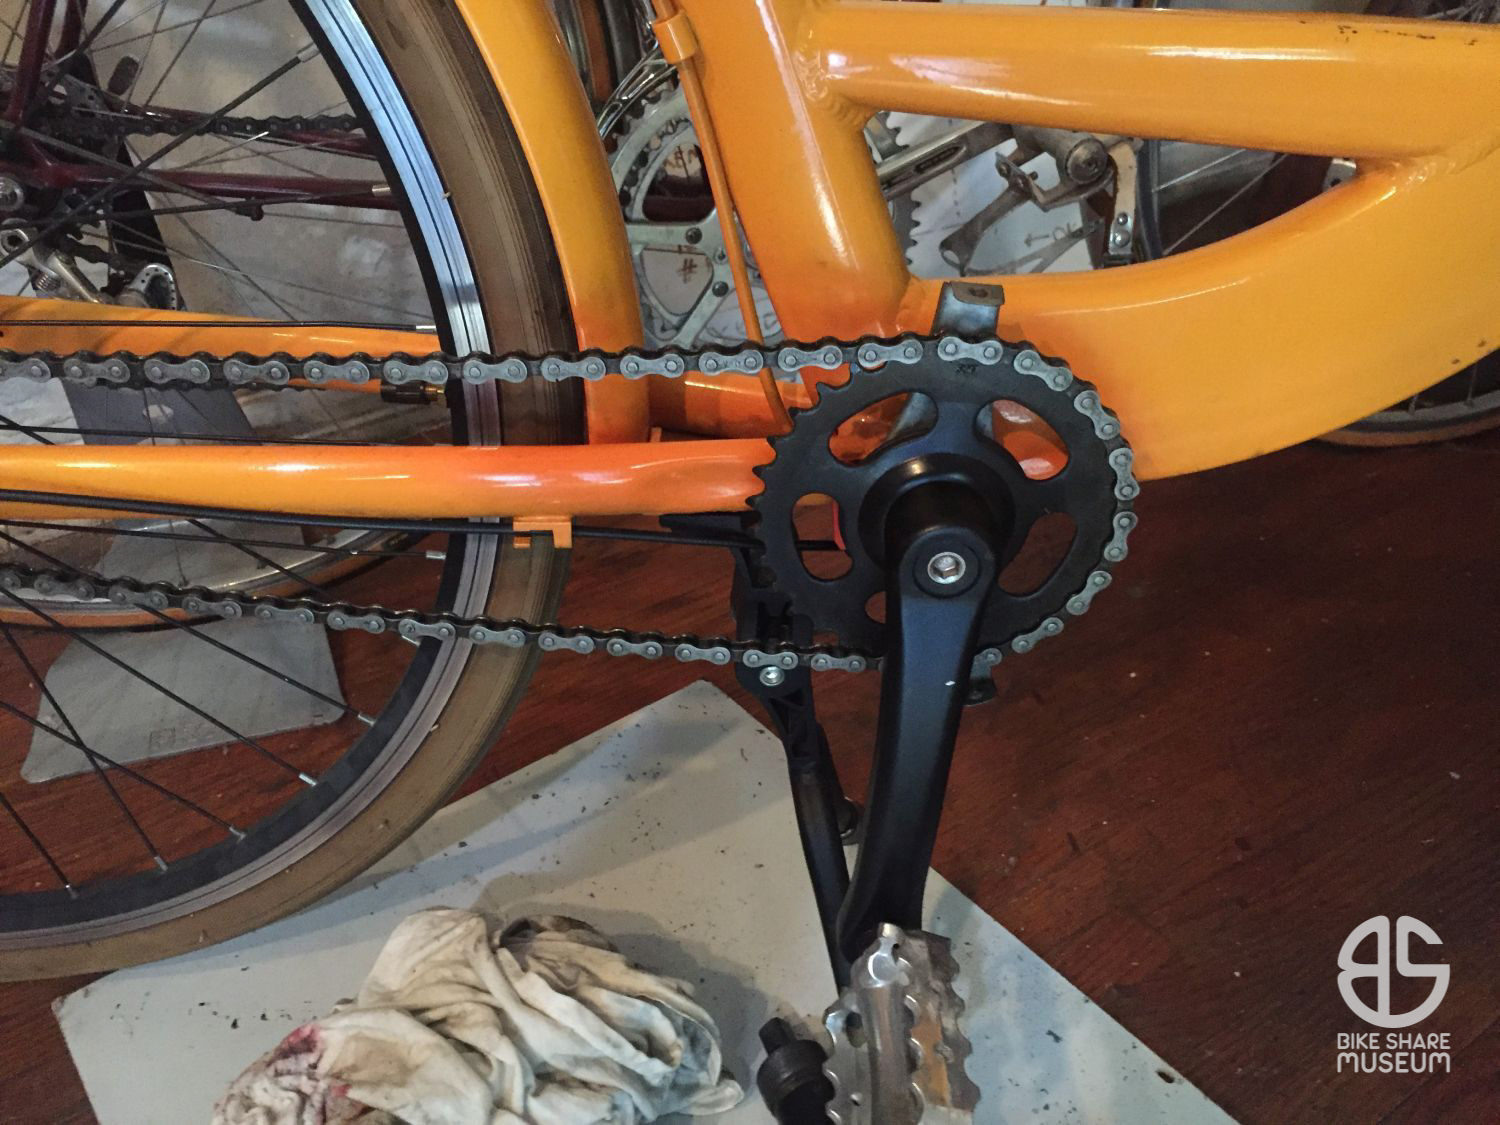
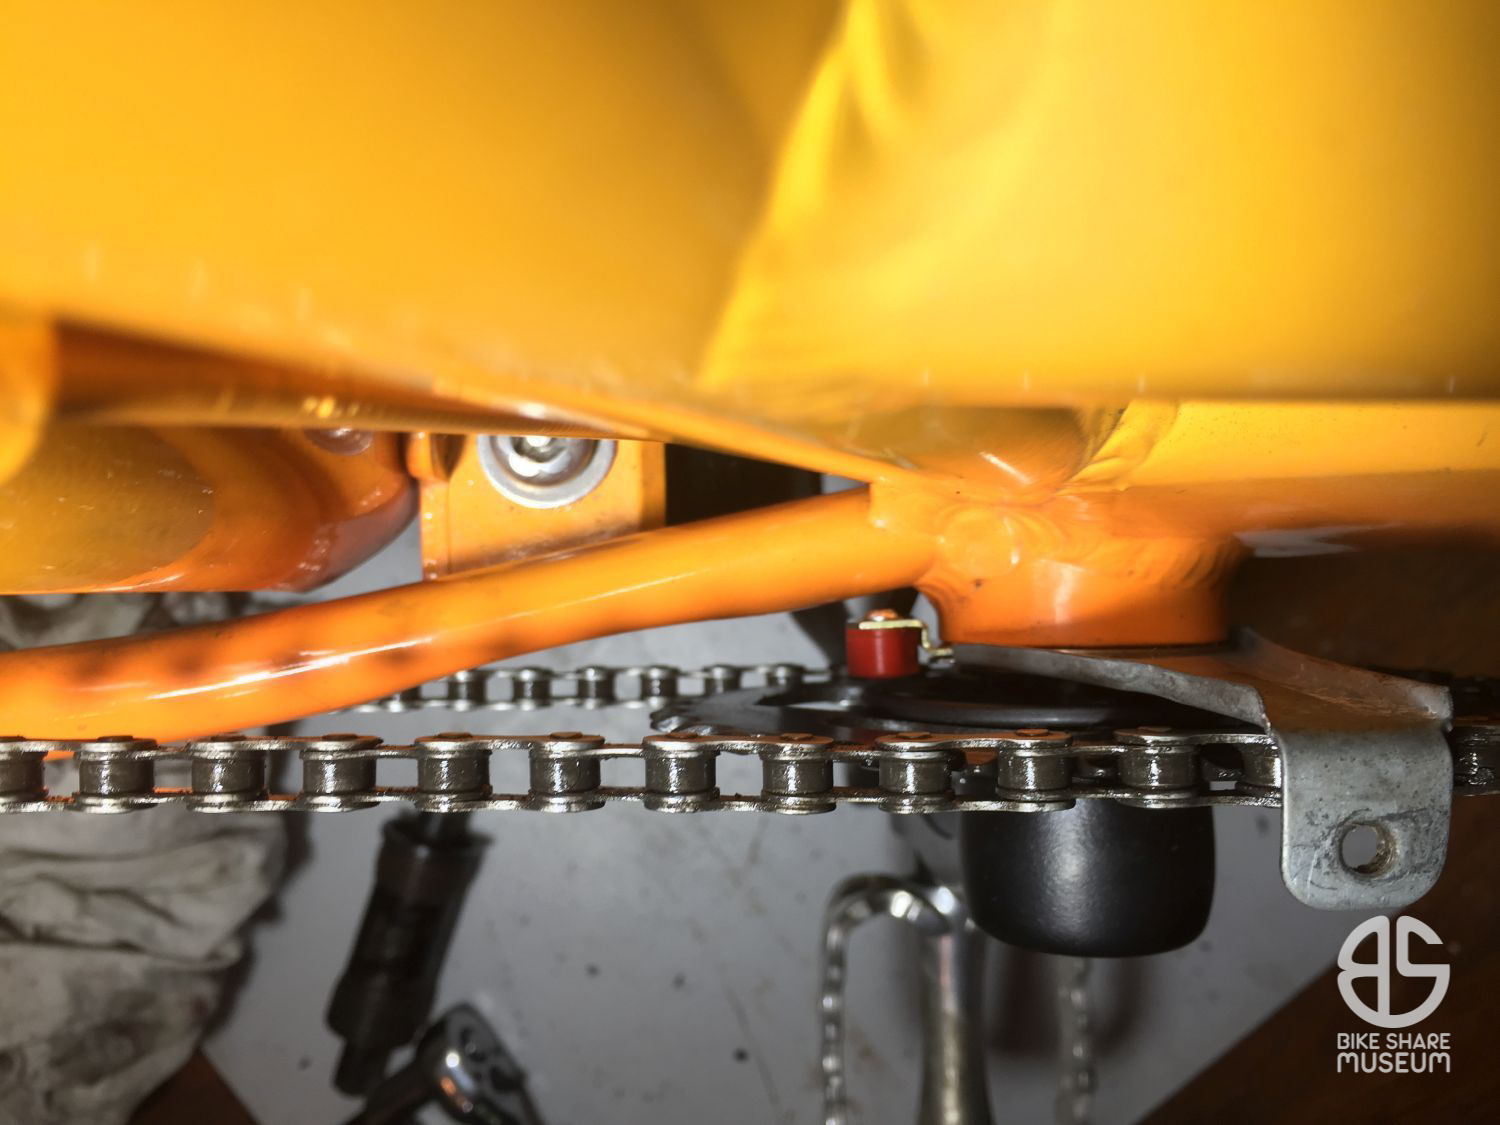
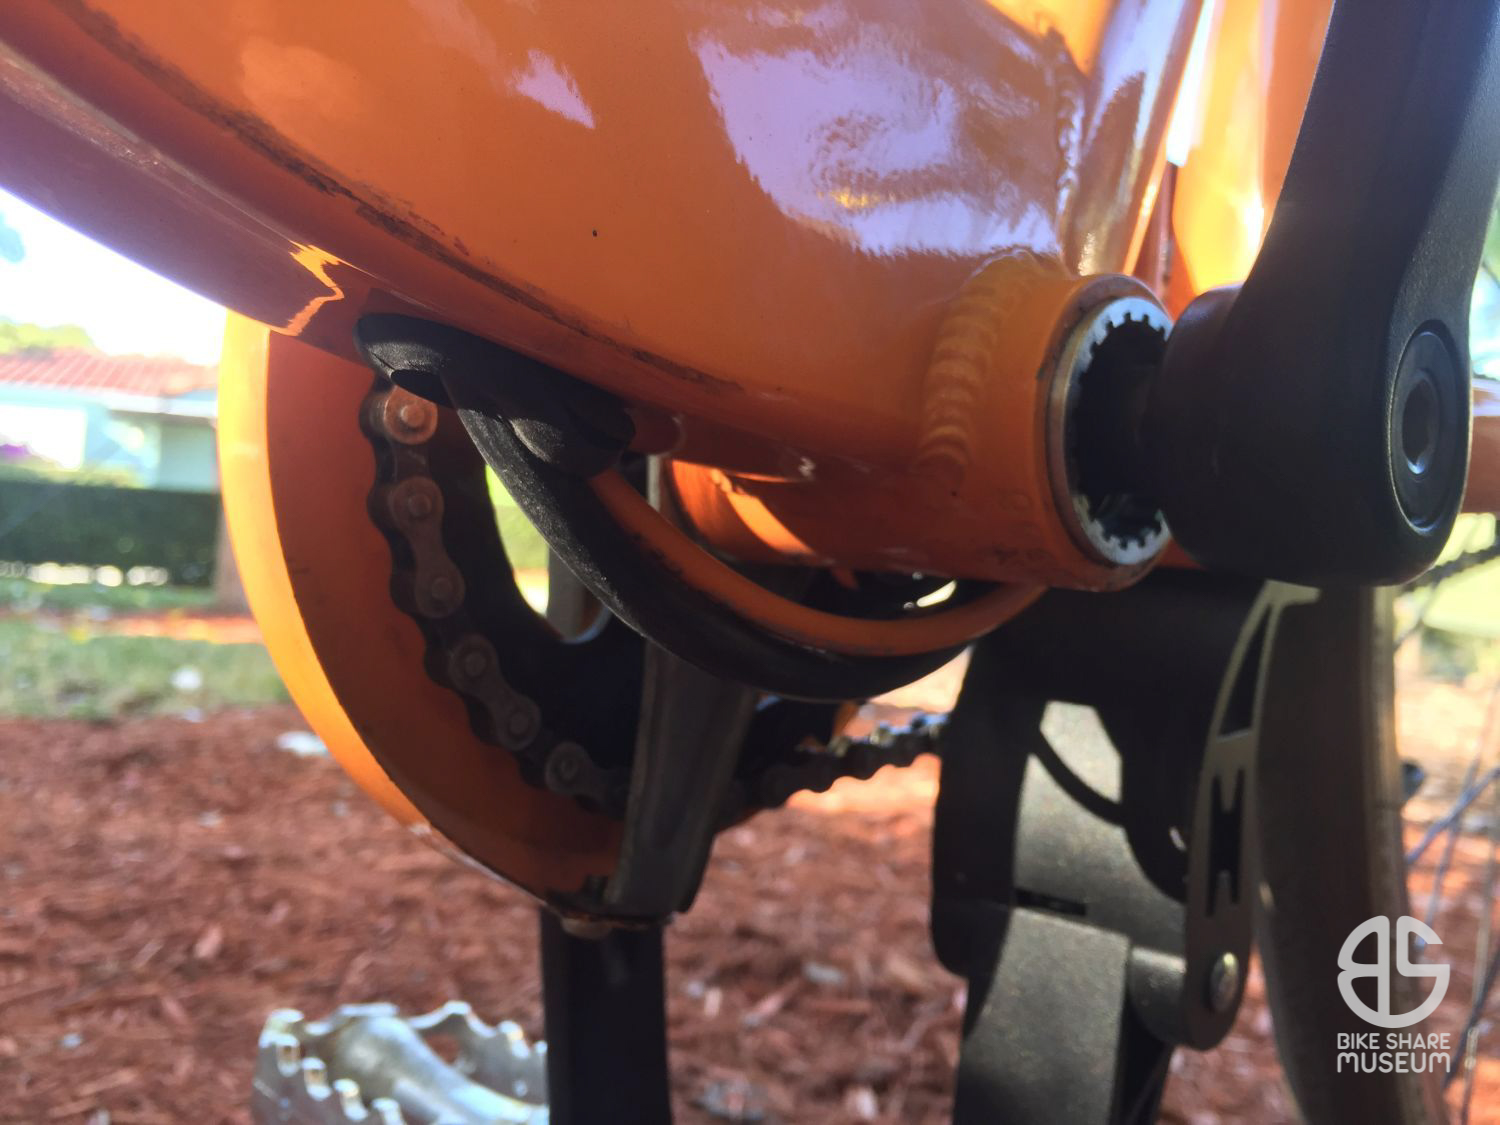
Some slick eBaying netted the pedal assist sensor along with some other necessary parts. I had to replace the original 124mm bottom bracket with a 127.5mm Shimano UN55 to fit the sensor ring, but the chainline didn’t suffer terribly for it.
The eBay auction also came with a pair of Bafang four-finger brake levers, complete with the all-important motor cutout sensors built in. I wasn’t disappointed to lose the polished levers I originally installed, as I found out that they were hopelessly slippery in the rain.
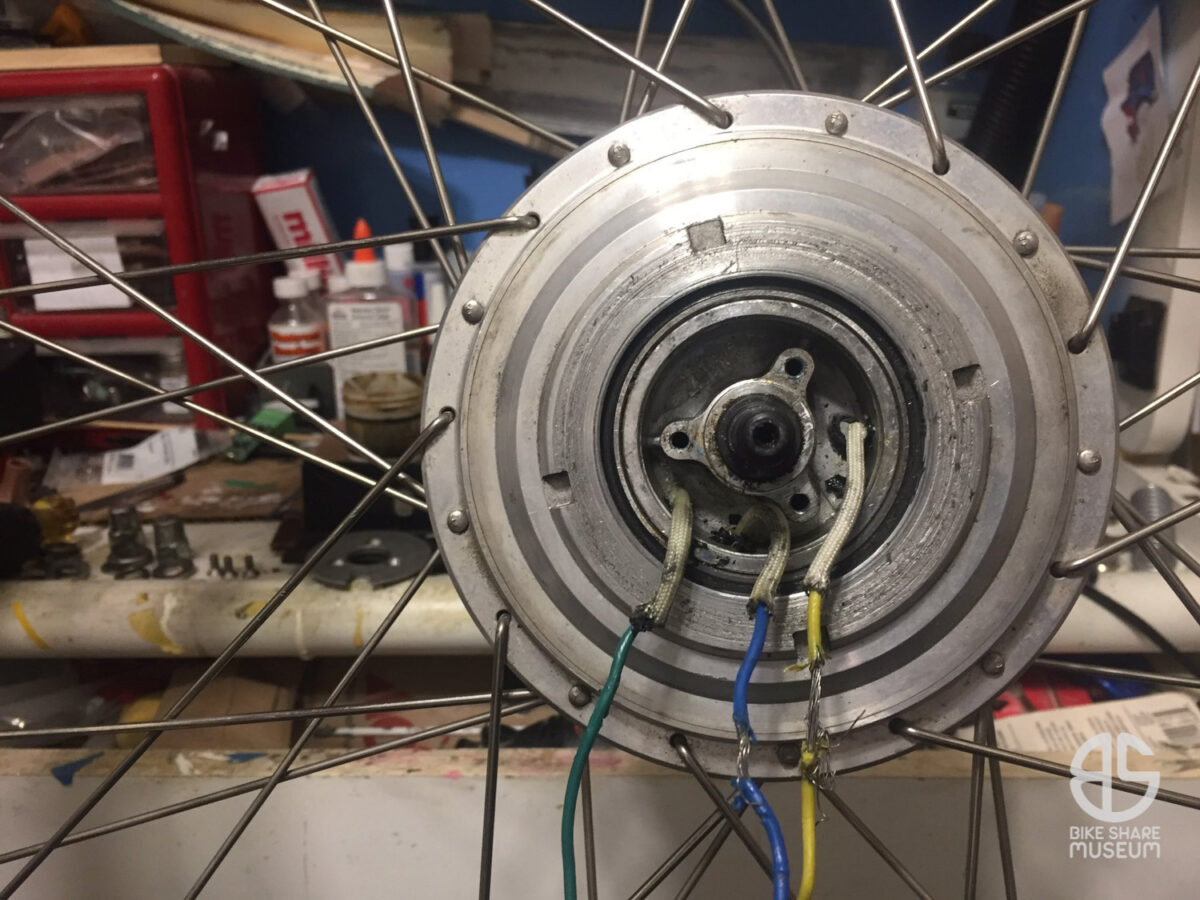
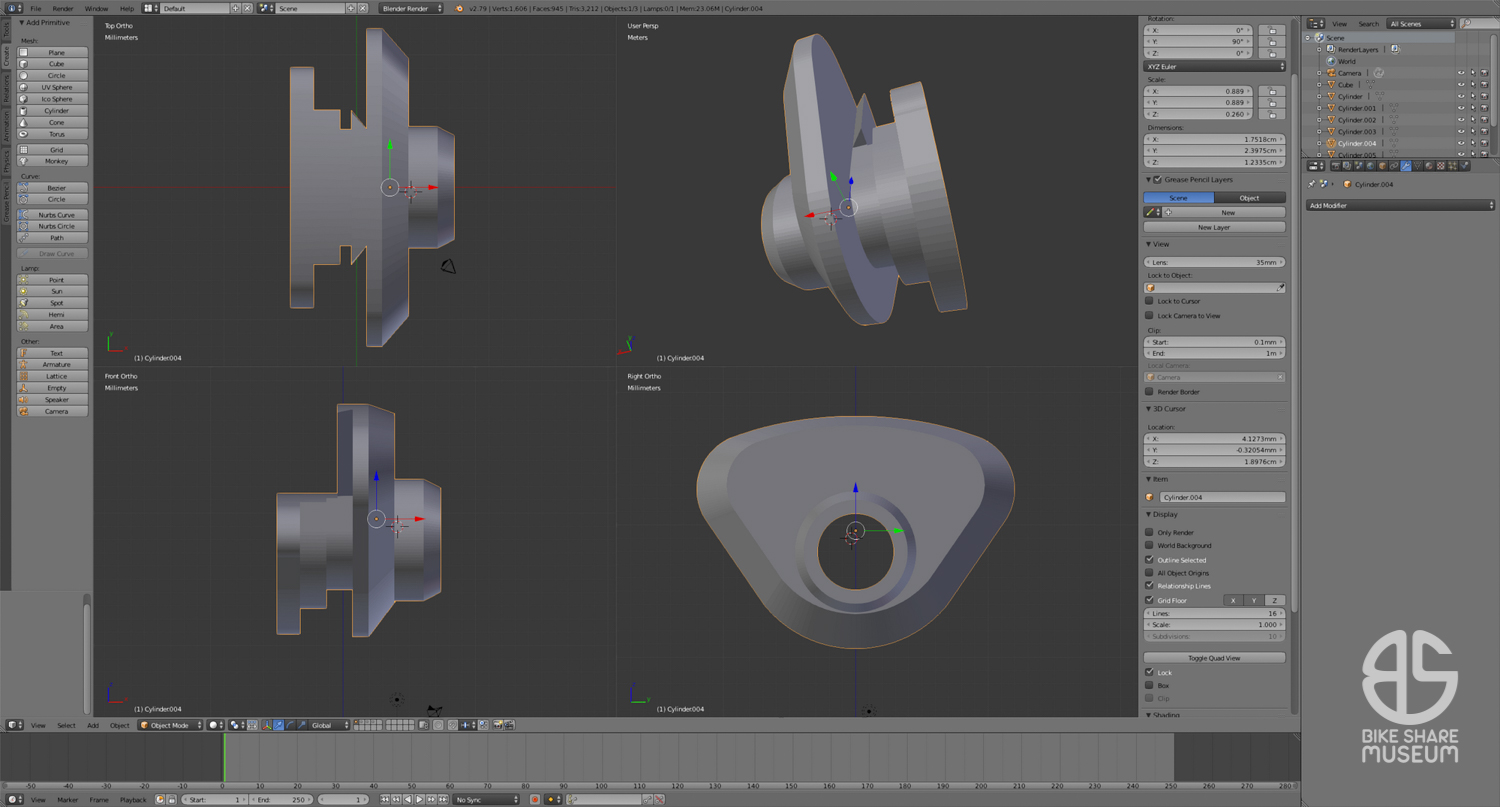
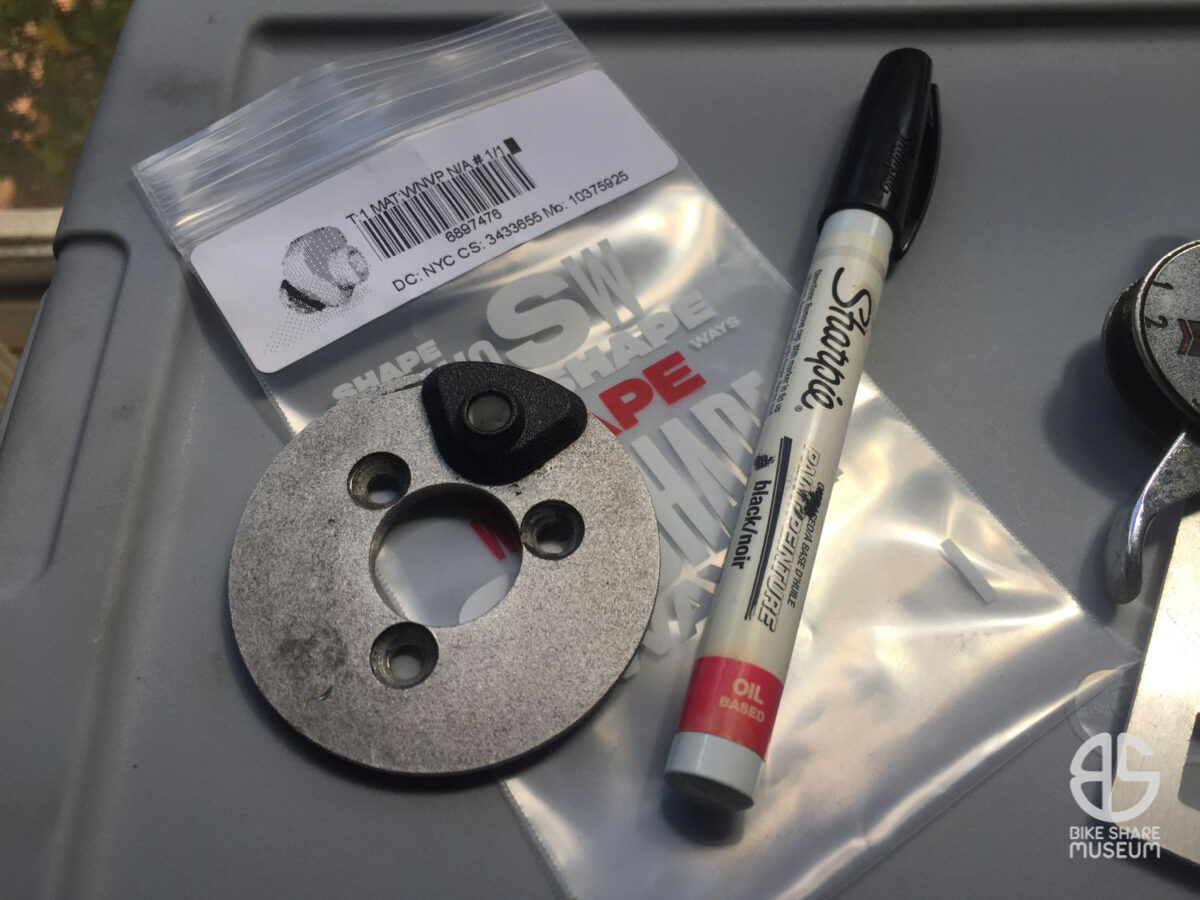
The damaged hub also didn’t have the special Bafang grommet for the cable exit, so I designed a 3D printed replacement in Blender and had it 3D printed.

The rough white 3D printed plastic is a magnet for dirt and whatever happens to be on your fingers, so I decided to experiment painting it with an oil-based paint pen. This worked perfectly.
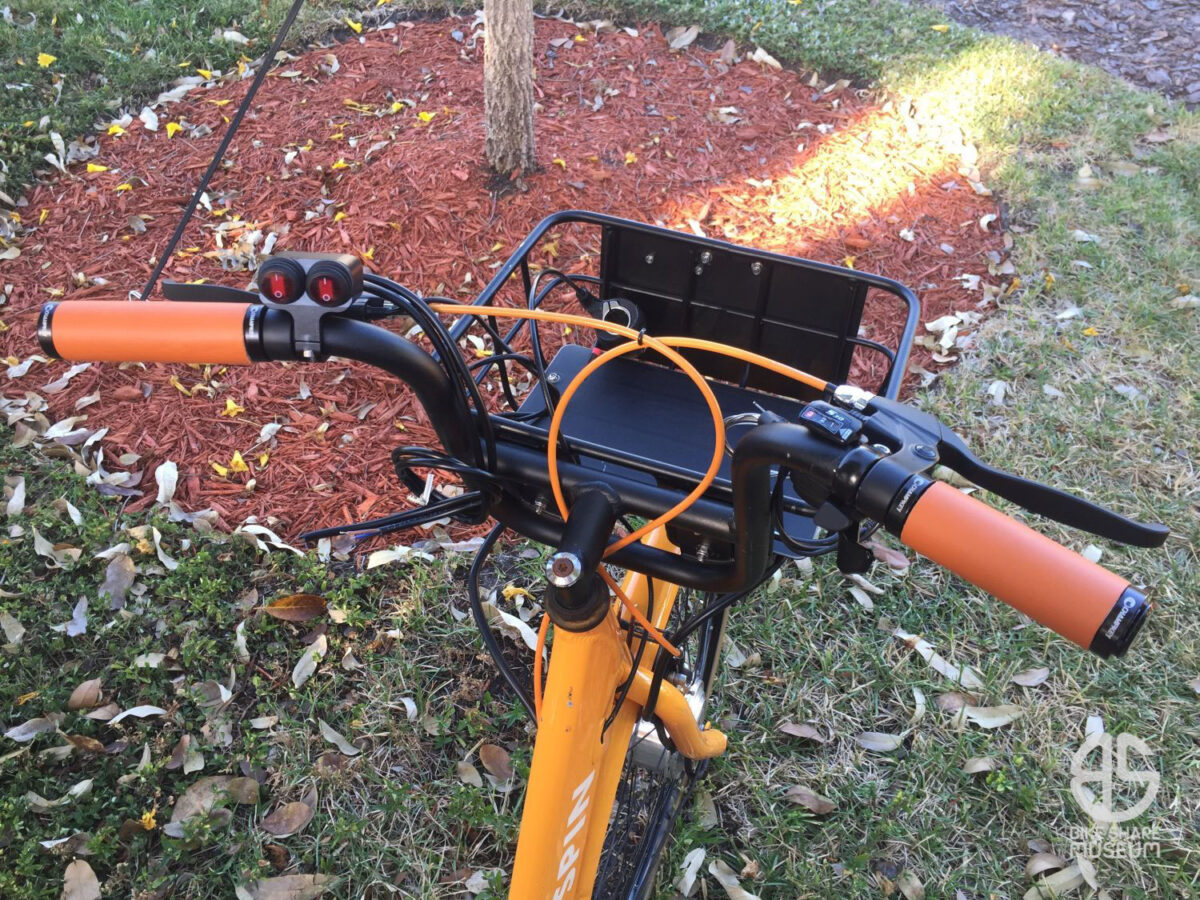
I also fitted some switches to the handlebar for power cutout and (eventually) the lighting. Admittedly, half of the fun is just having these James Bond buttons in the first place. The original twist-grip was replaced with a Sturmey-Archer DLS30 trigger shifter too. I originally wanted to use an original Sturmey thumb shifter, but the fairly wide and flush design of the original shifter just didn’t work with the modern brake lever.
I also consolidated the cables in 8mm and 12mm spiral wrap. It’s not perfect, but it tidies things up.
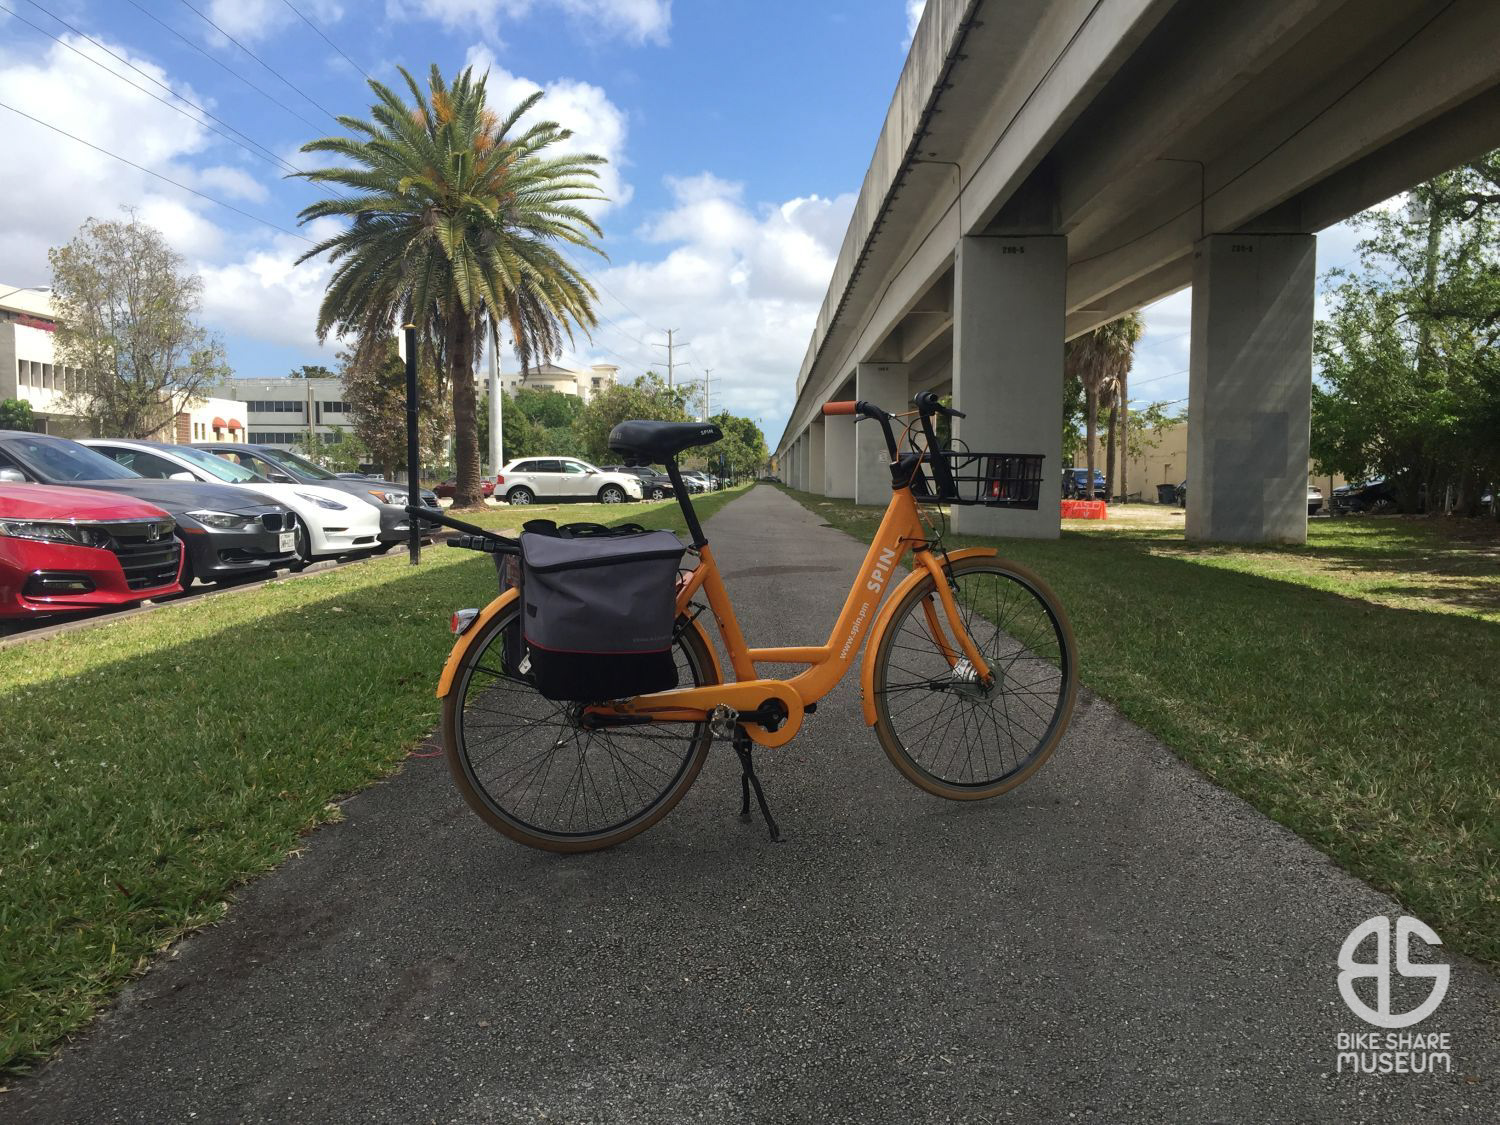
By this point, I already had the front wheel re-laced. Coincidentally, I had to use the bike a day later – without e-assist – to get some video b-roll of our M-Path, a.k.a. the future Underline. I took a few nice pictures while I was at it:
Since the 8FUN SWXK hub doesn’t have a hall sensor, I decided to use conventional, silicone insulated 15 AWG / 3 conductor wire. Plus, the seller of the HiGo Z910 cable went full vaporware status on me, so the choice was obvious. The cable is fairly thick, but I prefer to have thicker wires and extra insulation than the other way around.
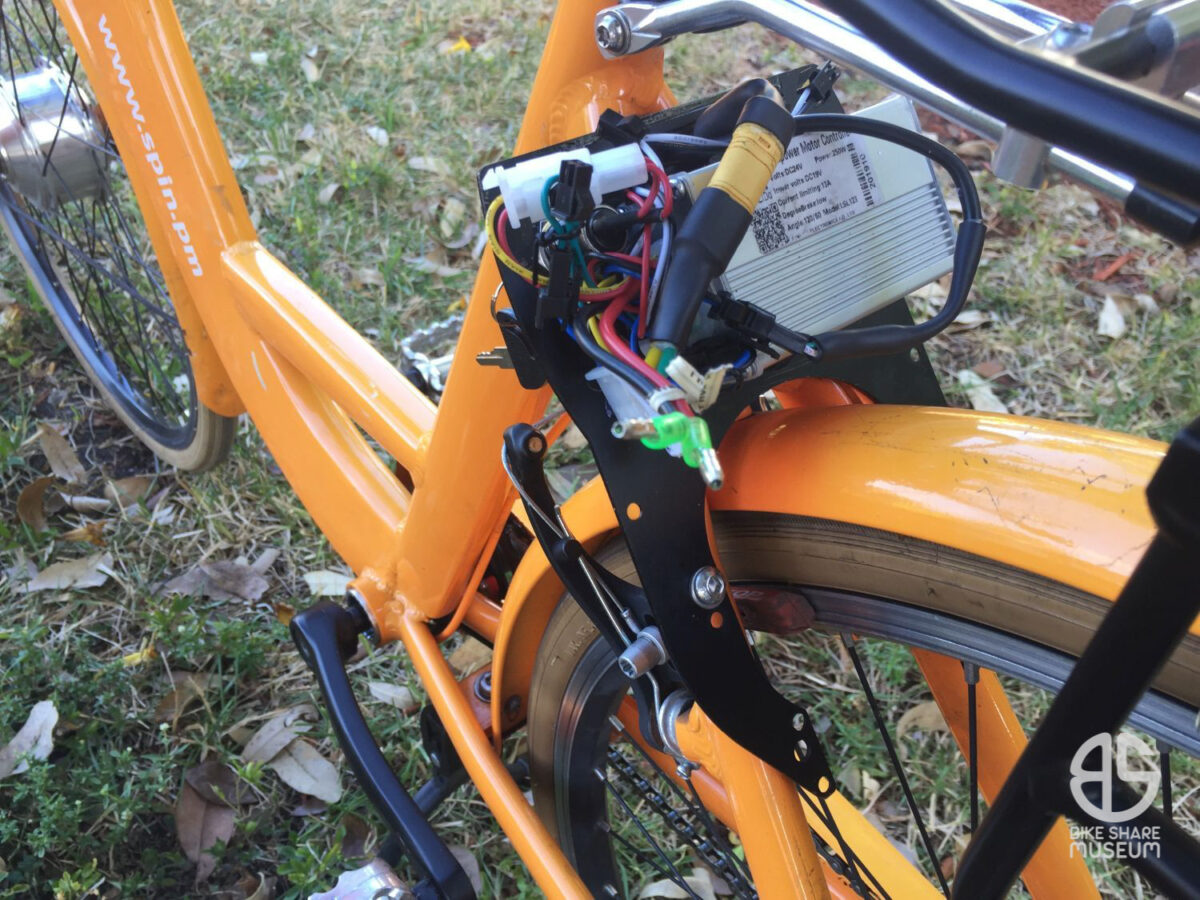
And here’s the rat’s nest from the Amazon-sourced, PAS-capable controller that replaced the Hilltopper. Though the controller and everything else is currently crammed into the original lock housing, I’ve considered relocating it to the front.
It didn’t take long before it was running!
The e-Spin is alive! #bikeshare pic.twitter.com/m4yxdMpsKk
— Bike Share Museum (@bikesharemuseum) March 28, 2020
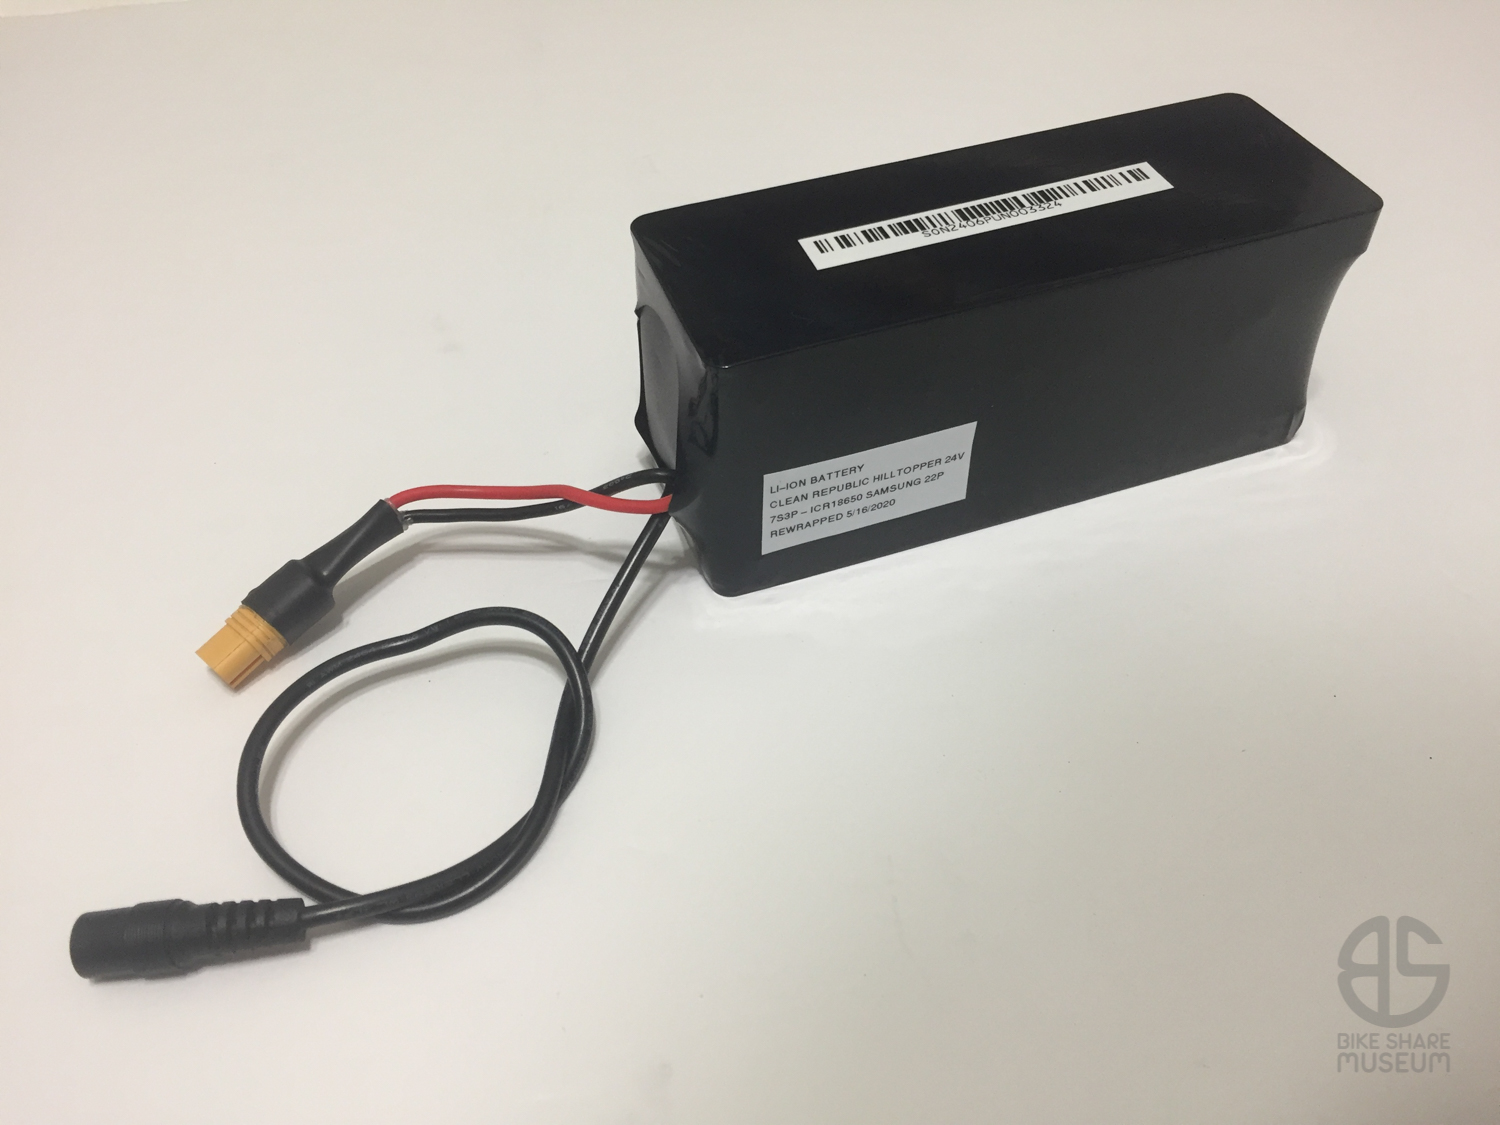
Sorting out the battery came next. At this point, I didn’t know the kit was a Hilltopper, and the battery’s identification codes did not correspond to anything online. I had to remove the PVC wrap to find out that it’s a 21 cell pack of Samsung ICR 18650 22P’s. Incidentally, don’t ever do this unless you really know what you are doing.
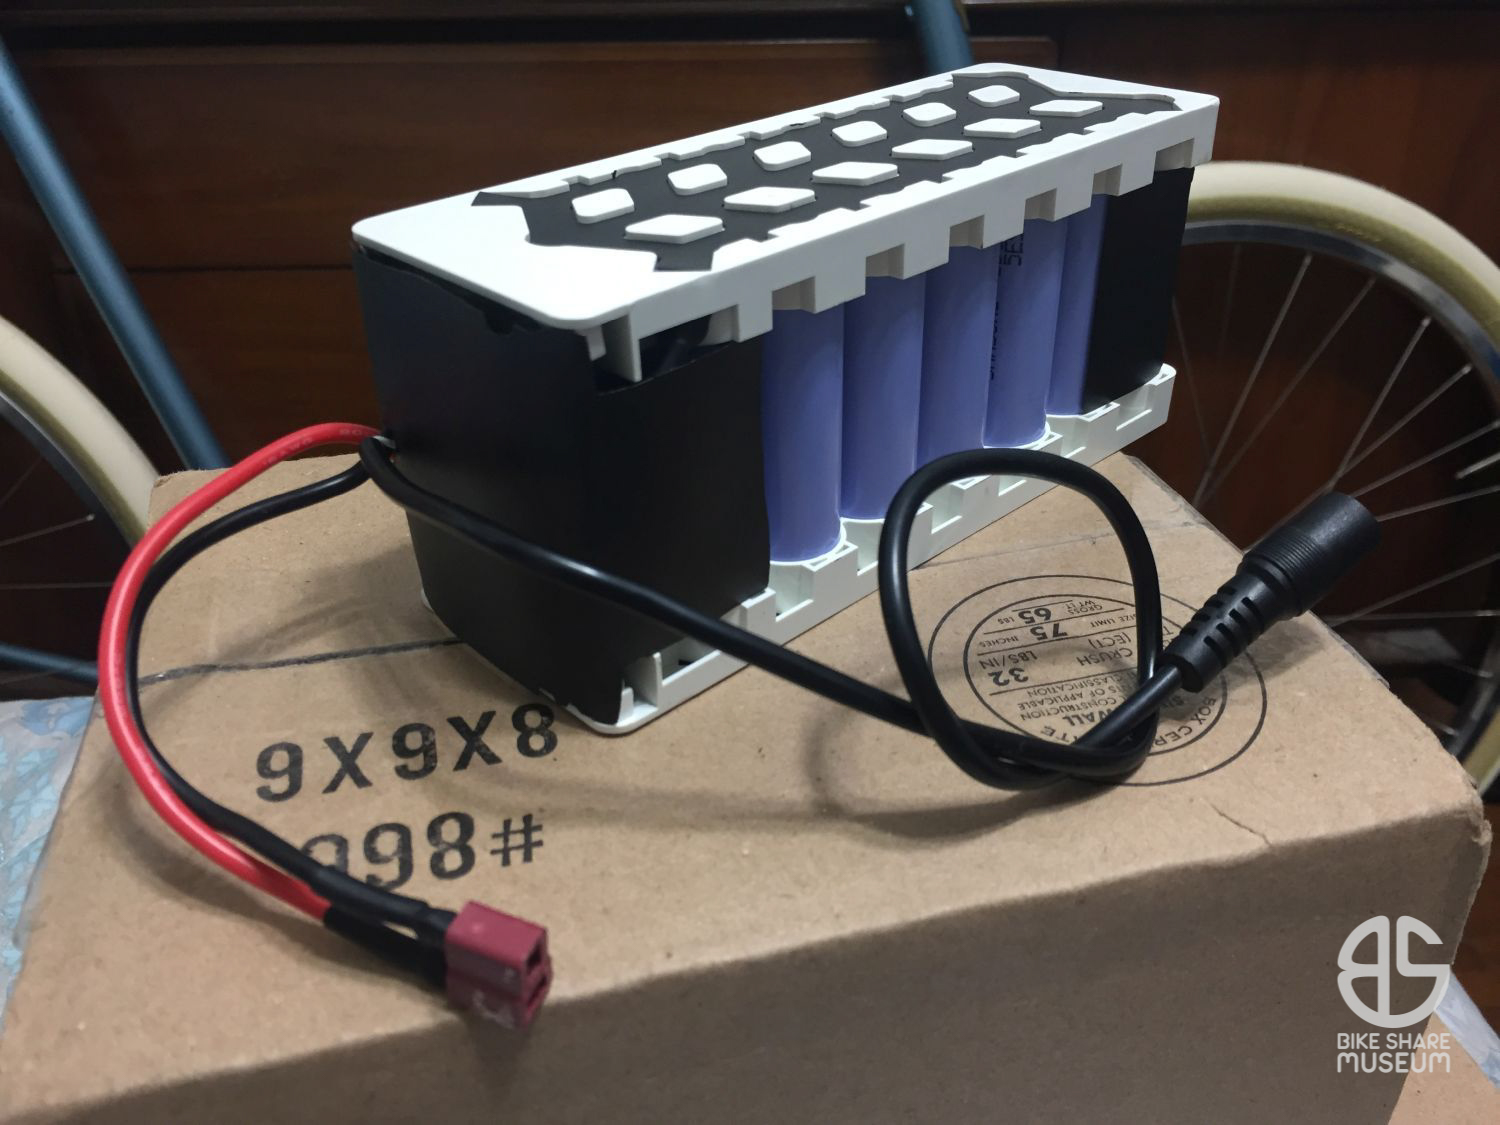

Li-Ion battery packs are bombs if you short them out or damage them, and if you have to ask any questions about how to open a multi-cell pack, you shouldn’t be opening one.
Thankfully, the Hilltopper pack turned out to be exceptionally well insulated and designed.
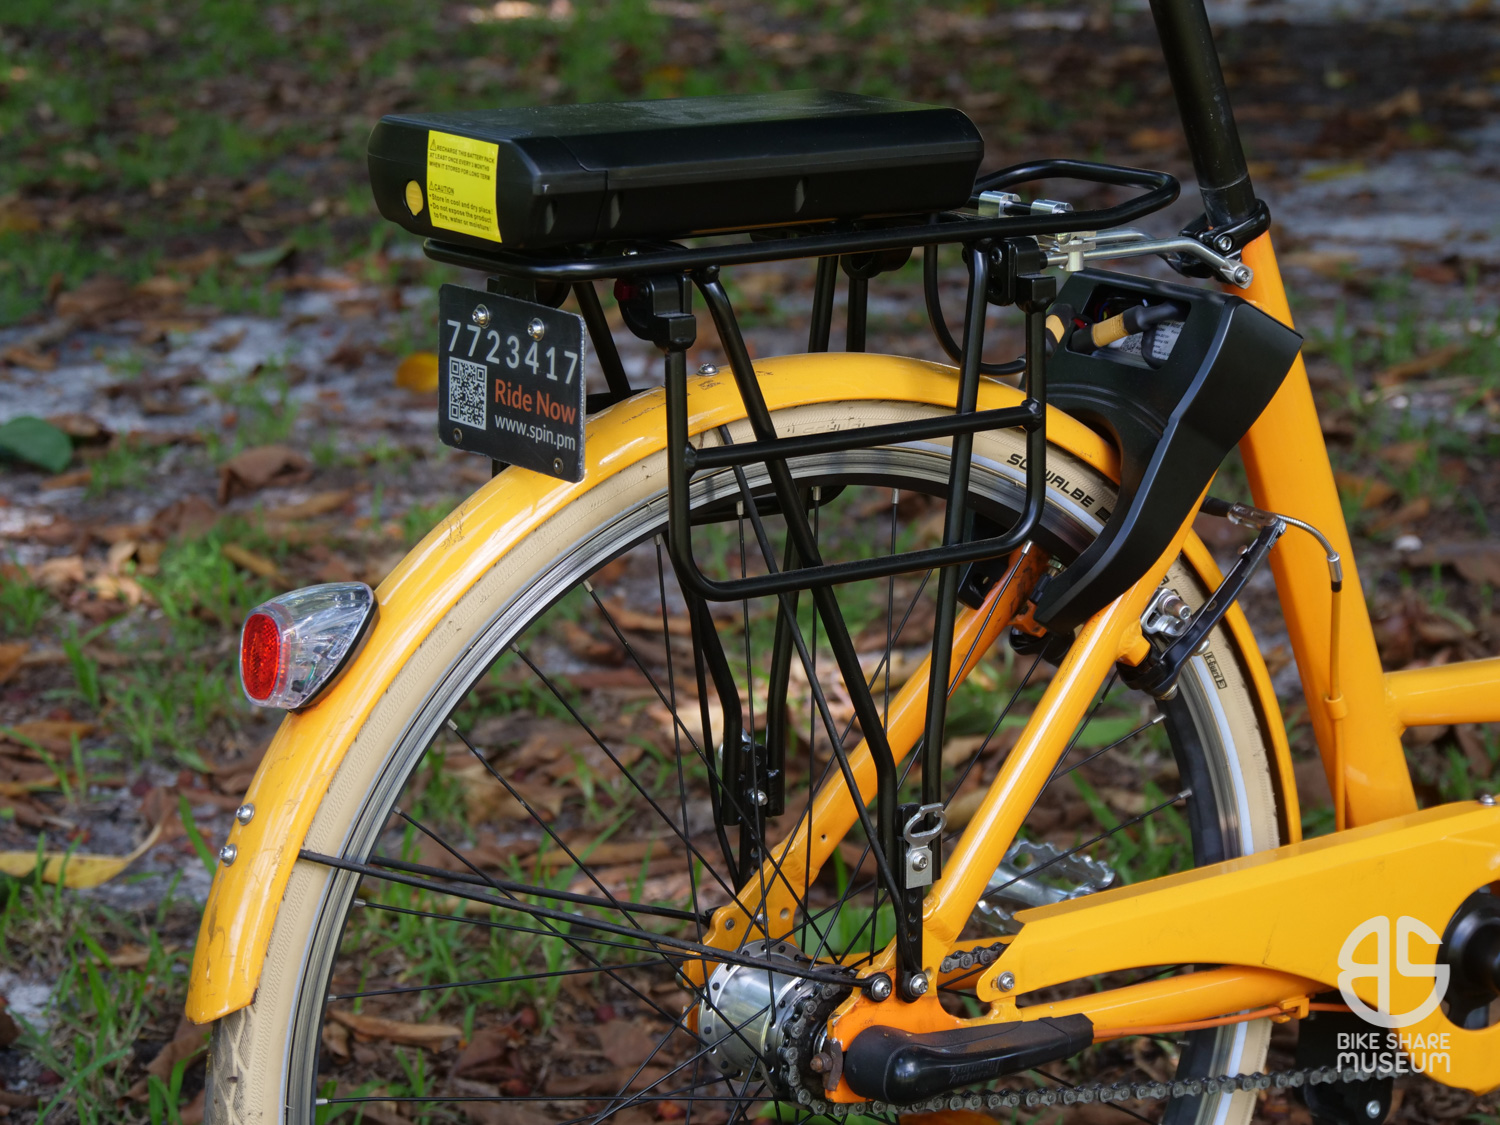
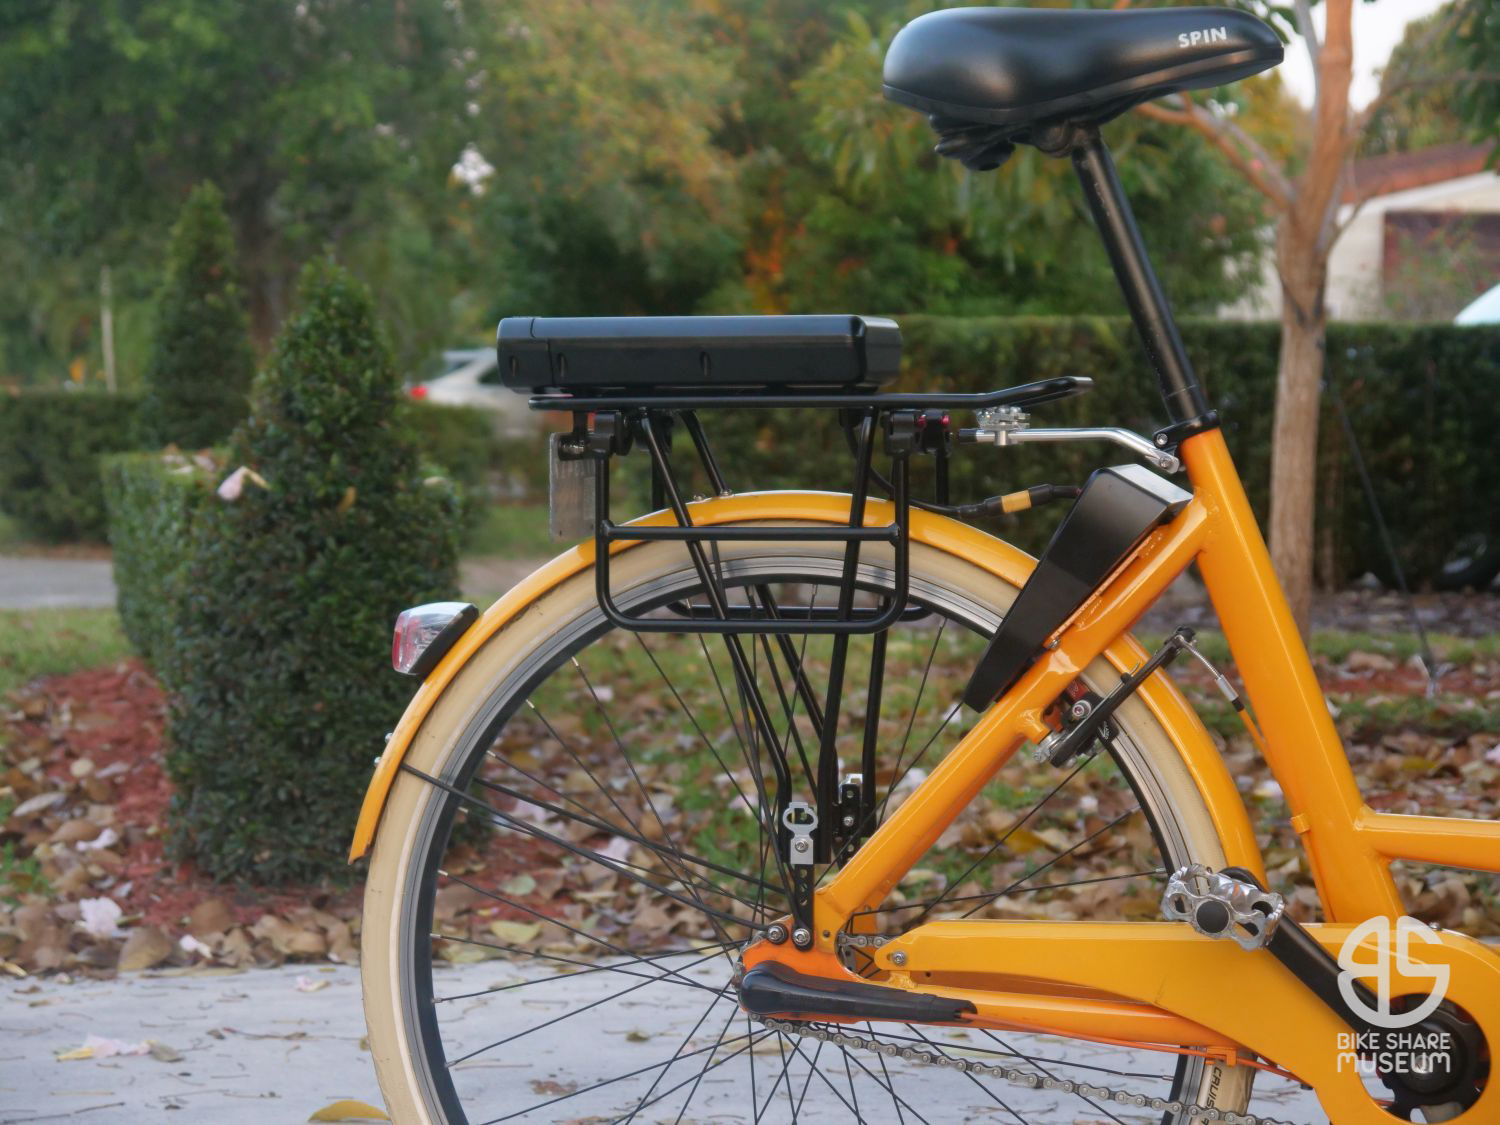
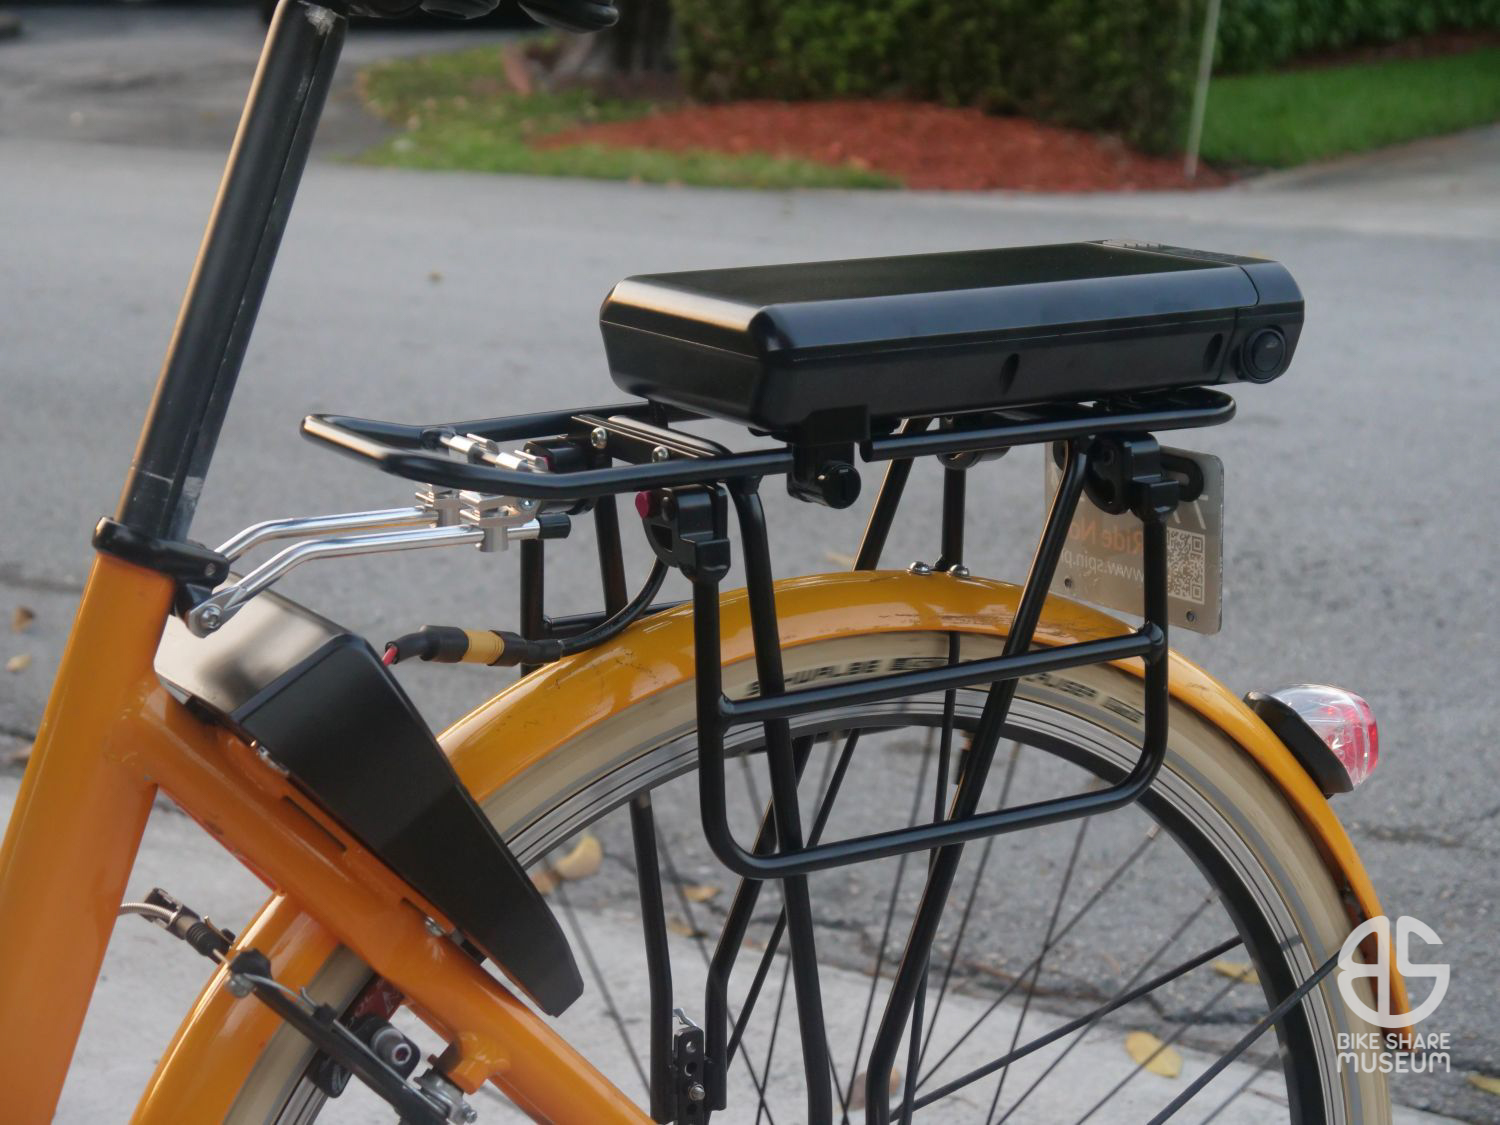
While I did want to aim for low cost with this build, I decided not to use this battery for the final build. I went ahead and bought a Bix Power 24V battery pack – mostly because it looks good, and I knew I could adapt it to the rear rack. It gives battery capacity at the push of a button and also came with a charger that is compatible with the original Hilltopper pack.
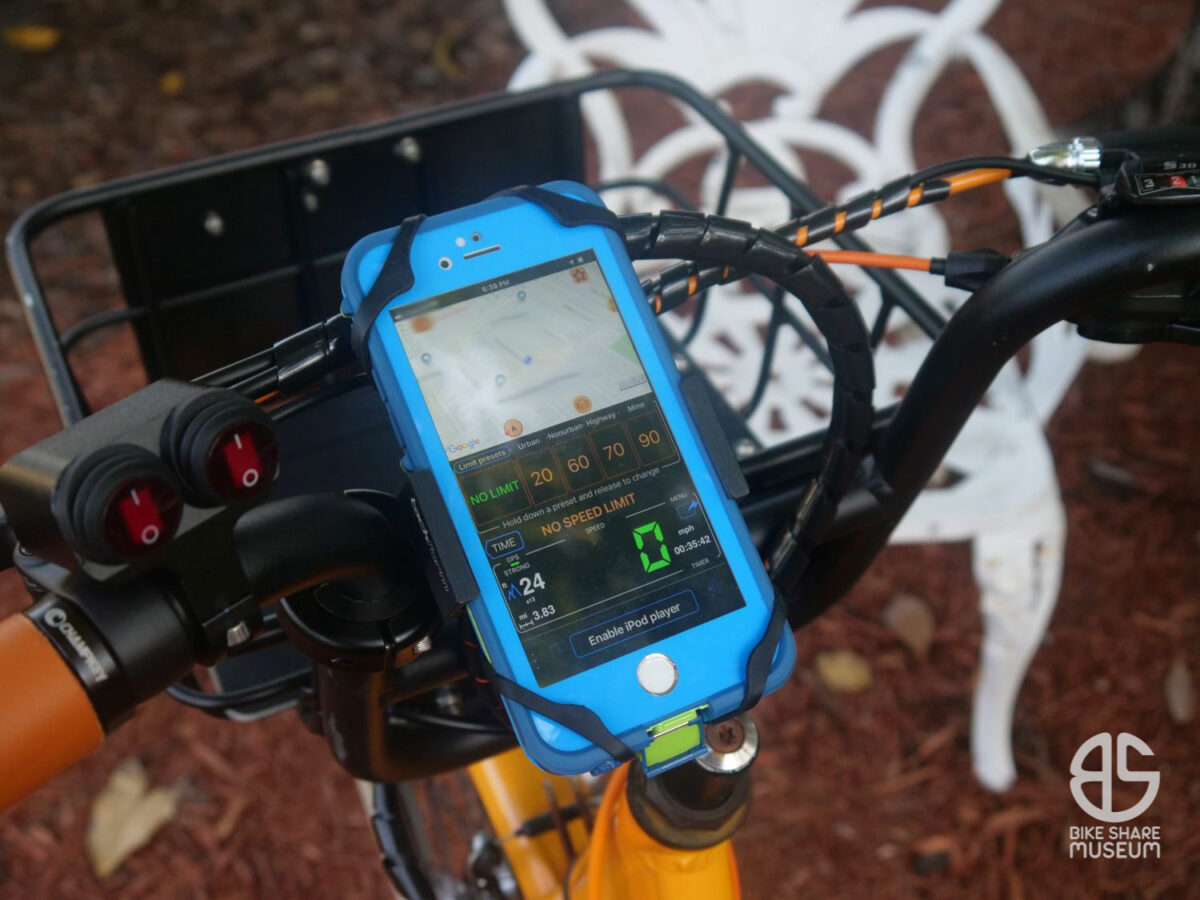
I also decided to install a phone holder to the bars. Gets the annoying little Pop-Tart off my belt for once.
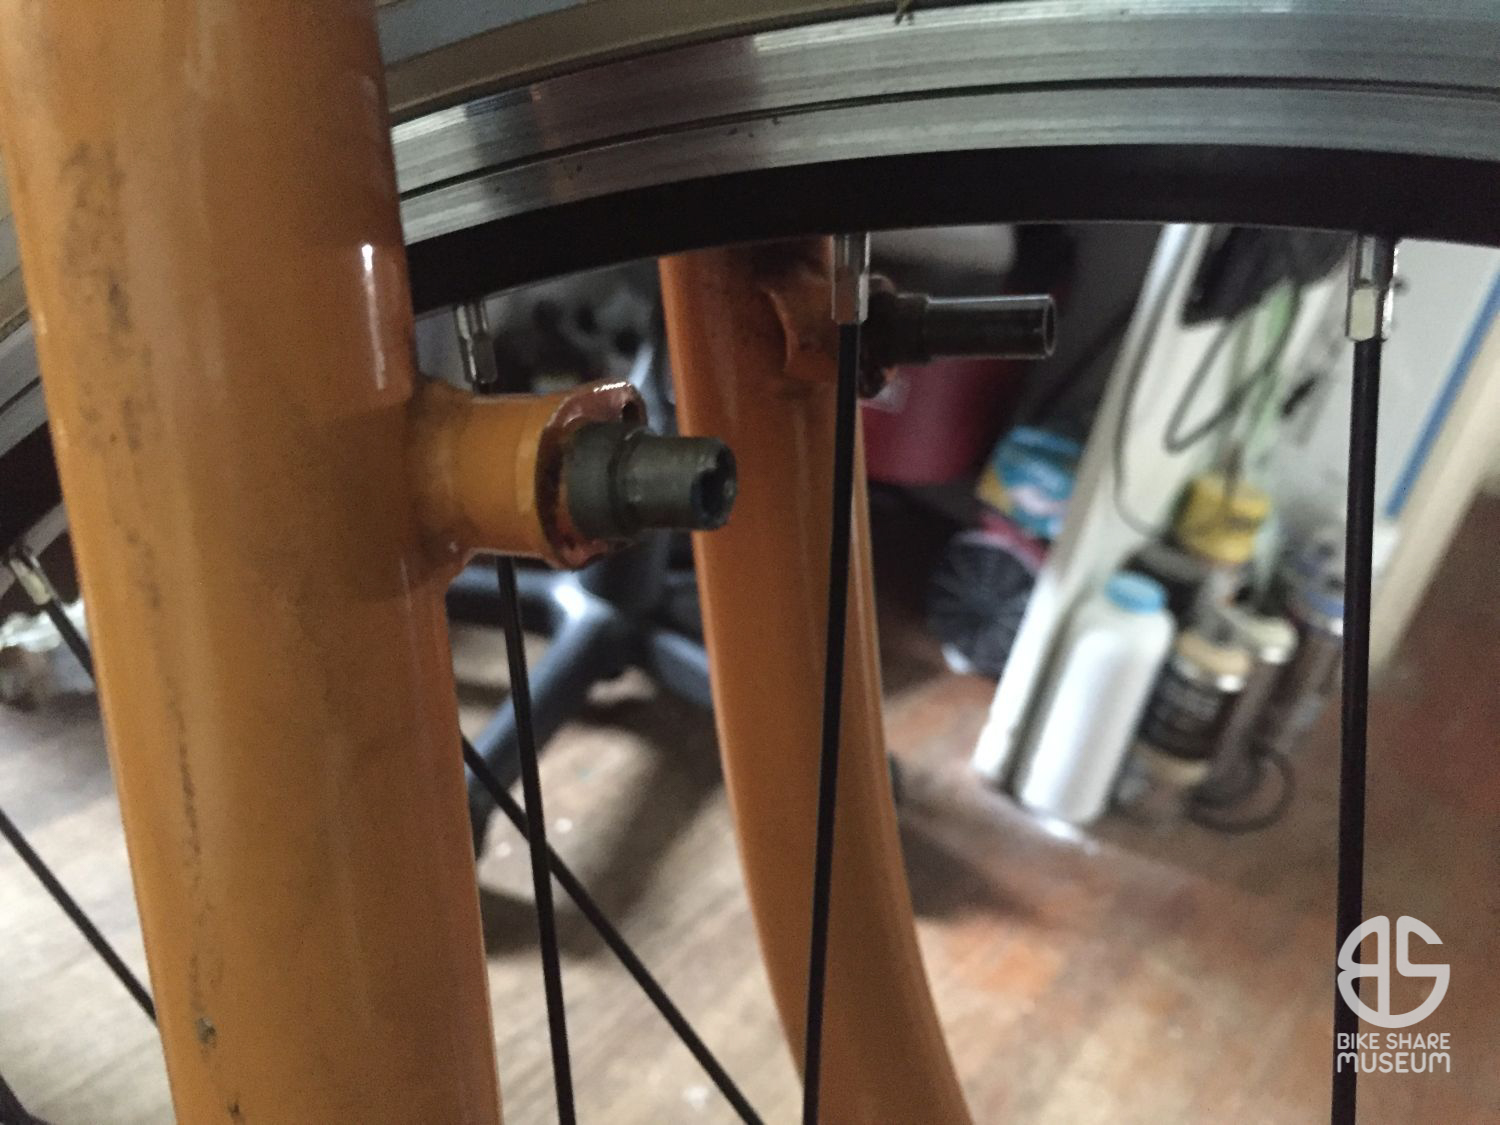
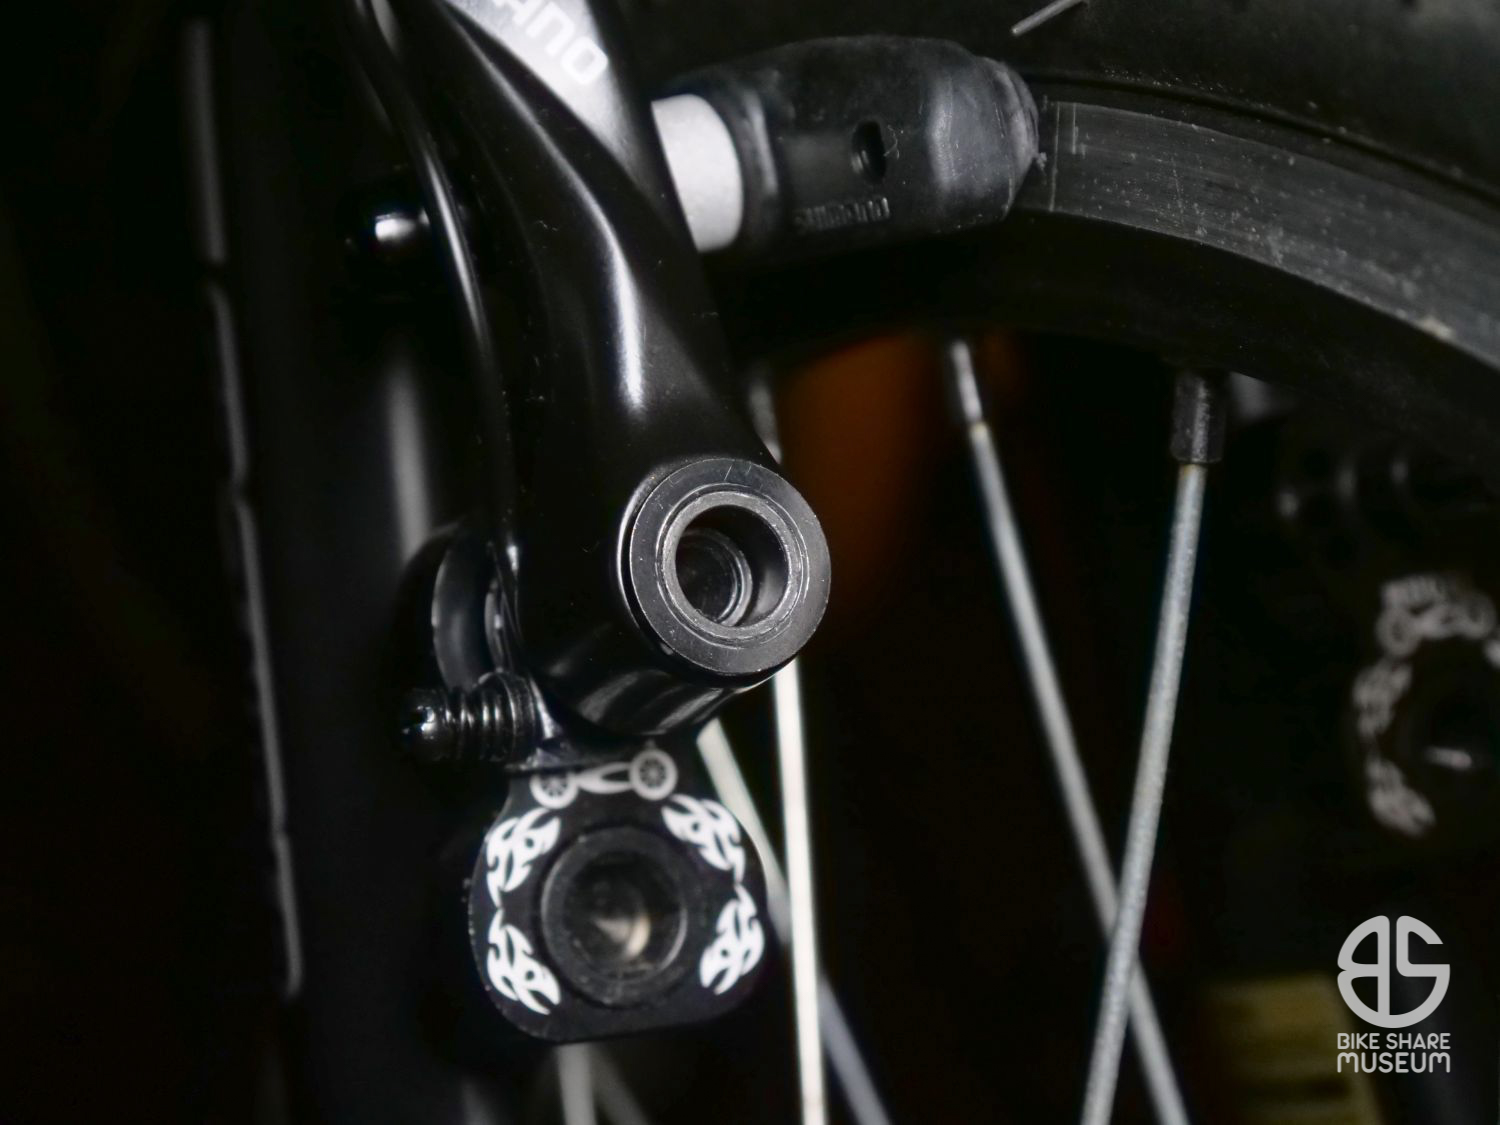
Then – disaster. While trying to upgrade the V-brakes with a set of current Shimanos, one of the brake studs broke off the fork.
For some reason (and it’d been so long, I’d forgotten this) Shimano V-brakes don’t sit flush on conventional V-brake studs. They have their own built-in pivot bearing – which, in theory, is a really nice idea – but the dimensions of the inner sleeve ignore conventional V-brake stud standards. Plus, the new set came with mounting bolts only 15mm long, while the original were 20mm. This may not seem like much, but the body of Shimano’s V-brake is so deep that the edge of the brake post winds up buried 5.5mm down in the brake arm.
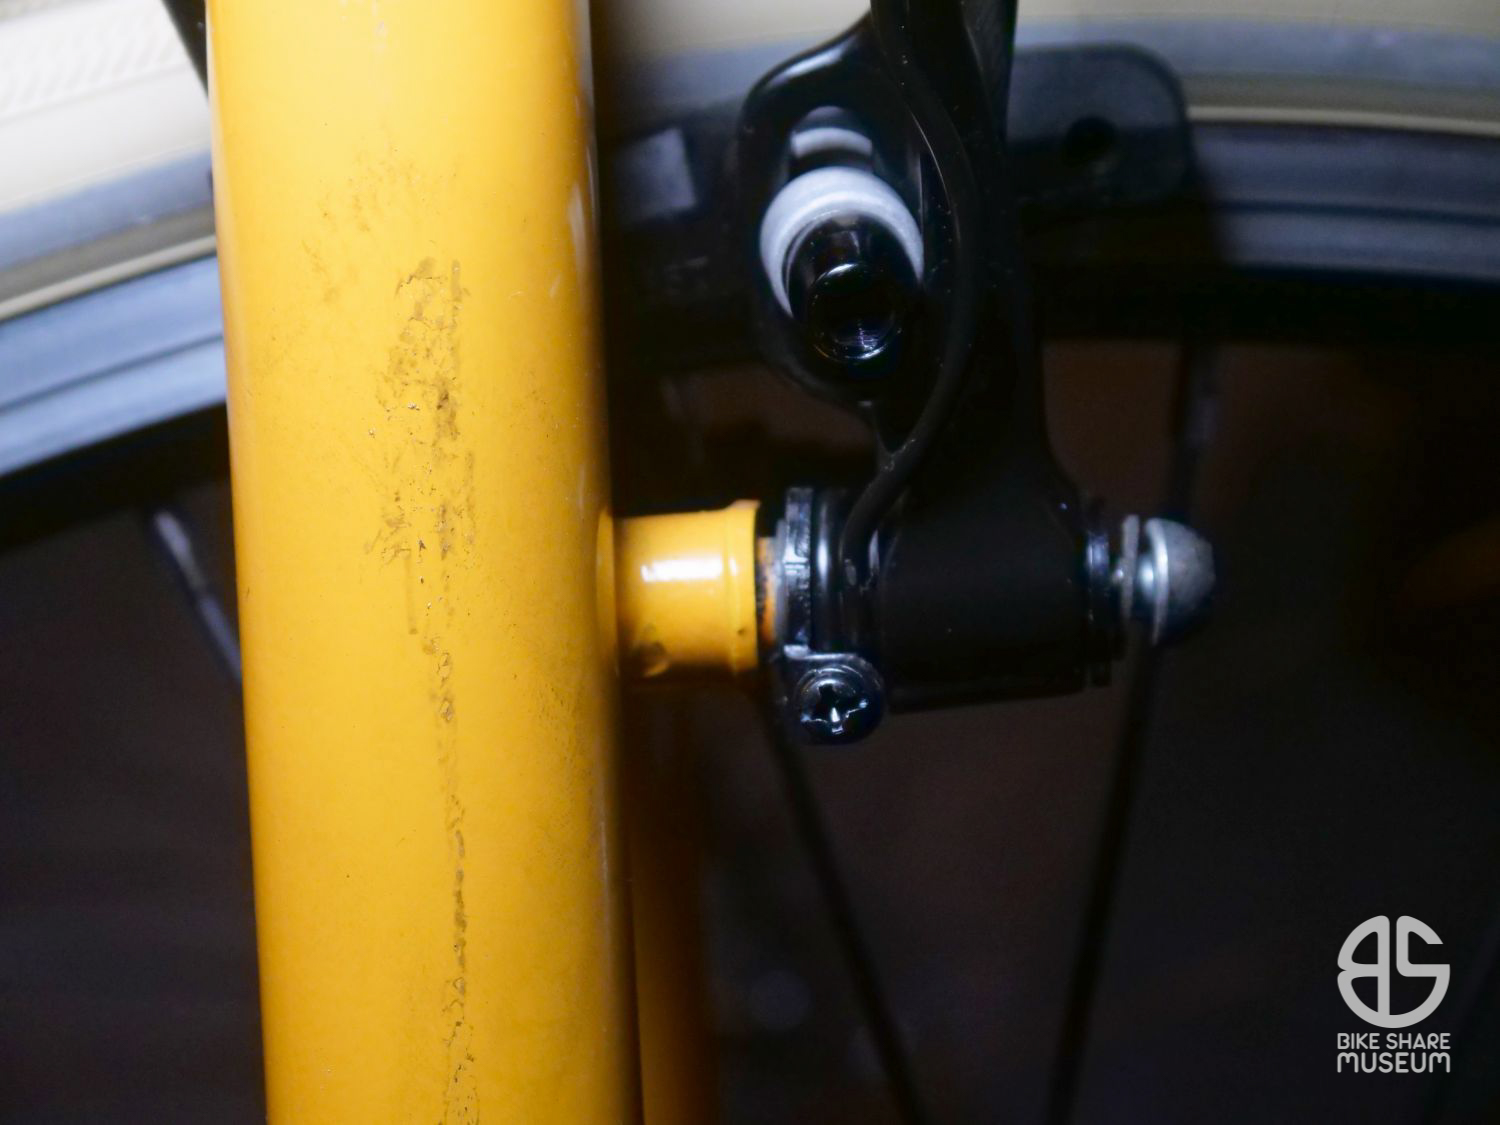
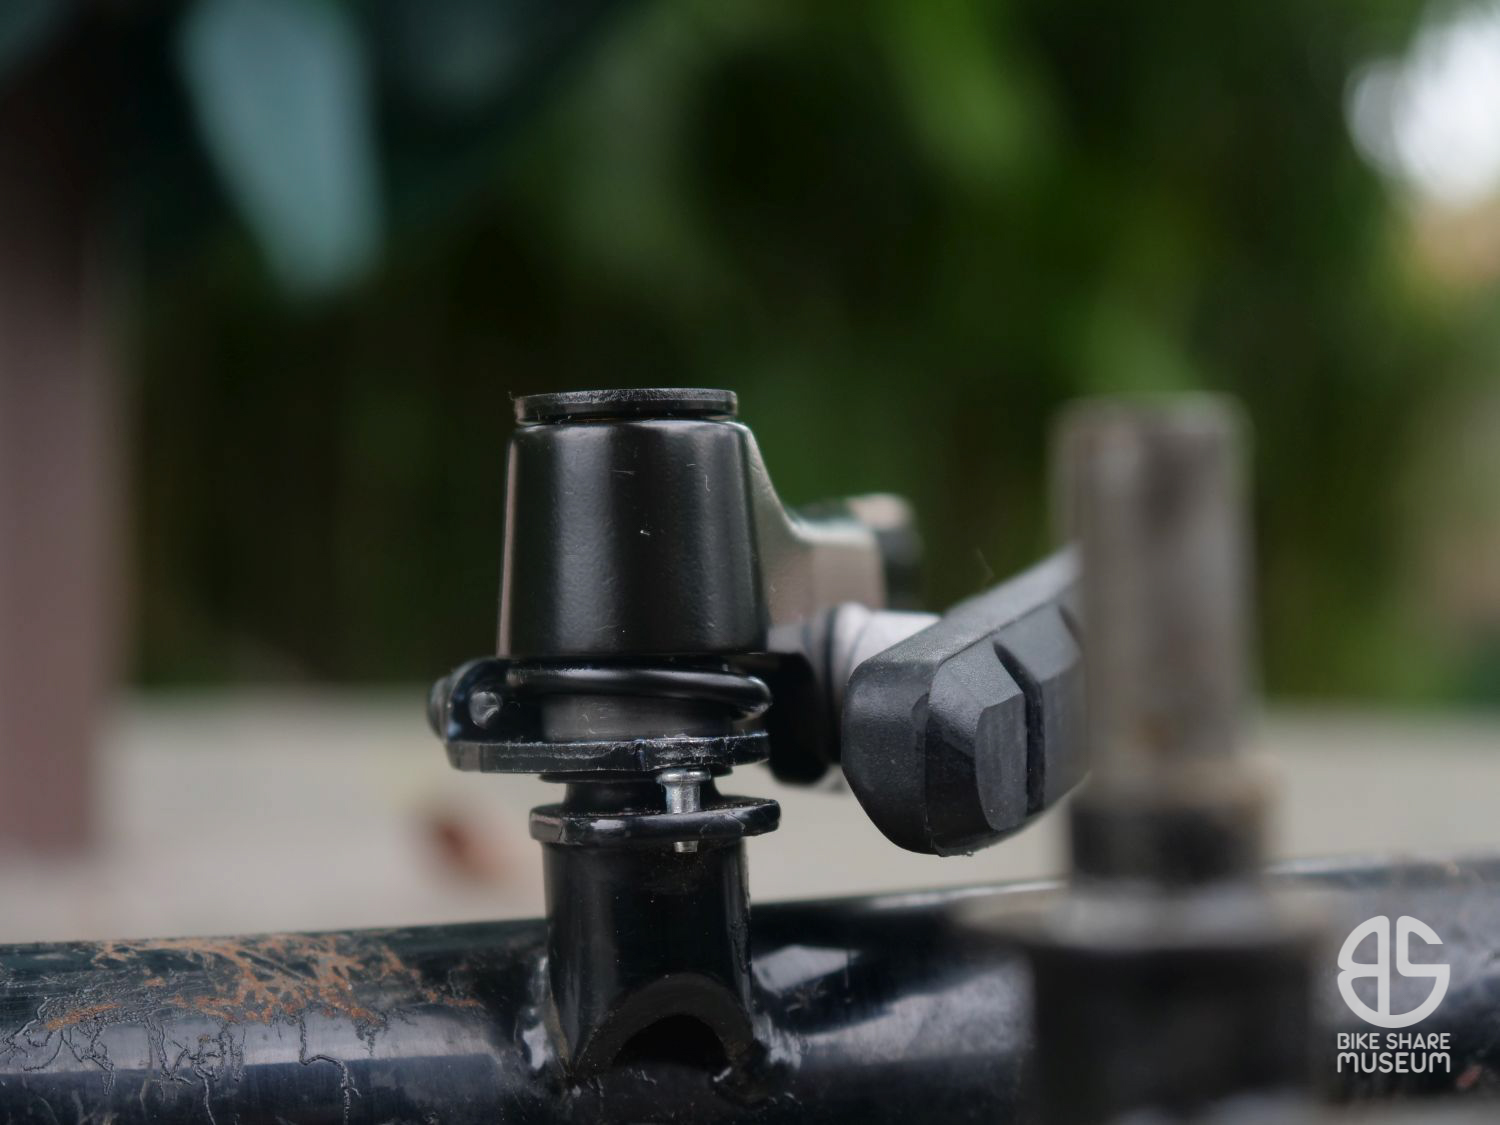
Part of me is convinced that there was some embrittlement in the fork’s stud that was partially responsible for the failure too, but it doesn’t excuse Shimano’s design flaws. Note how the same V-brake arm on another intact stud (fork is from a GT mountain bike) doesn’t seat as one would expect.
At any rate, I had to swap the fork with one spare Gen 2 parts bike I was lucky enough to have on hand. In doing so, I decided to upgrade the fairly basic headset with a sealed unit – except I couldn’t find any with a thin enough stack height.
And so when stack heights don’t work right…out comes the headtube reamer.

That’s right, I shaved the frame to match the fork. A bit off the bottom and the top compensated perfectly for the increased stack height on both ends.
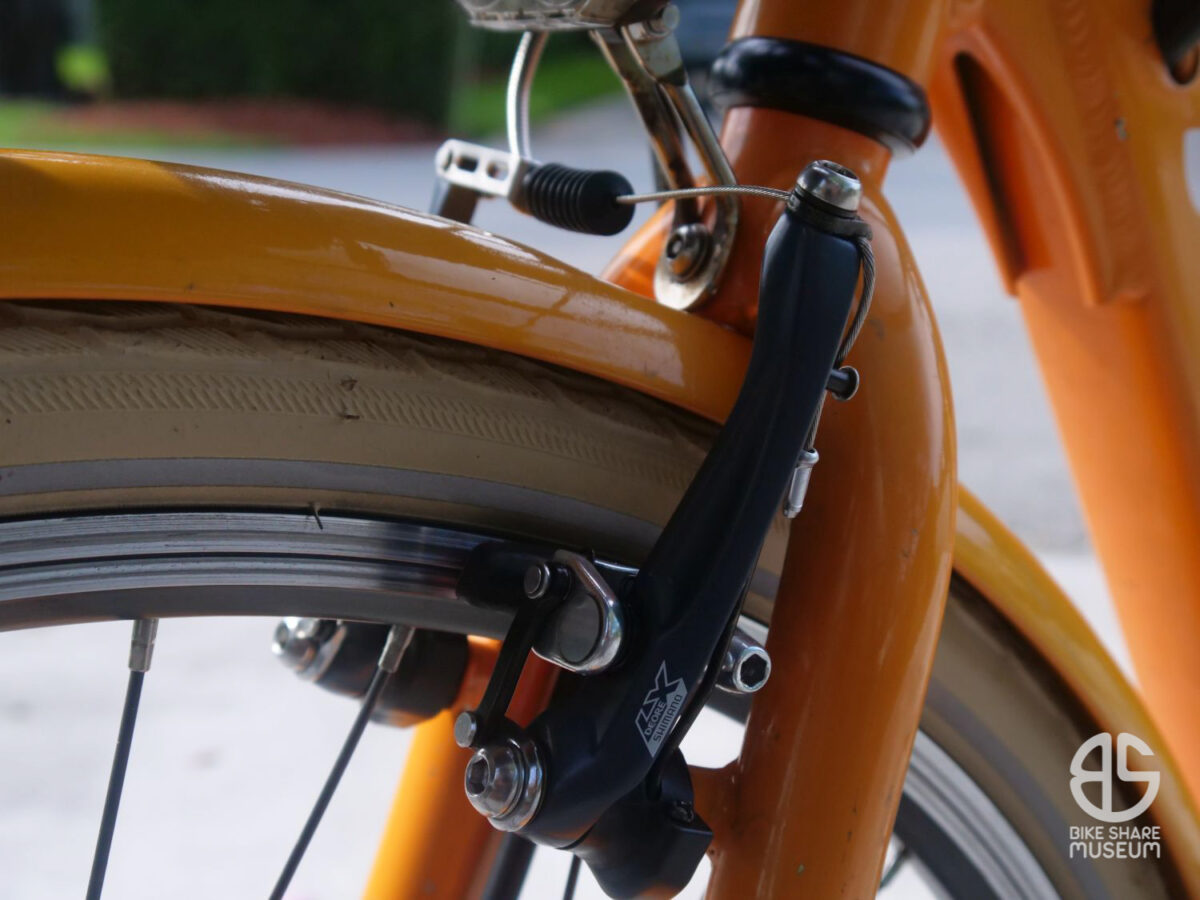
To wrap up the whole build, I chose to replace both brake levers with classic, parallel-push Shimano Deore LX brakes. I was chasing a constant brake squeal that I couldn’t quite nail down, and decided, “Hey, why not?” They’re old enough that they don’t have the same engineering issue as the current levers, and they’re silky smooth in operation. Plus, they’re not as expensive and over the top as a set of Deore XT’s.
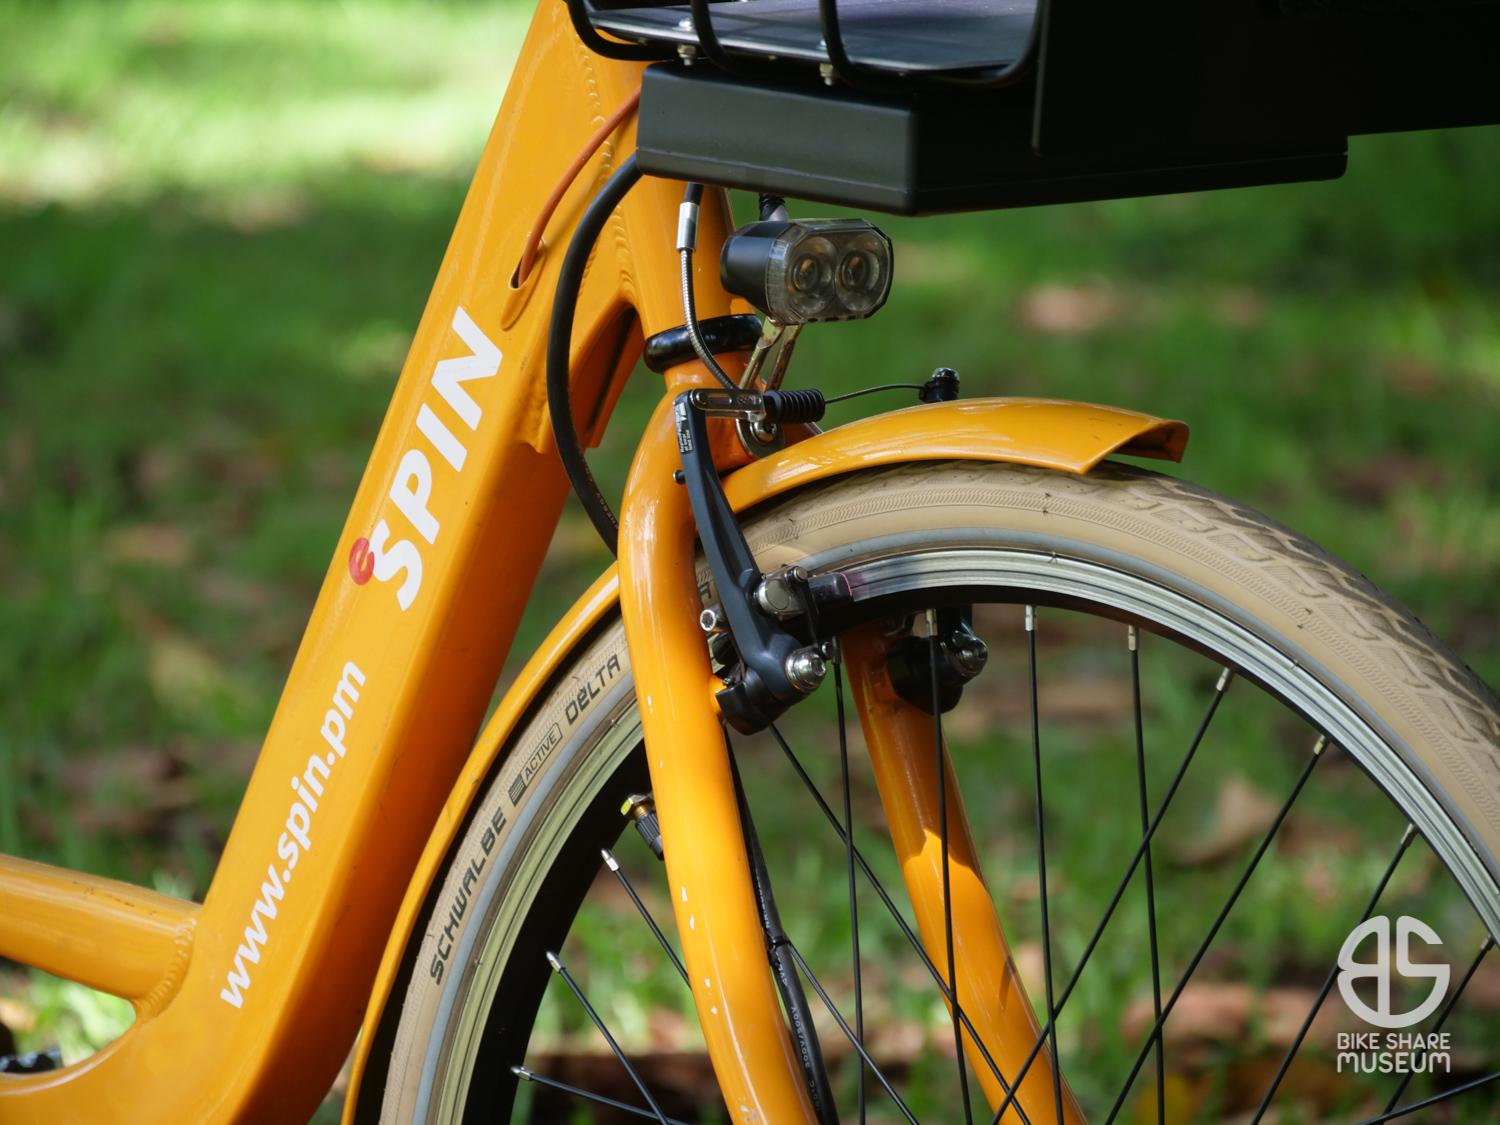
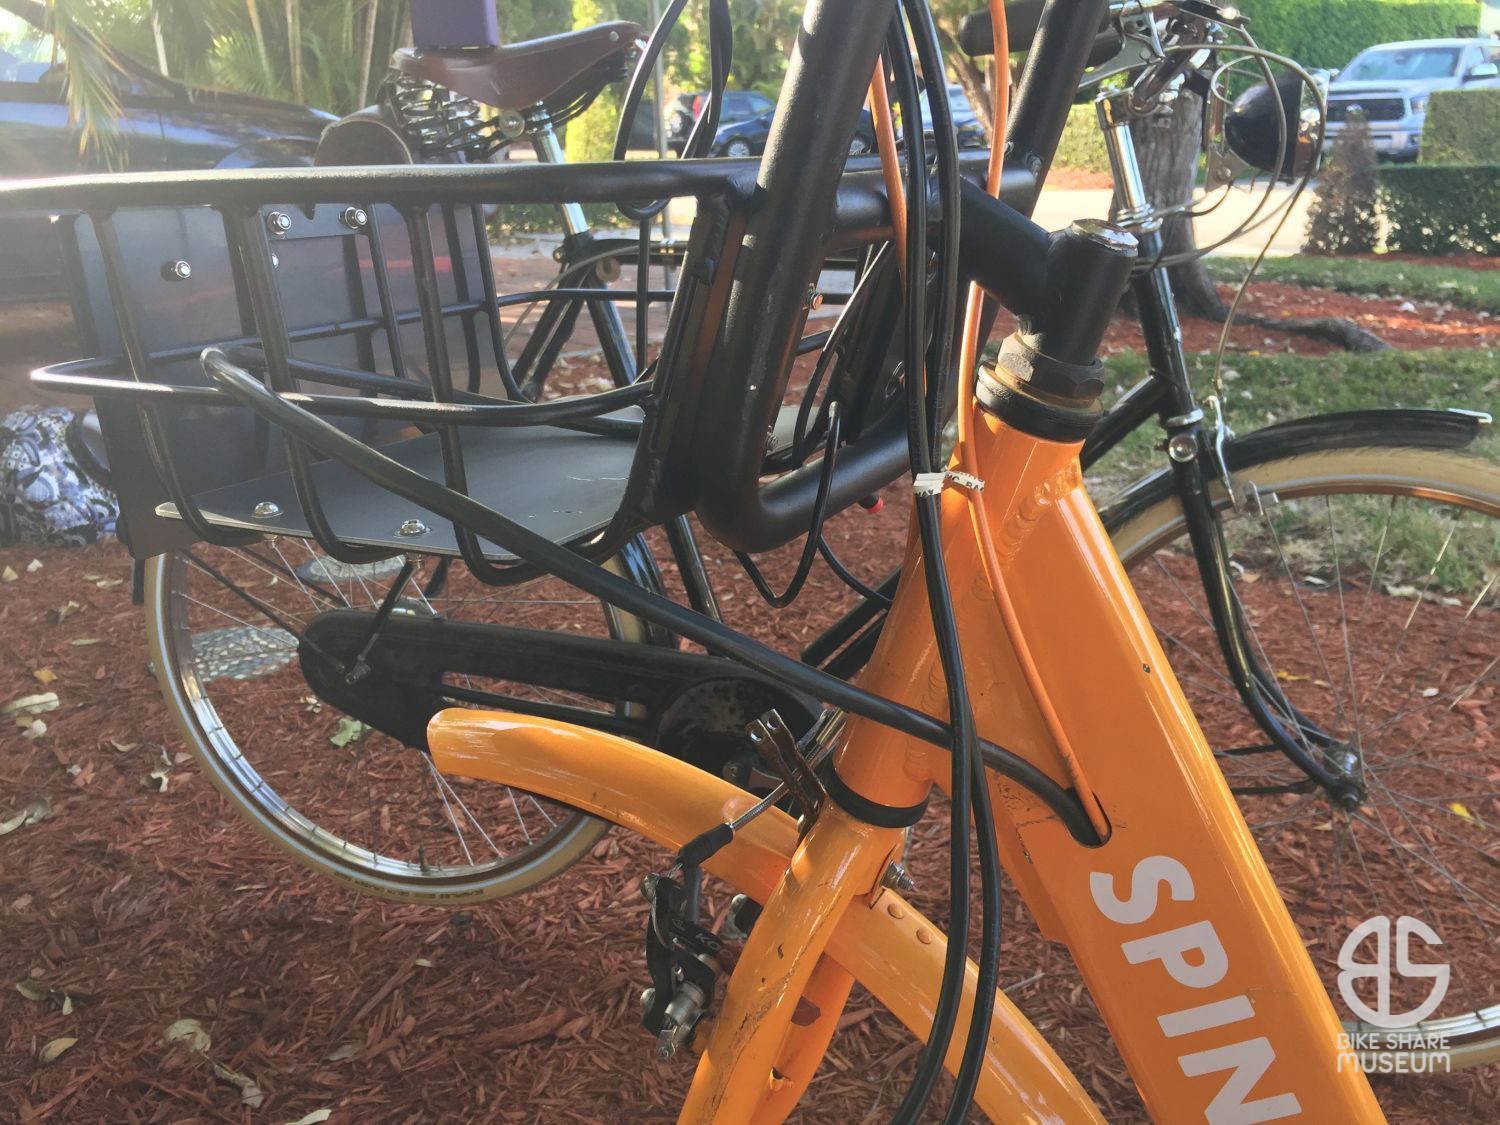
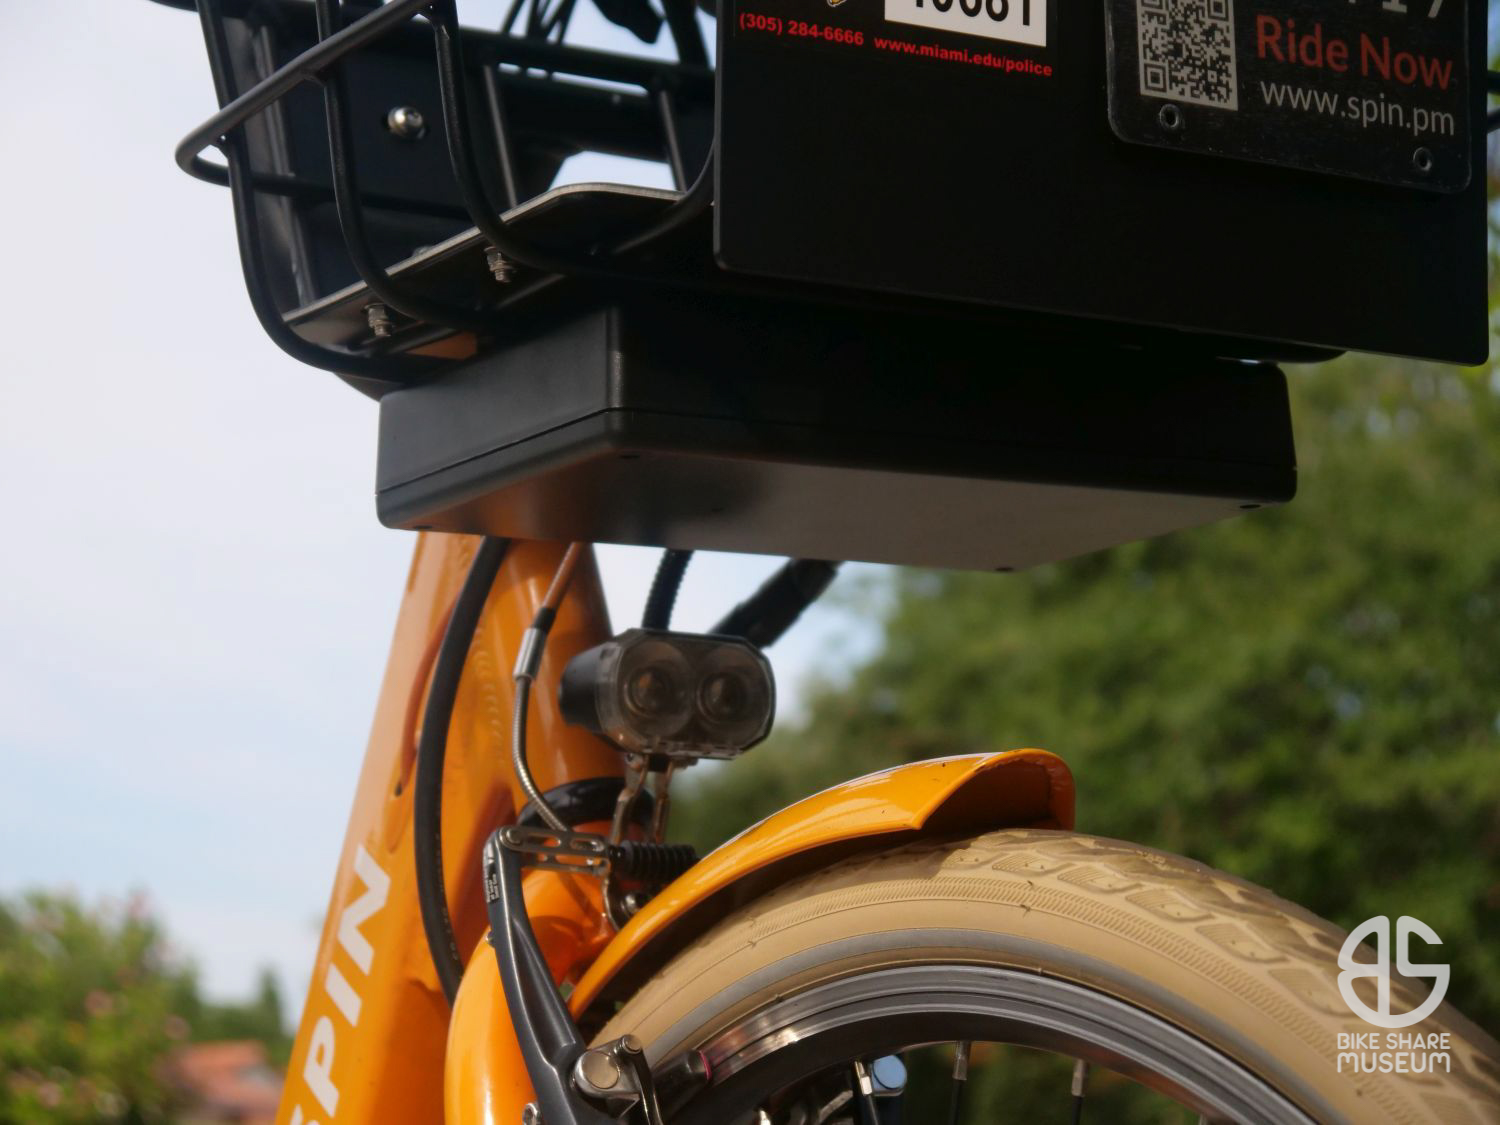
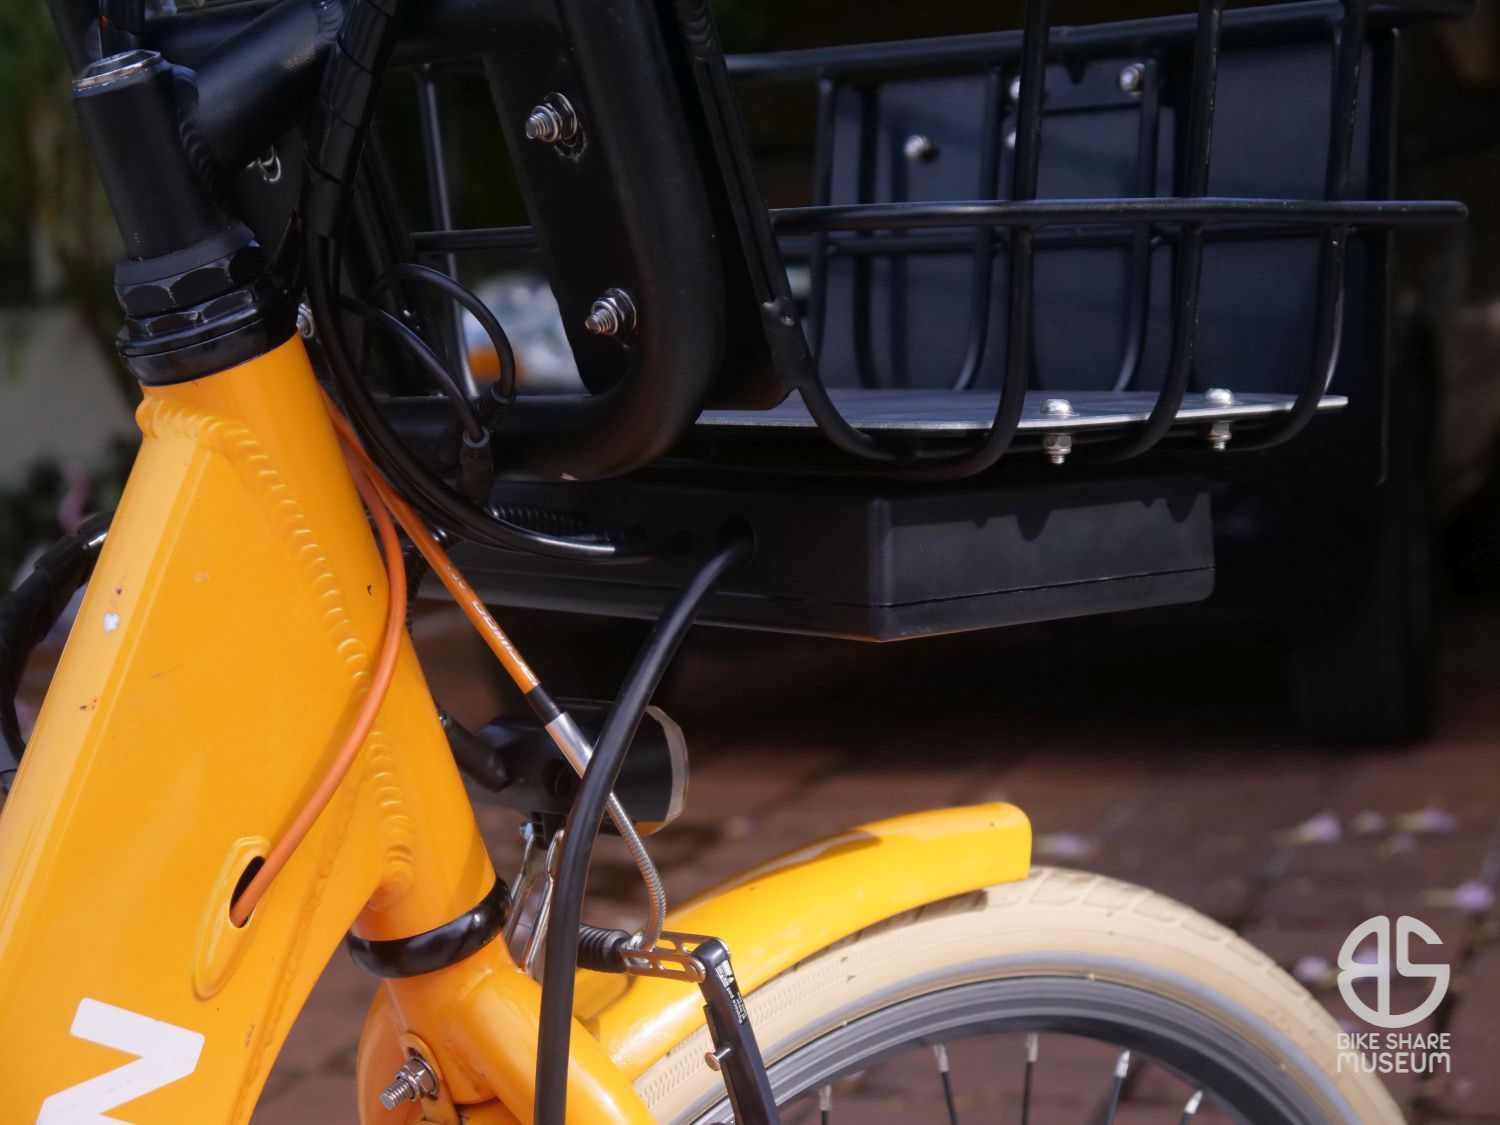
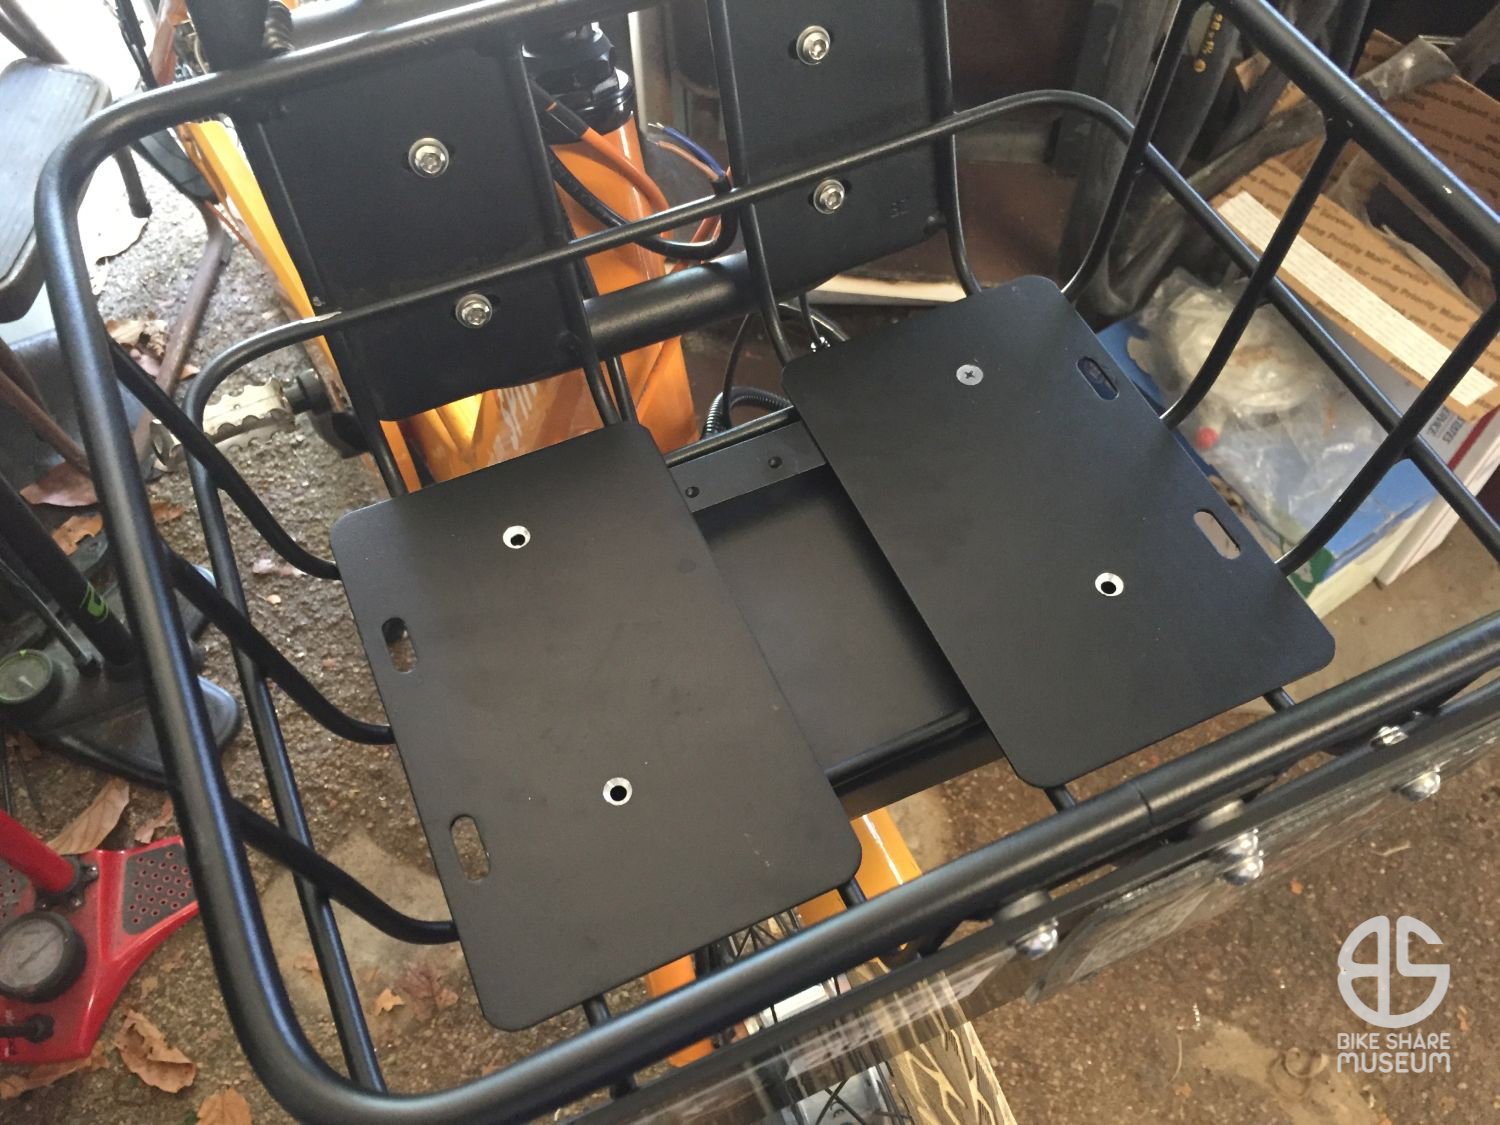
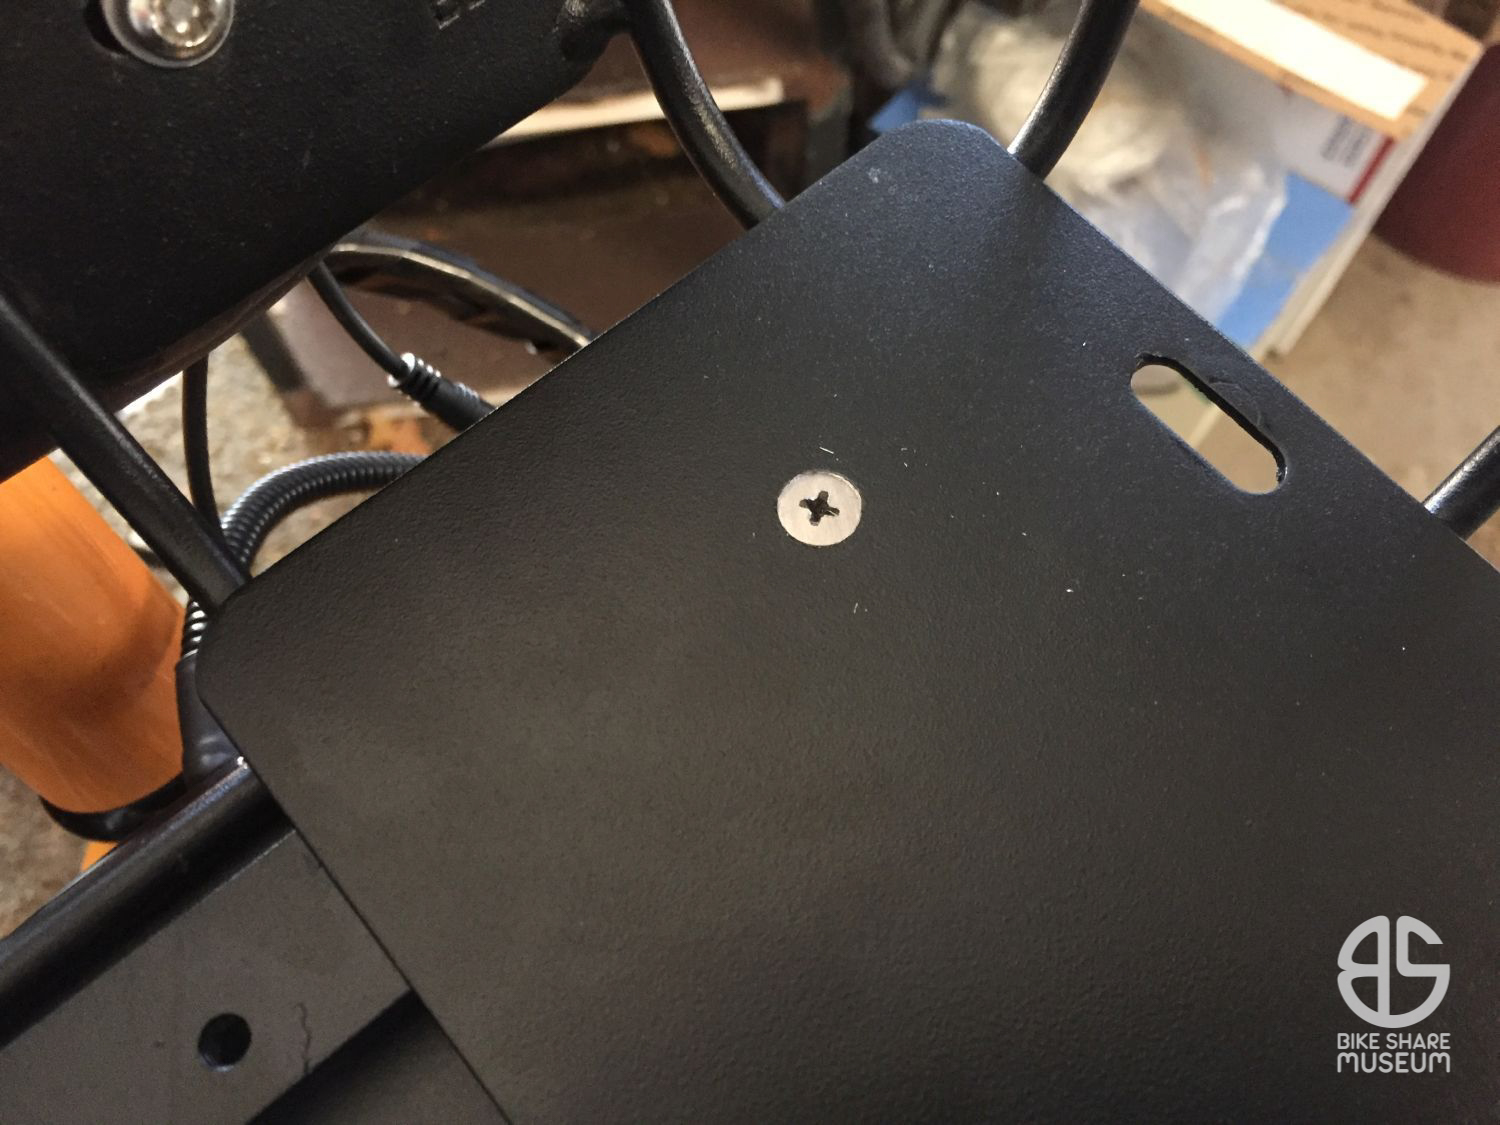
I did decide to tidy up everything in front by fitting a project box under the basket. The screws on top were countersunk and covered with thin, clear peel-and-stick plastic to prevent damage to the solar panel above it.
I still have to find grommets for the cables entering the box though. The right size for the main motor wires only come in a fairly expensive kit from McMaster Carr.
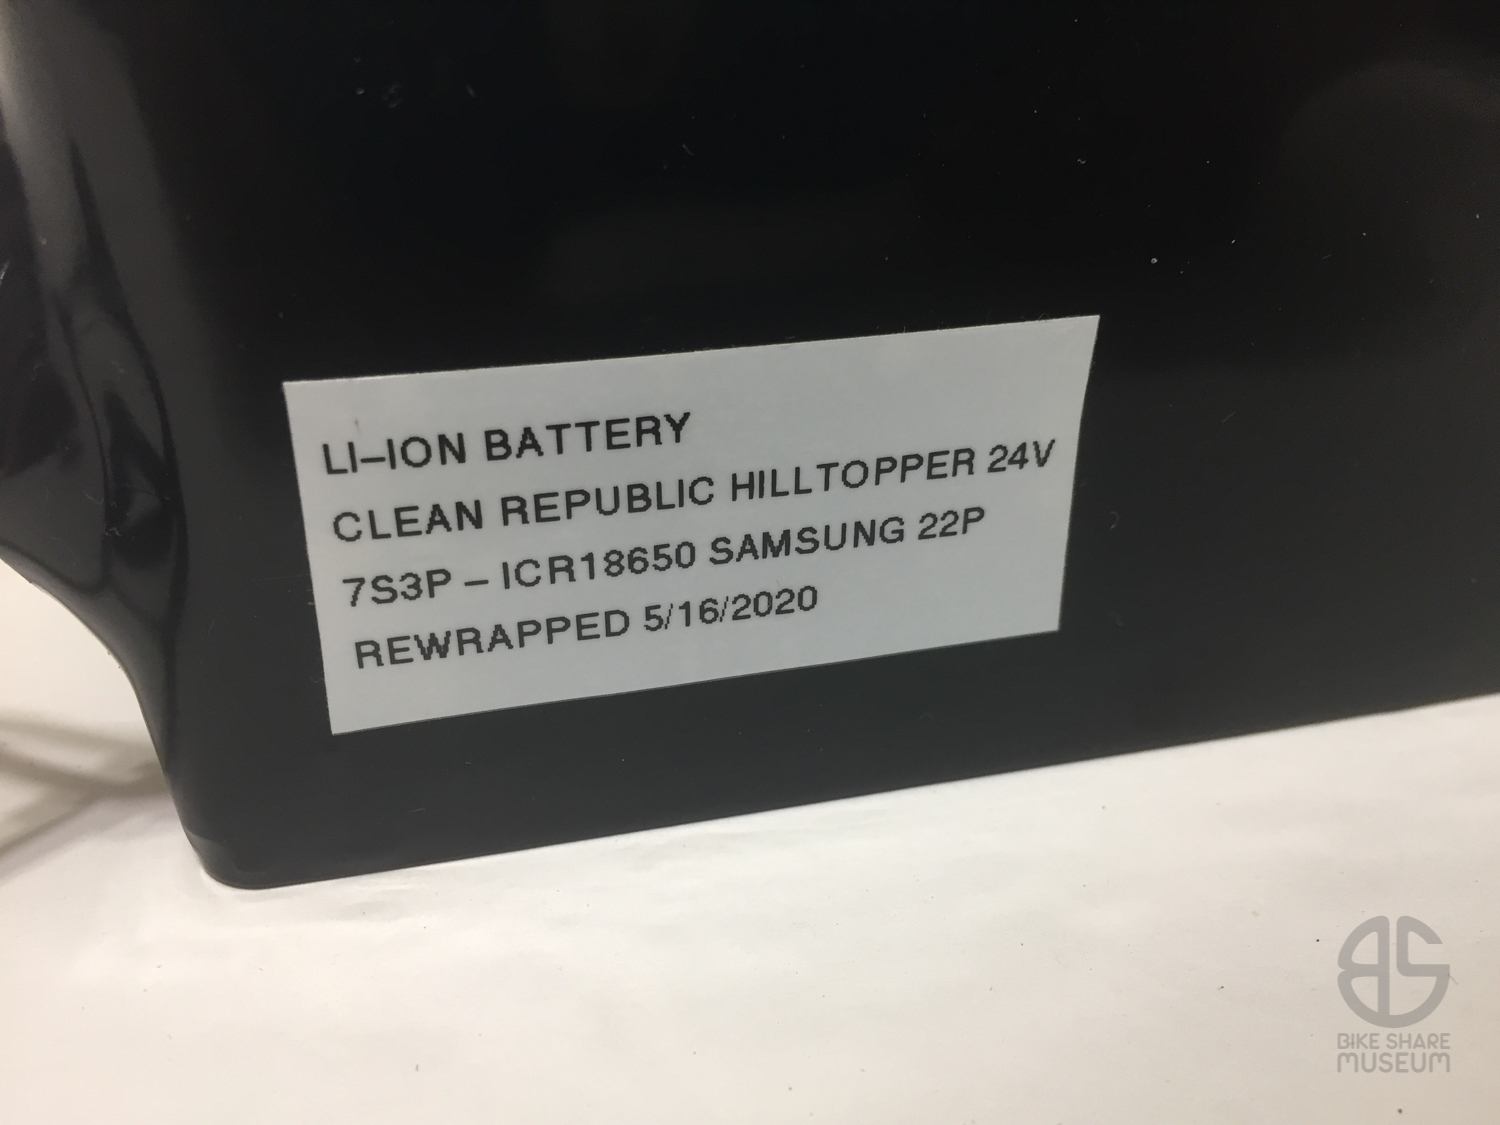
In the meantime, I’ve also successfully recharged the original Hilltopper battery, tested it on the new system, and re-wrapped it. This time, it’s been labeled in such a way that it can be identified quickly:
Now to find another 24V hub to pair it with, and a new frameset to turn into an ebike. Just call me Project City.
In the meantime, I’ve been riding the eSpin about (though not as frequently because of COVID19 – less places to go), and have been getting used to its characteristics. The pedal assist from this controller kicks in after you’ve already started moving, so the motor’s greatest benefit is sustaining a 17-18mph cruising speed.
By comparison, the Bosch mid-drives and Bafang hub drive bikes I’ve ridden (JUMP 5.0/5.5/RideOn) tend to do the opposite: They throttle in quick to take pressure off your knees during initial acceleration, and begin to back off a lot earlier. I’m pretty sure every single one of these used more sophisticated torque sensing bottom brackets instead of the simple PAS system.
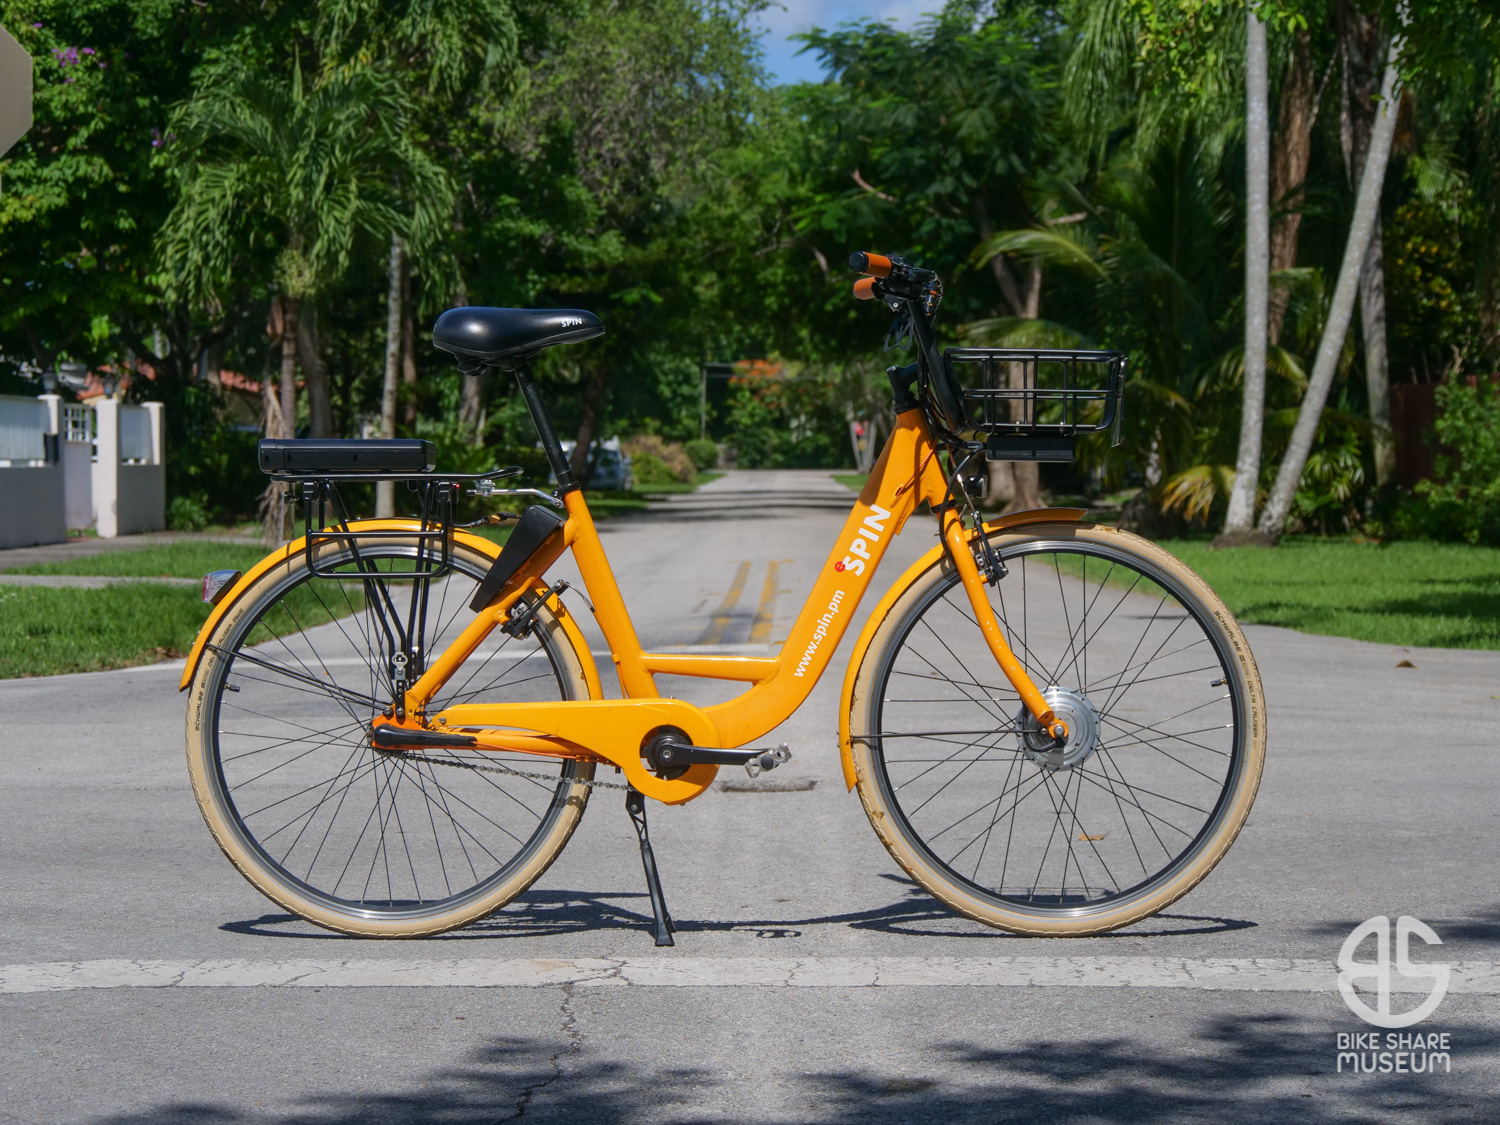
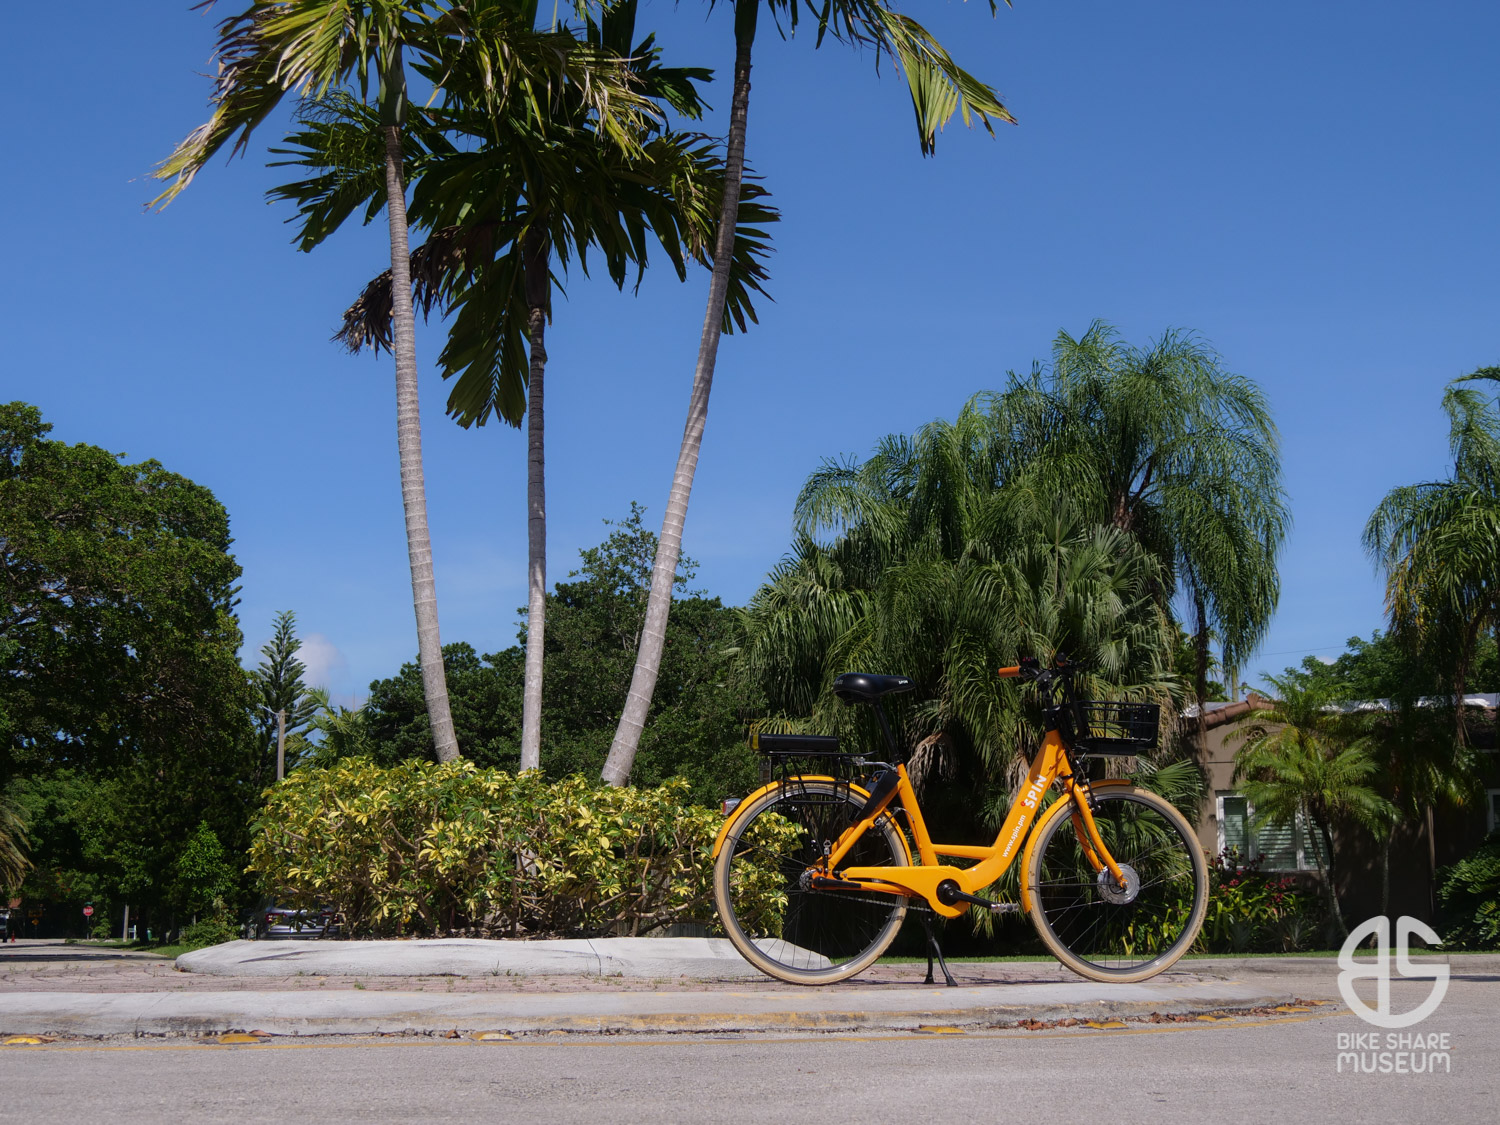
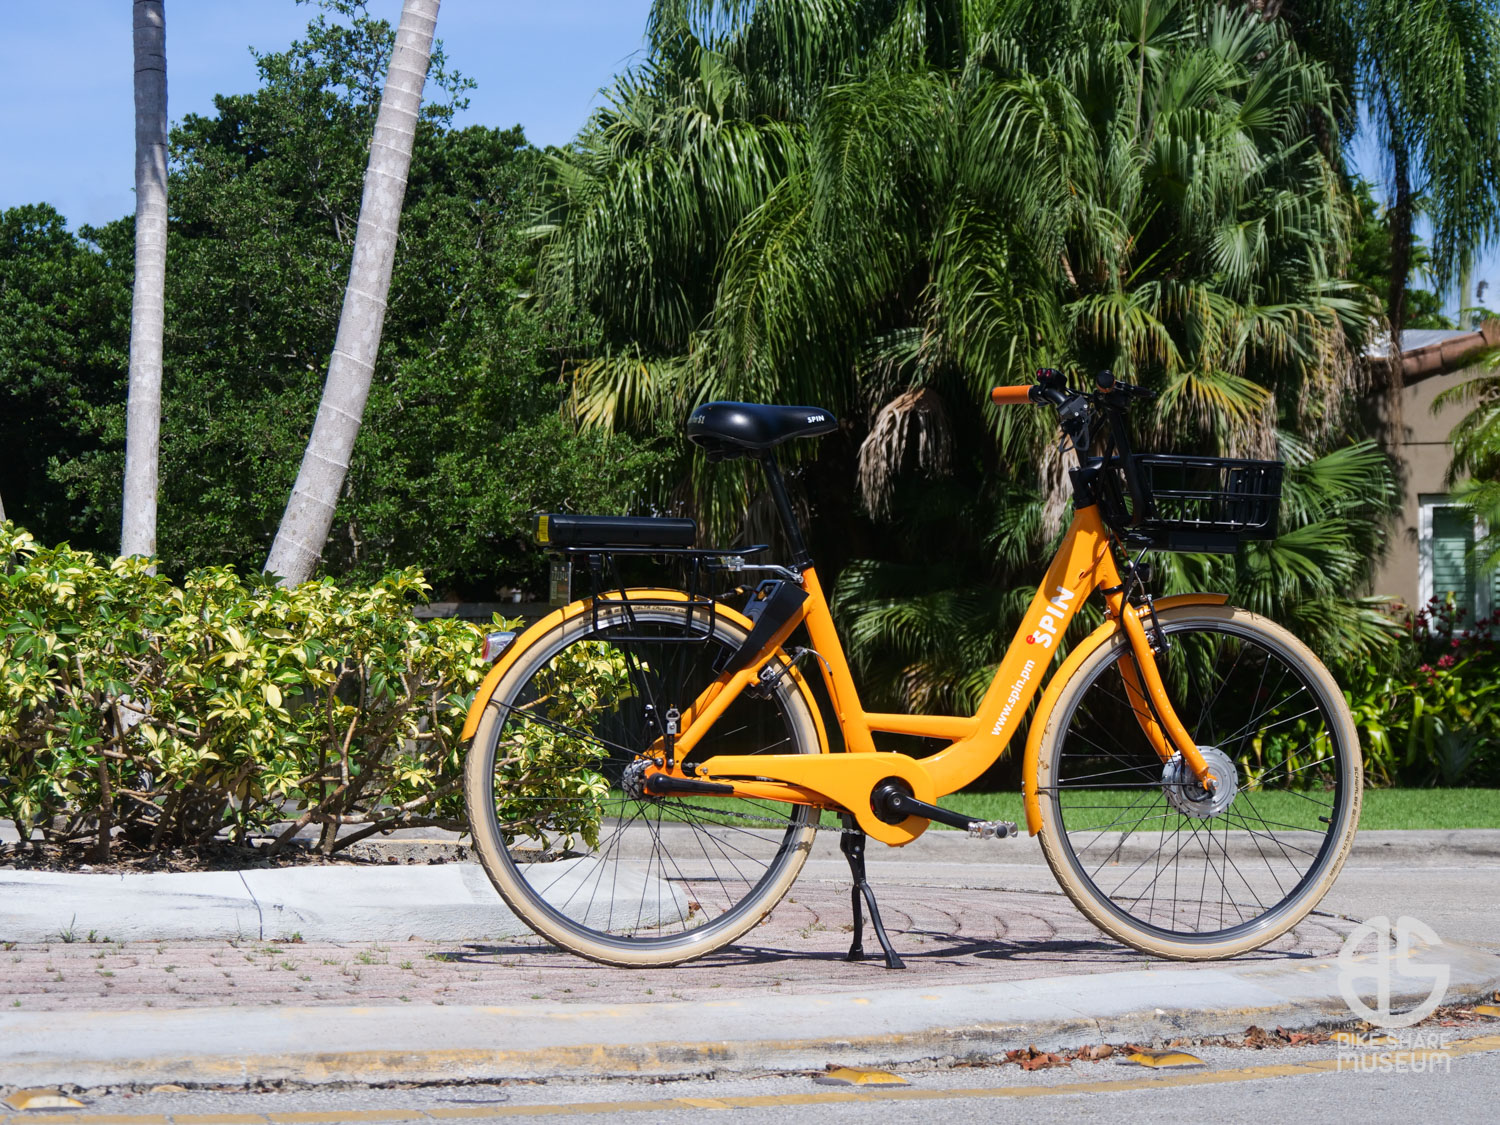
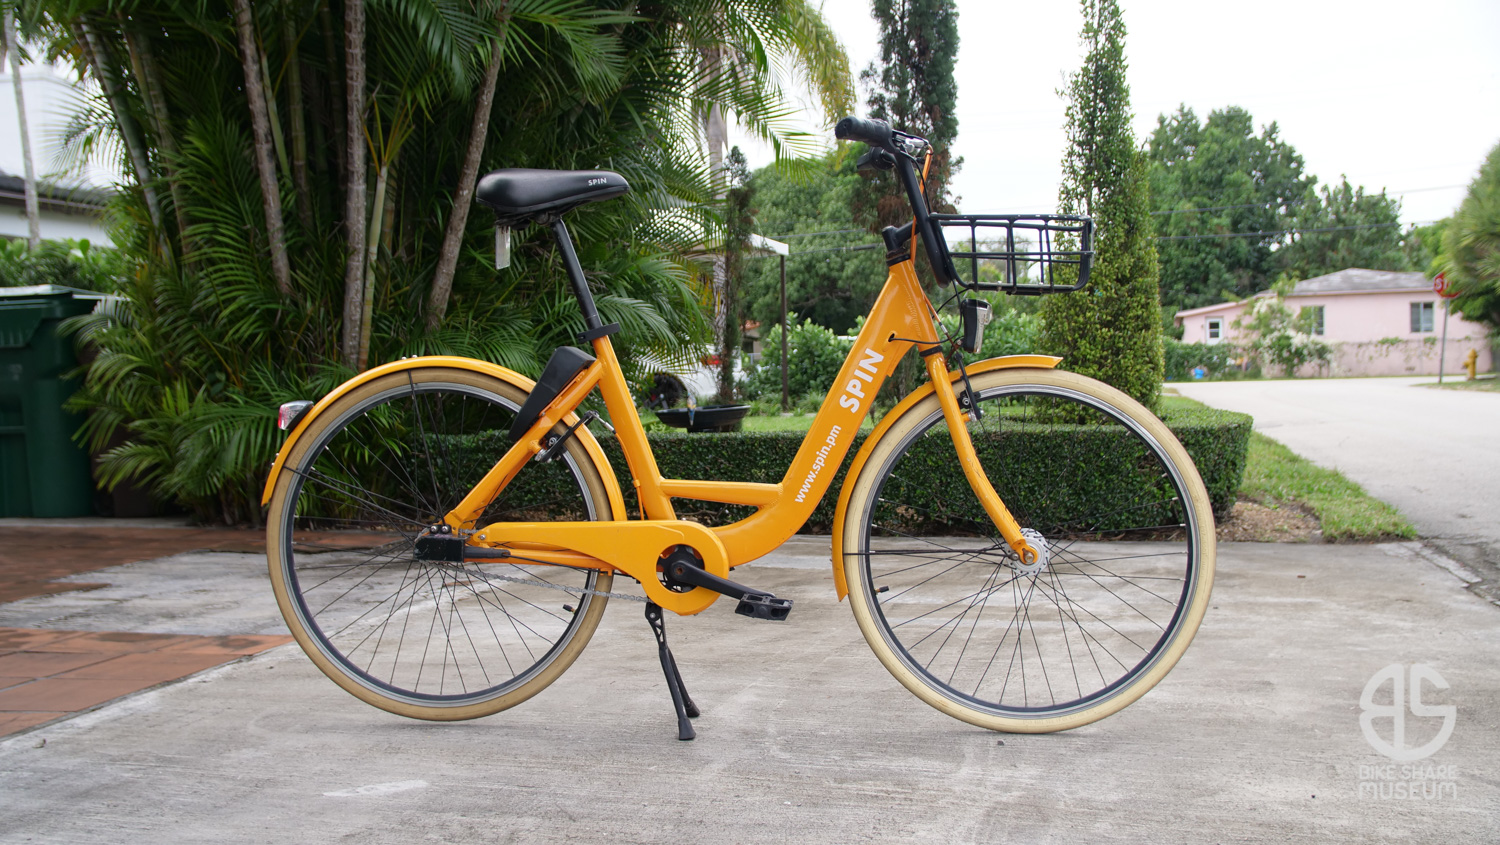
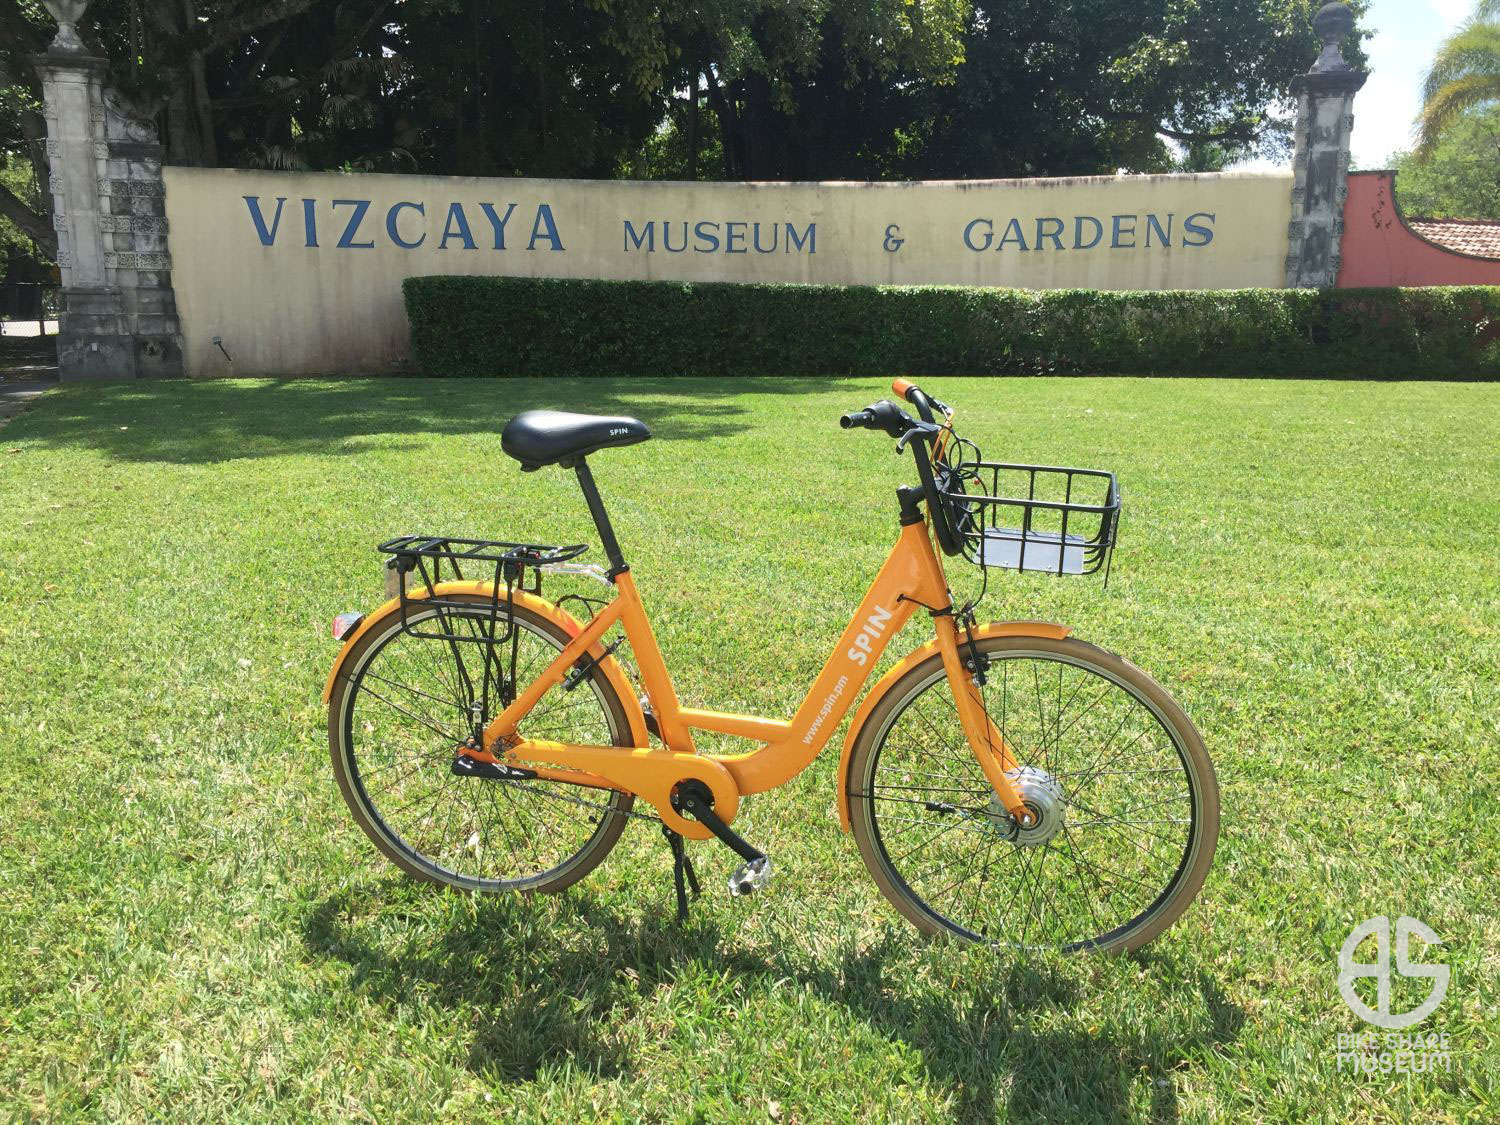
And with that, I leave you with beauty pictures of the new Peaches & Cream: The eSpin.