Peaches & Cream: Hot Rod Spin
Extreme Makeover: Dockless Bicycle Edition.
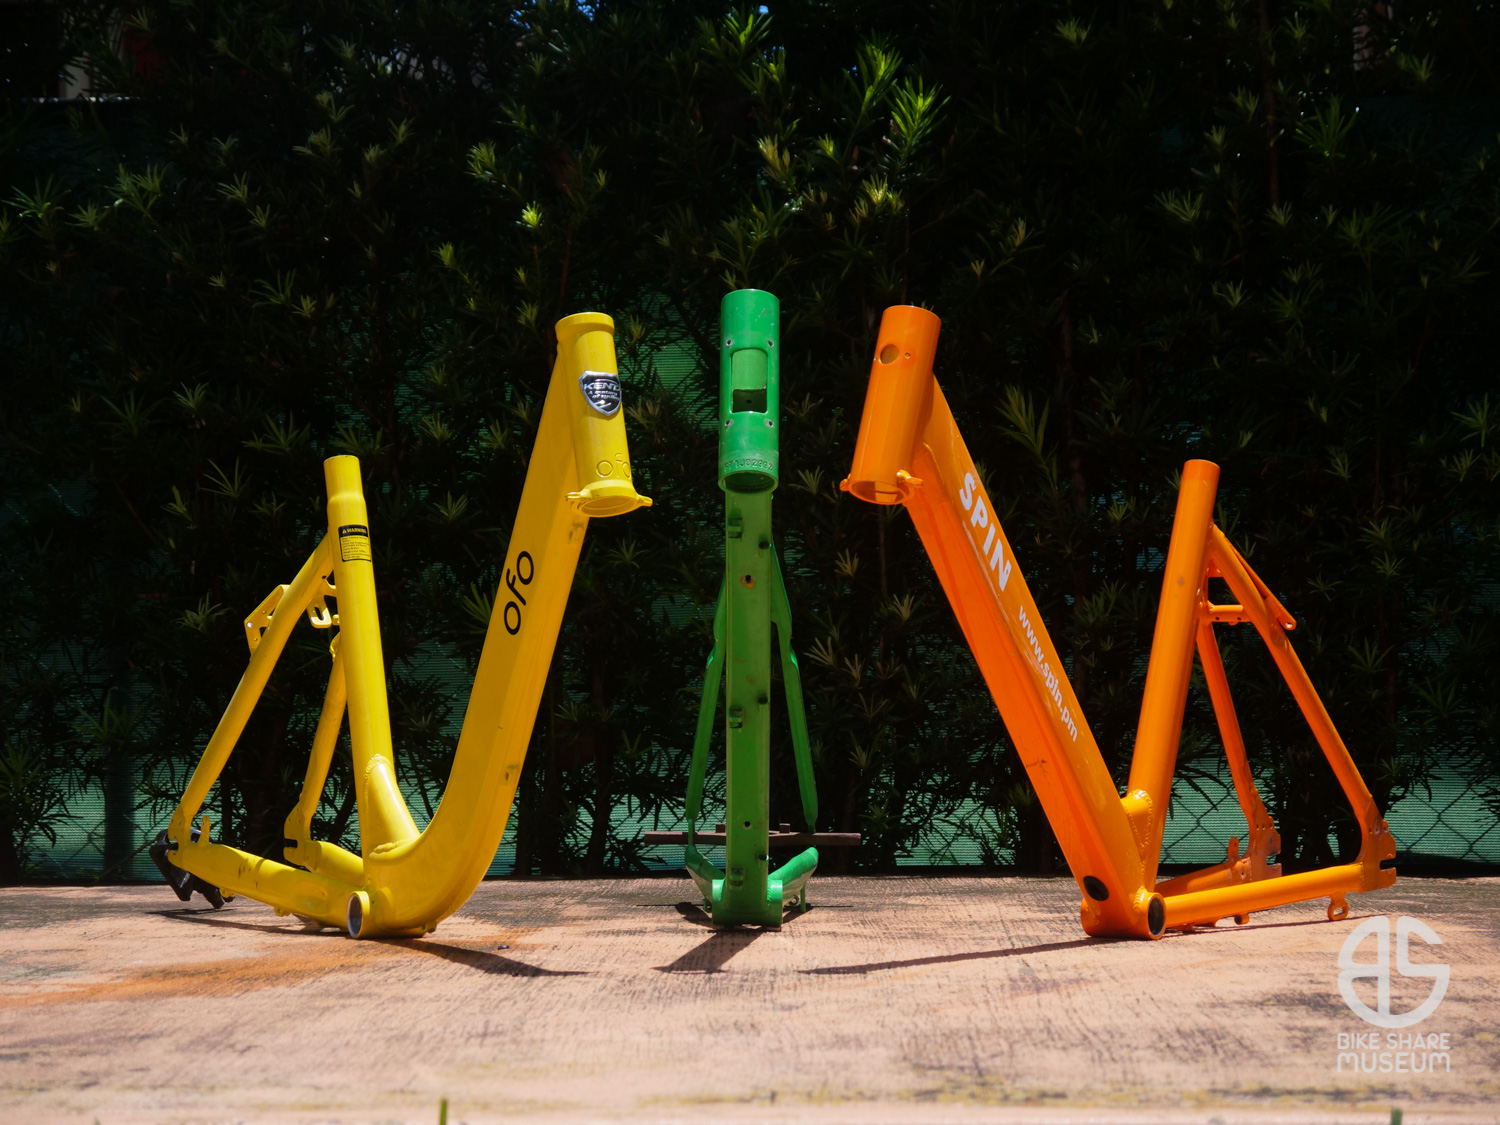
If you’ve been following the evolving story of Spin’s bicycle donation, you’ll know how the discovery of #7723417 inspired me to contact Spin about the future of their bicycle fleet.
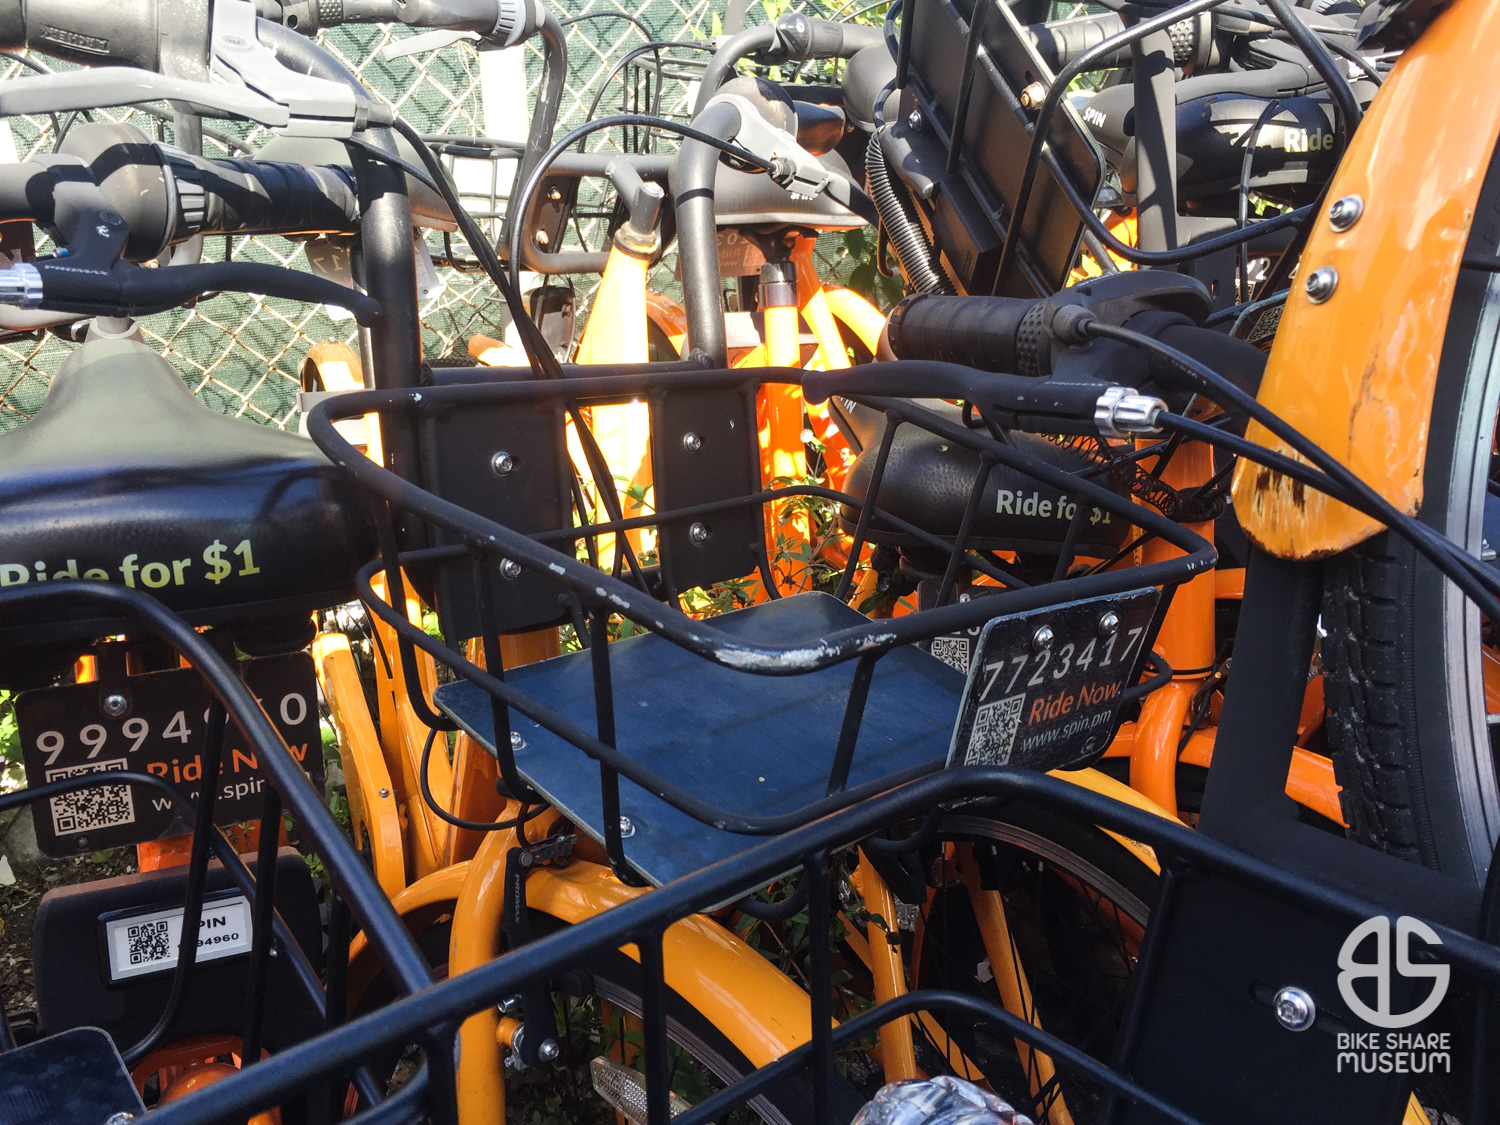
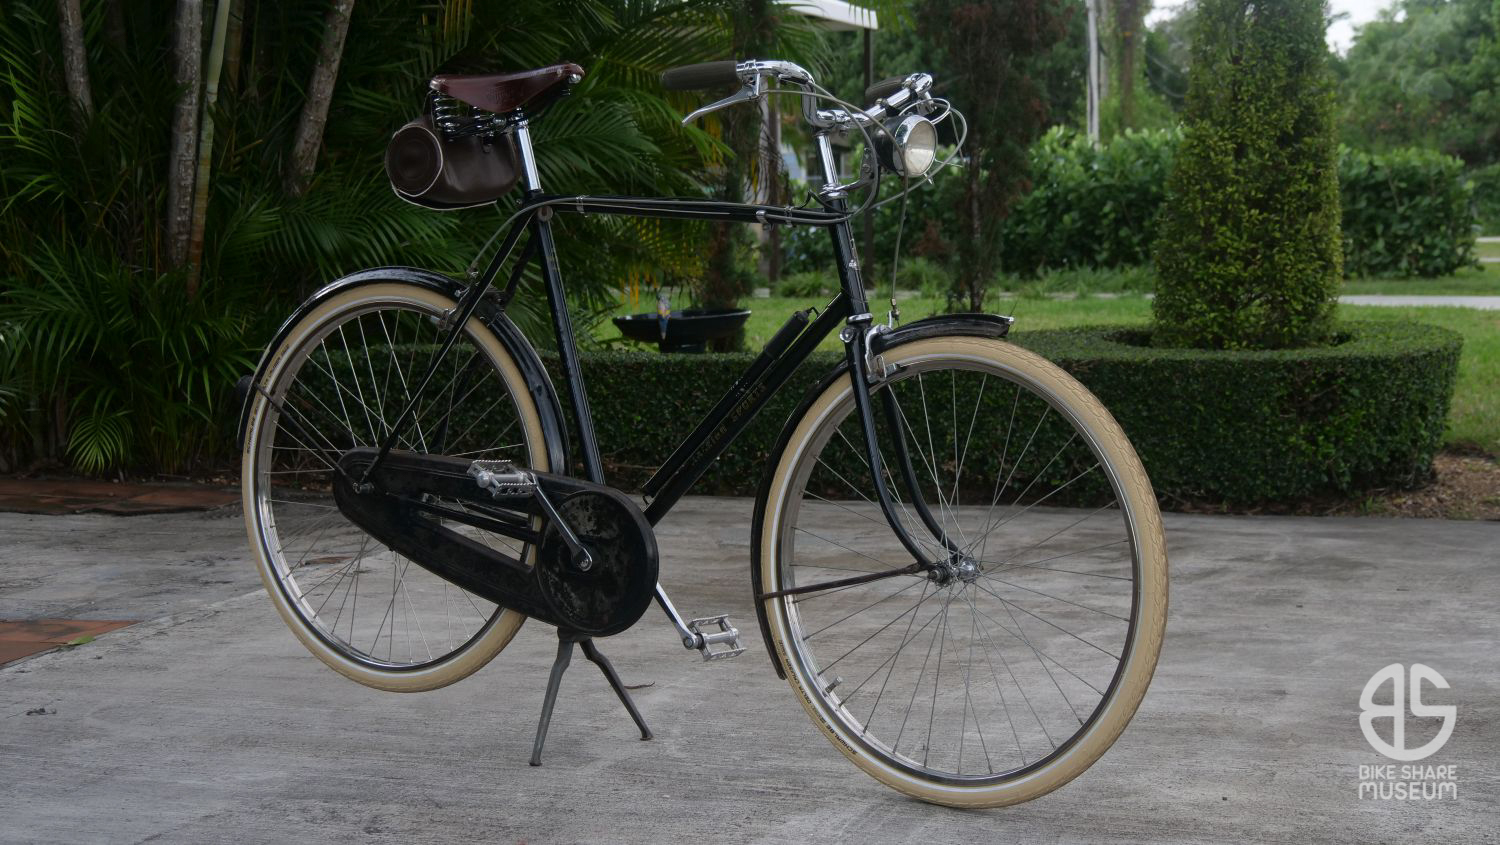
Unlike our other preserved Gen 2, #7723417 was pretty rough when I first discovered it seven months ago, and it still was when I happened upon it in the “Allapattah 80” – the first 80 bicycles donated to us from Spin’s primary warehouse.
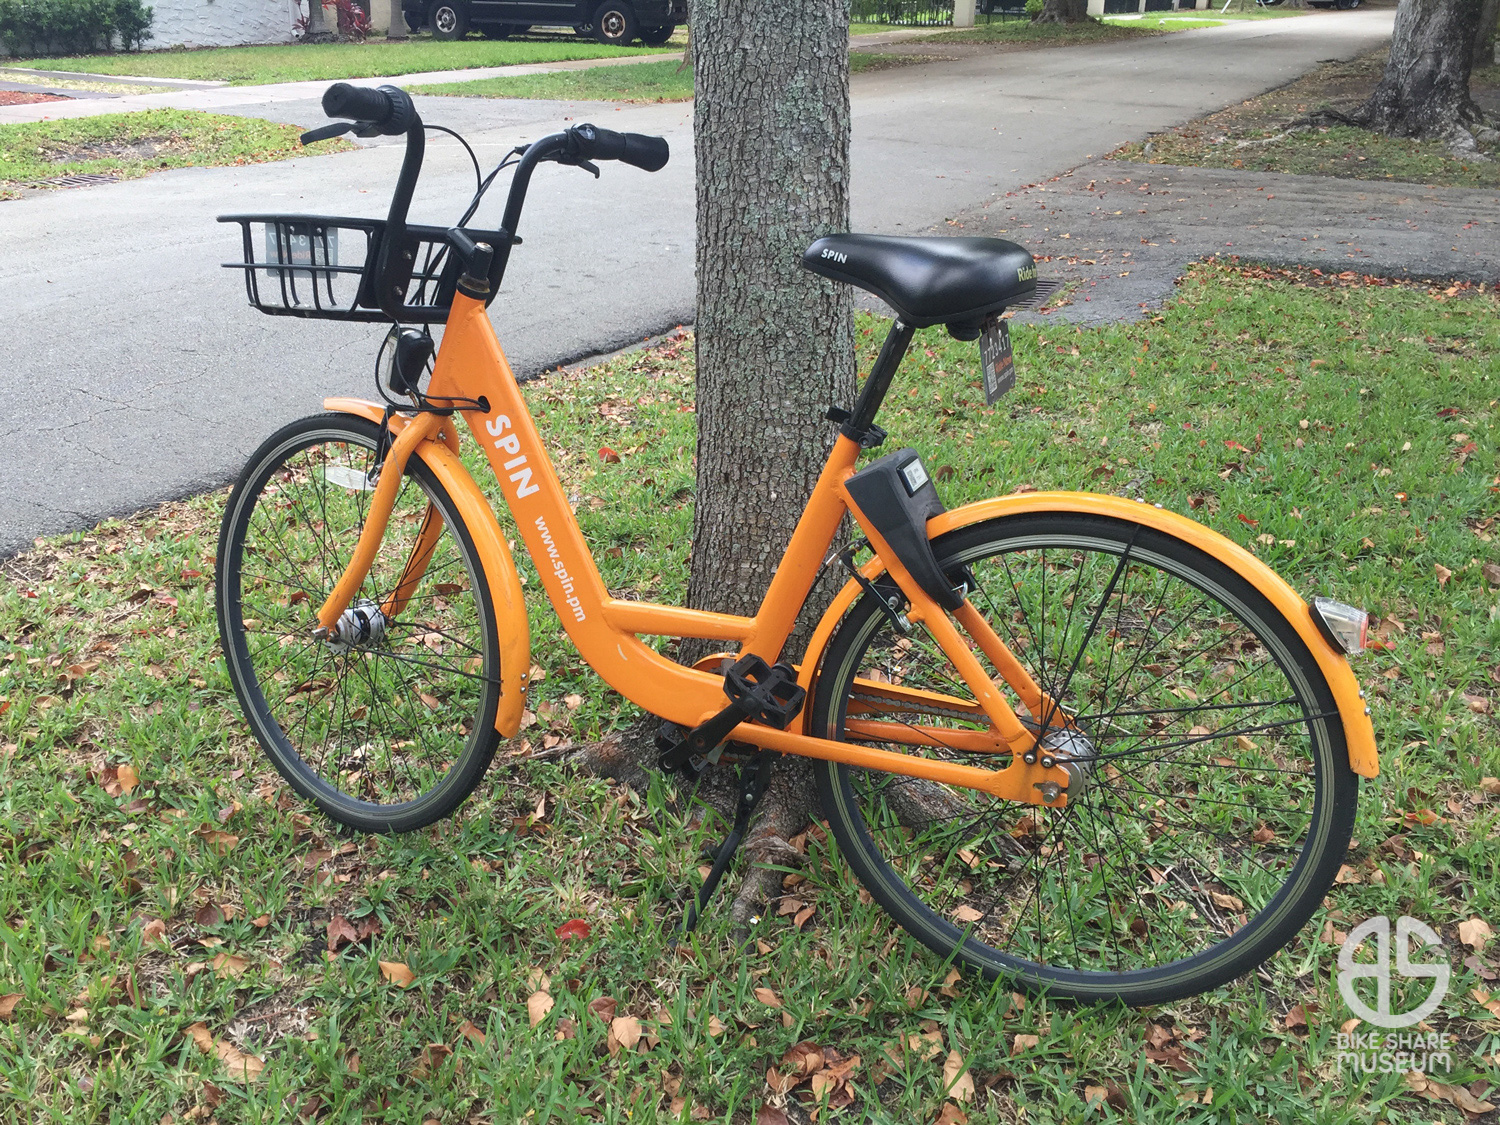
Still, it takes a lot to kill a dockless bike, and nobody was nailing any coffins just yet. Though the rear brake cable had taken on water and frozen up (a common issue with the inverted cable entry on the Gen 2s), it was still ridable. A laundry list of issues were there – including the bent kickstand, out of true wheels, and grips so wallowed out you could lose the Hyperloop One in them (a novel idea) – but I’ve fixed a lot worse and built frankenbikes using a lot less.
Hey, even the headlight was still working. A small victory. I’ll take it.
There were enough surplus Spins in the donation that I knew I could give this bike a spot in the museum. After all, it was the genesis for this entire project. I also know that these are an unrealized gem to ride. But with rapidly shrinking storage space, I knew I had to justify its inclusion somehow.
Office commuter bike hot rod?
That sounded good, but to make it an enjoyable, reliable commuter, I knew I had to do a few things, namely:
- Get rid of the squared off, solid tires
- Replace the brake cables and housings
- Install more comfortable brake levers
- Swap the bent kickstand
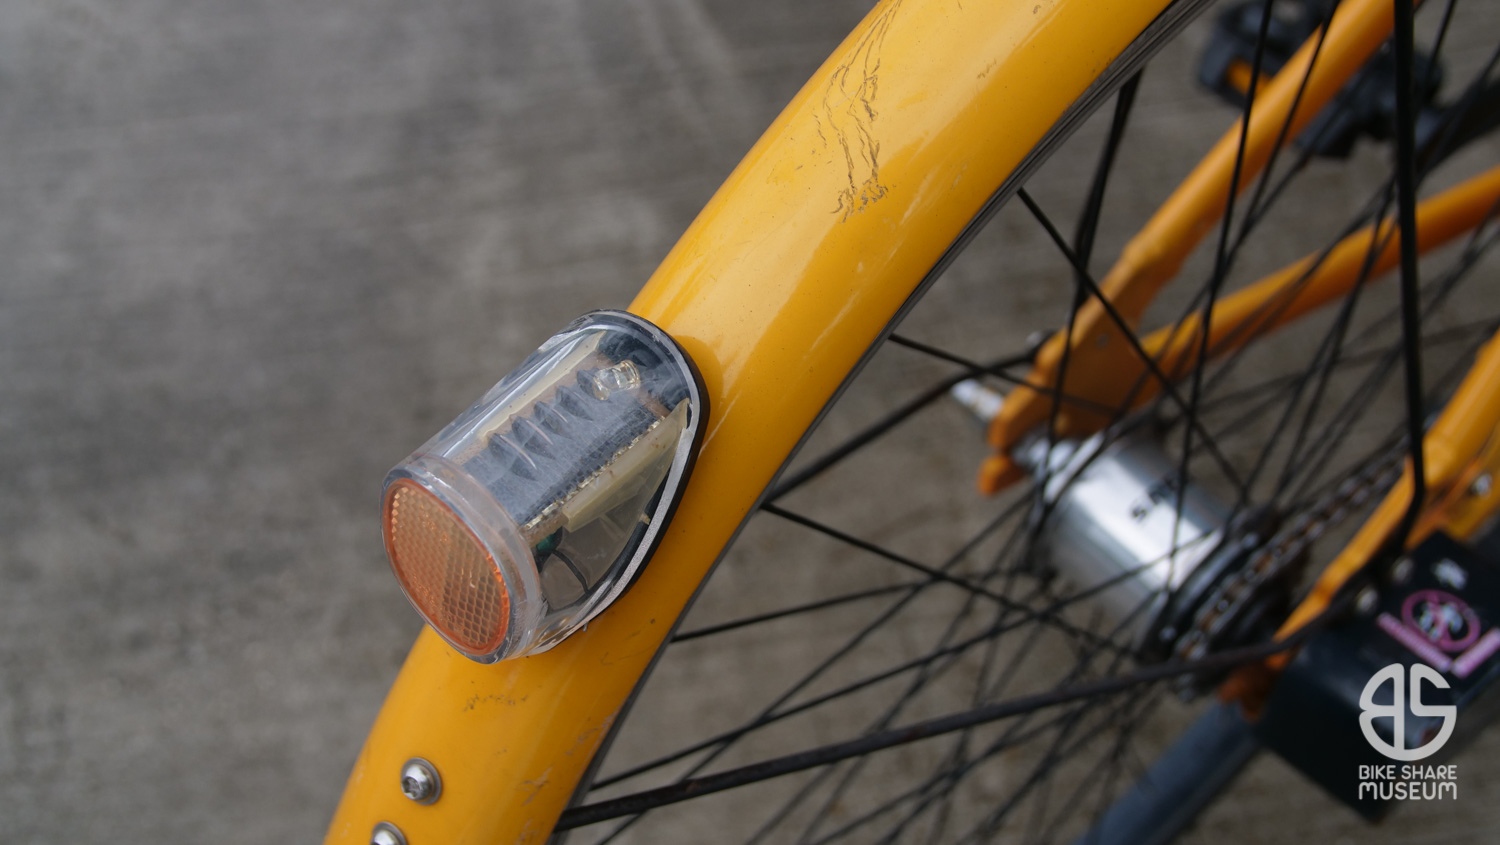
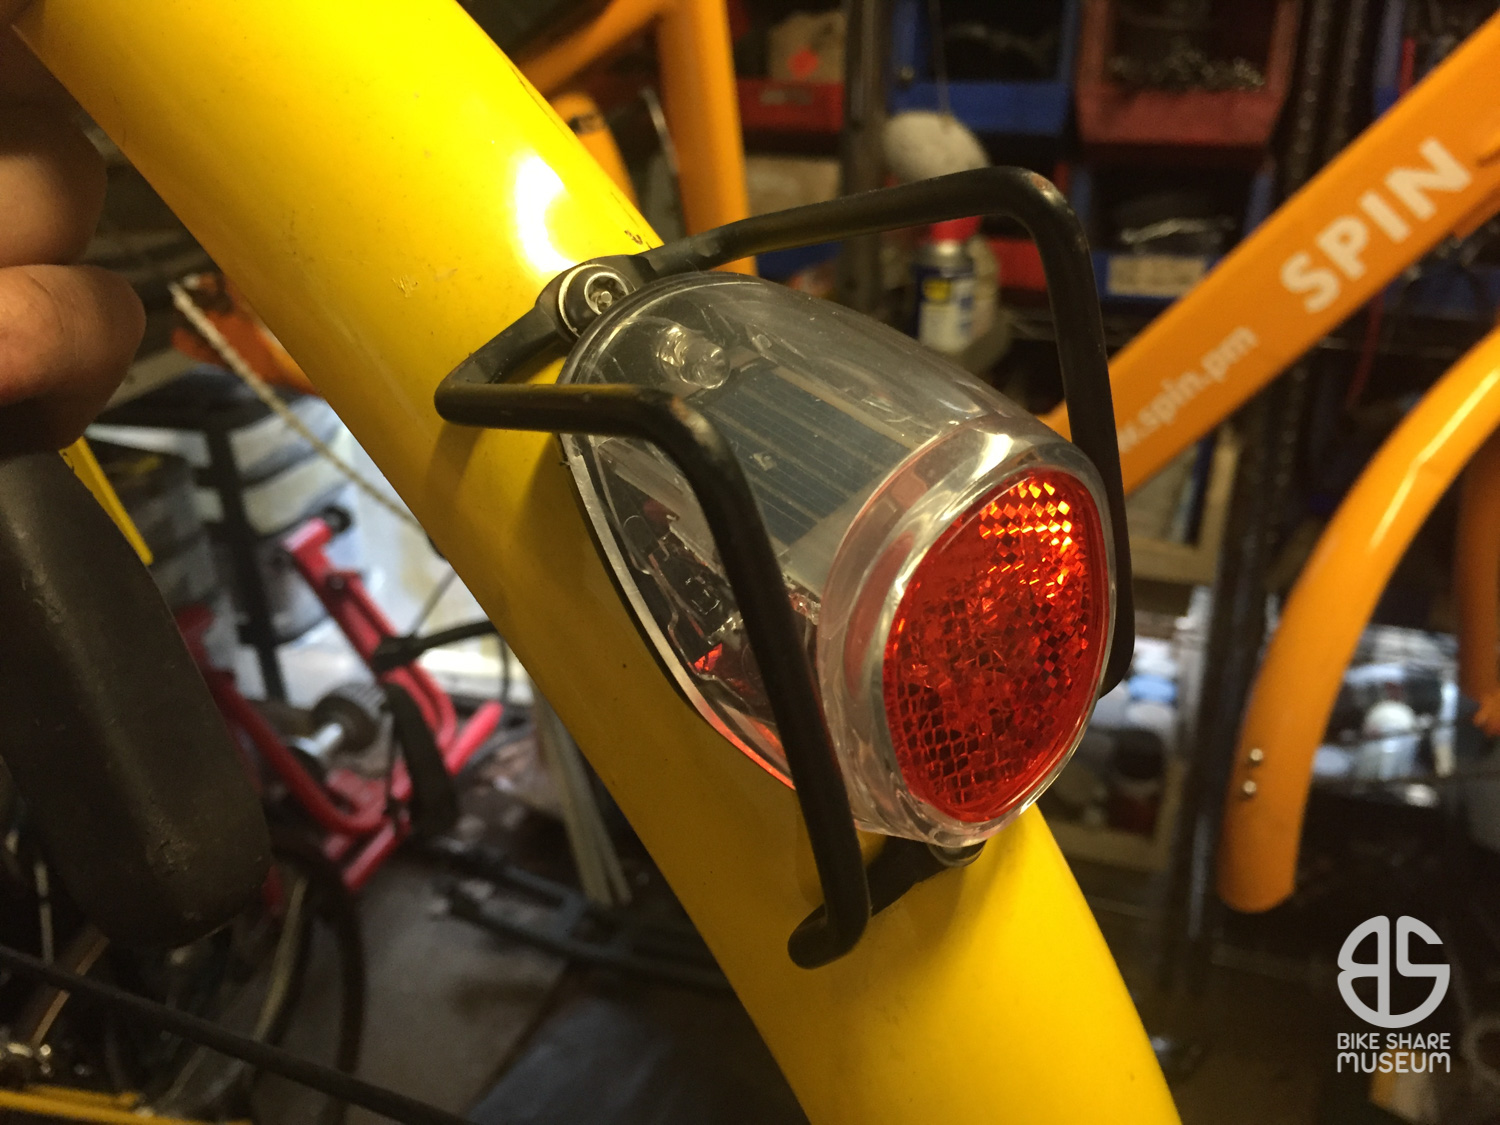
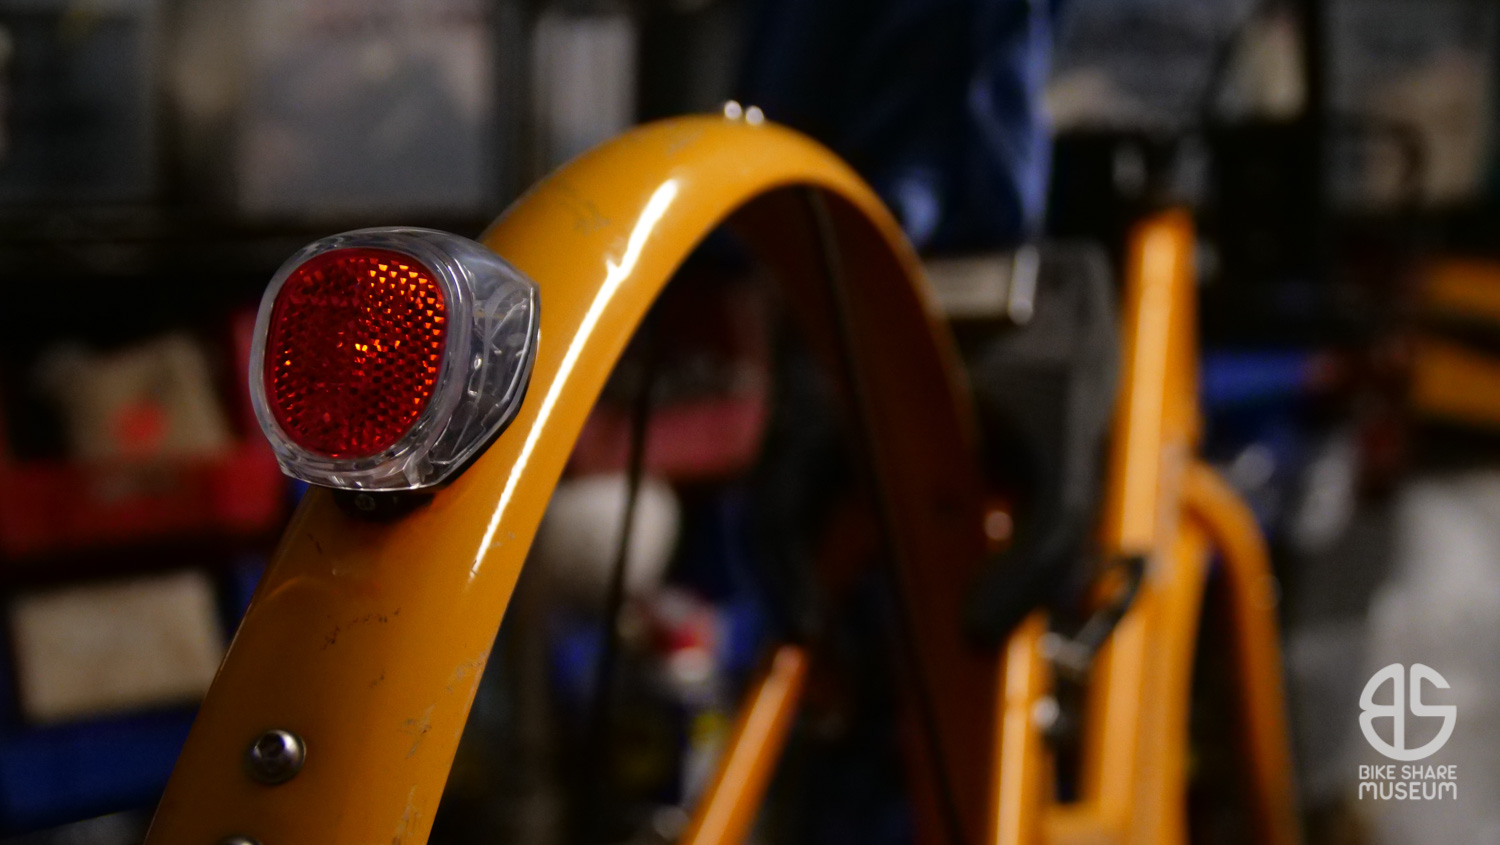
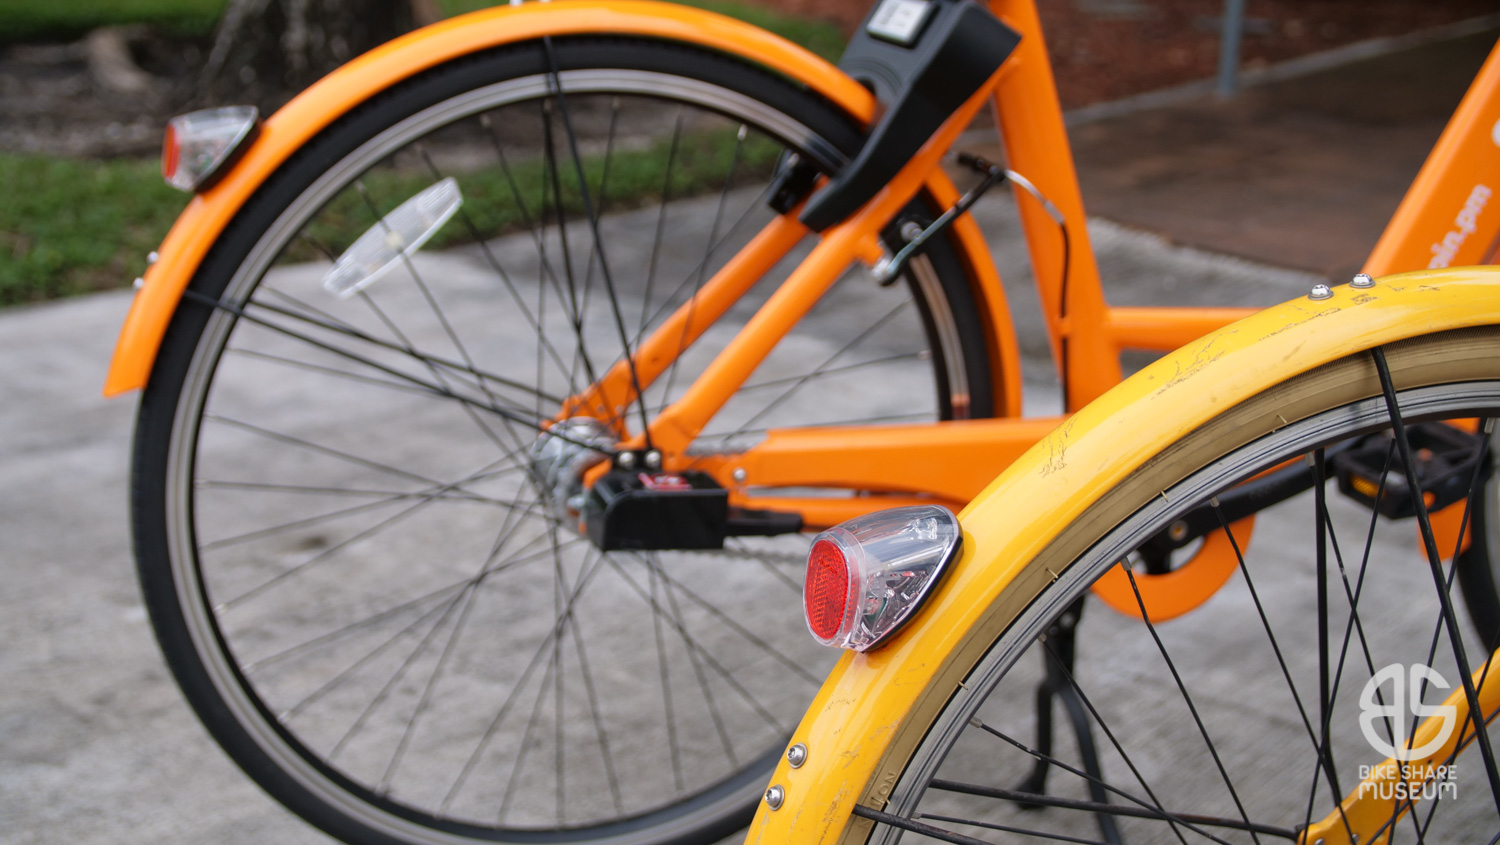
- Install an intact taillight (From a spare ofo fender. Entirely for looks; these small LEDs don’t do much)
- Get the grips to stay in place
In comparison to most of the ground-up bike builds I like to do, this is a pretty short list. However, I couldn’t see reason to take the modifications further – the Gen 2 is good enough that it doesn’t need more to make it better. They feel like a conventional city bicycle right off the bike shop floor, rather than a two-wheeled tank made for the public’s abuse (even though they are obviously adept at the latter).
As for weight, lightening up a tough aluminum city bicycle is pointless and usually ruins its practicality. The only consideration to this was the removal of the solid tires, which easily shaves 4 to 5 pounds off the wheels. That’s the most significant weight savings one can find in these bicycles.
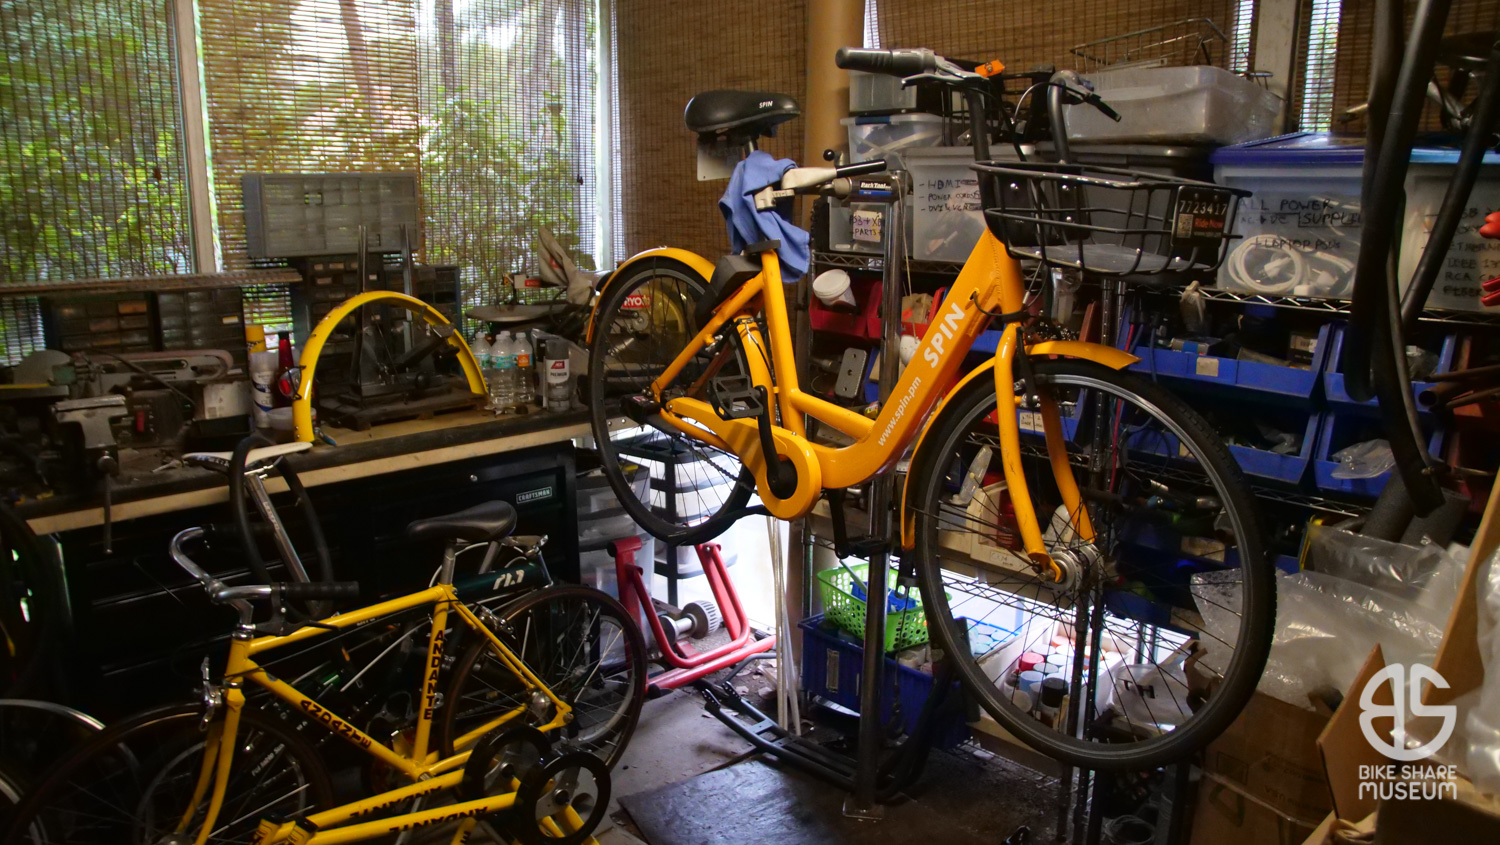
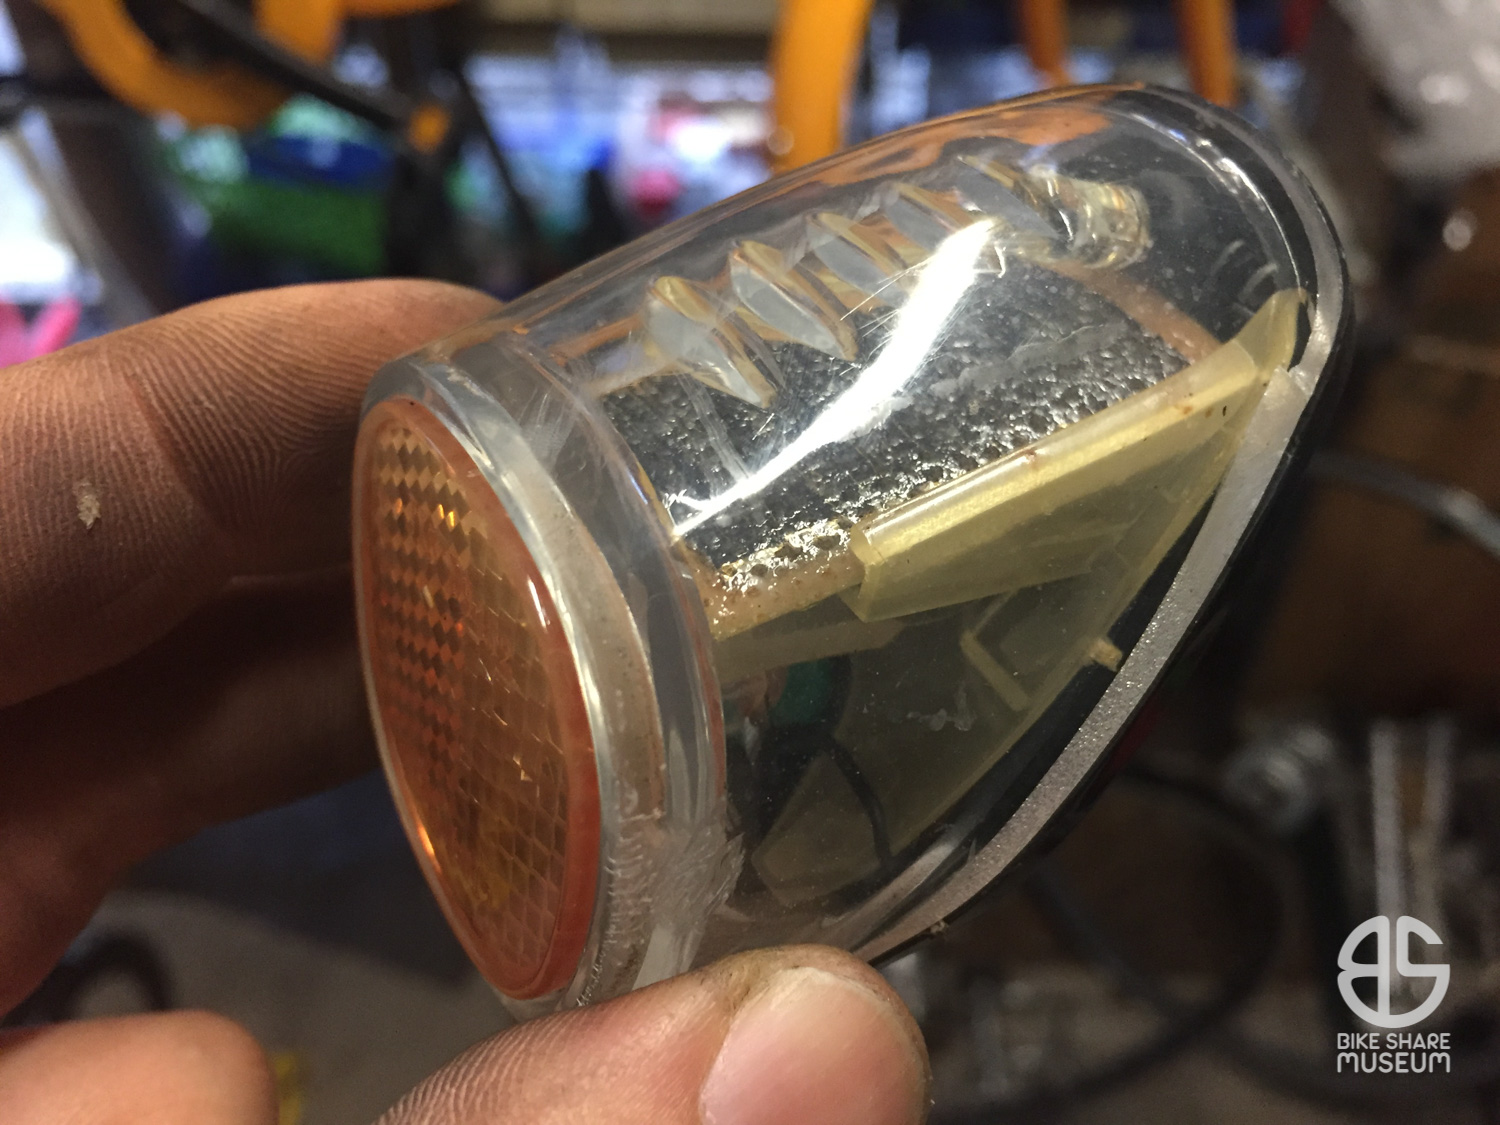
So it was into the stand and off with the wheels. This gave me quick access to sort out the taillight. A donor fender from a Dallas ofo provided a replacement. The replacement shares the same housing and is a two-LED version of the one originally fitted on our Spin (and is identical to the one on our other Gen 2, #2333664).
If this commonality between parts seems unusual, it isn’t. Shared parts are common on dockless bikes, regardless of service provider.
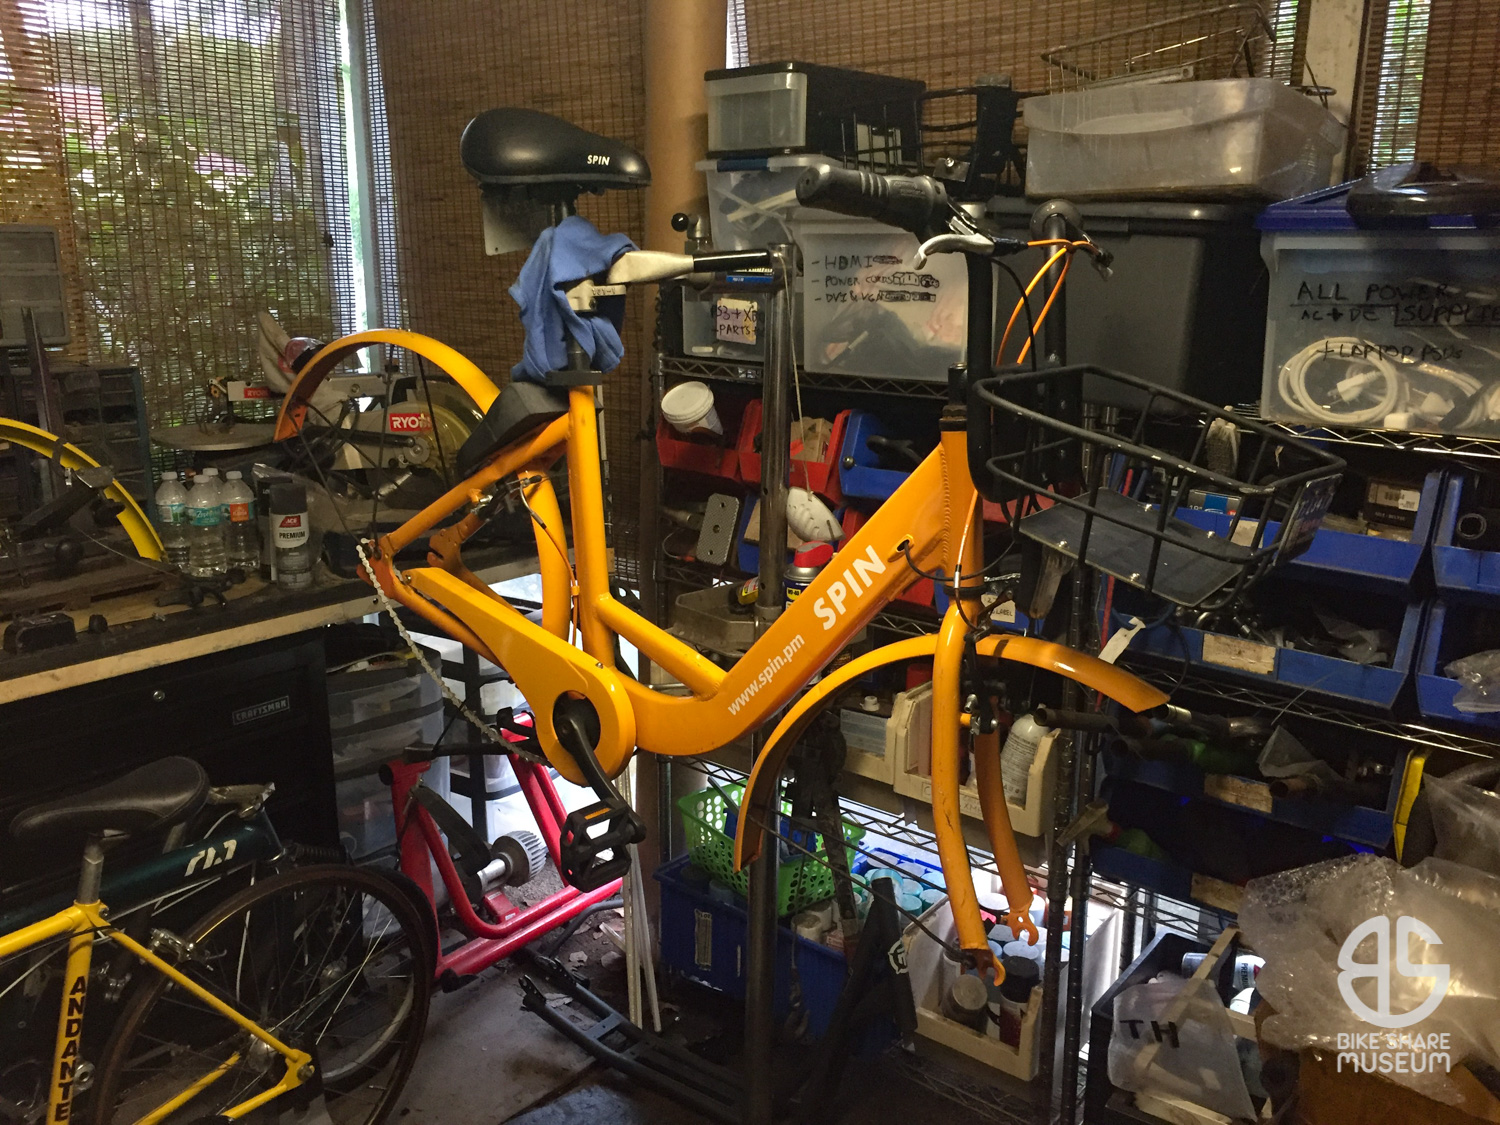
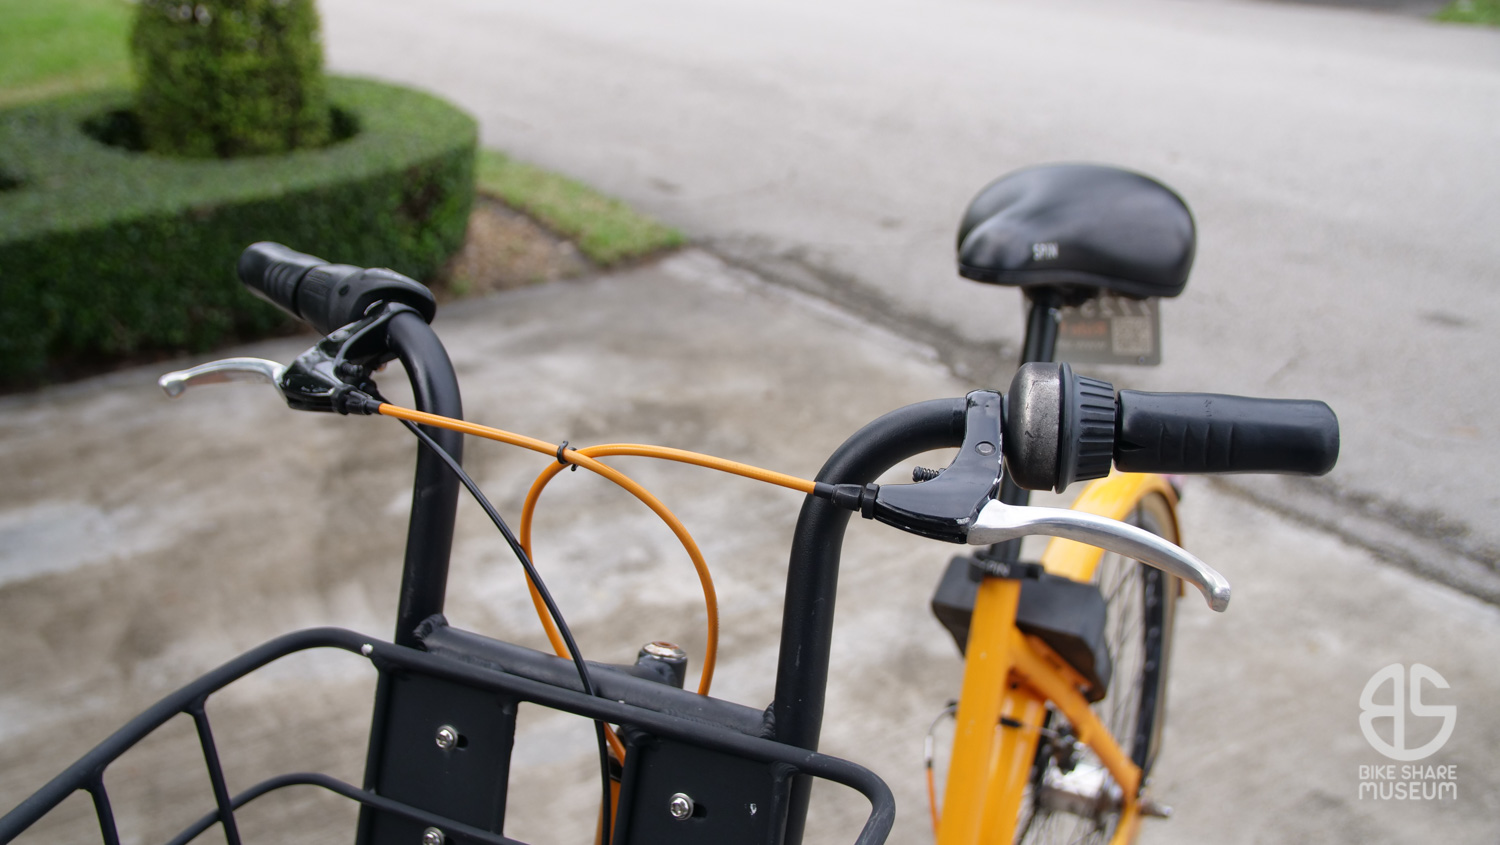
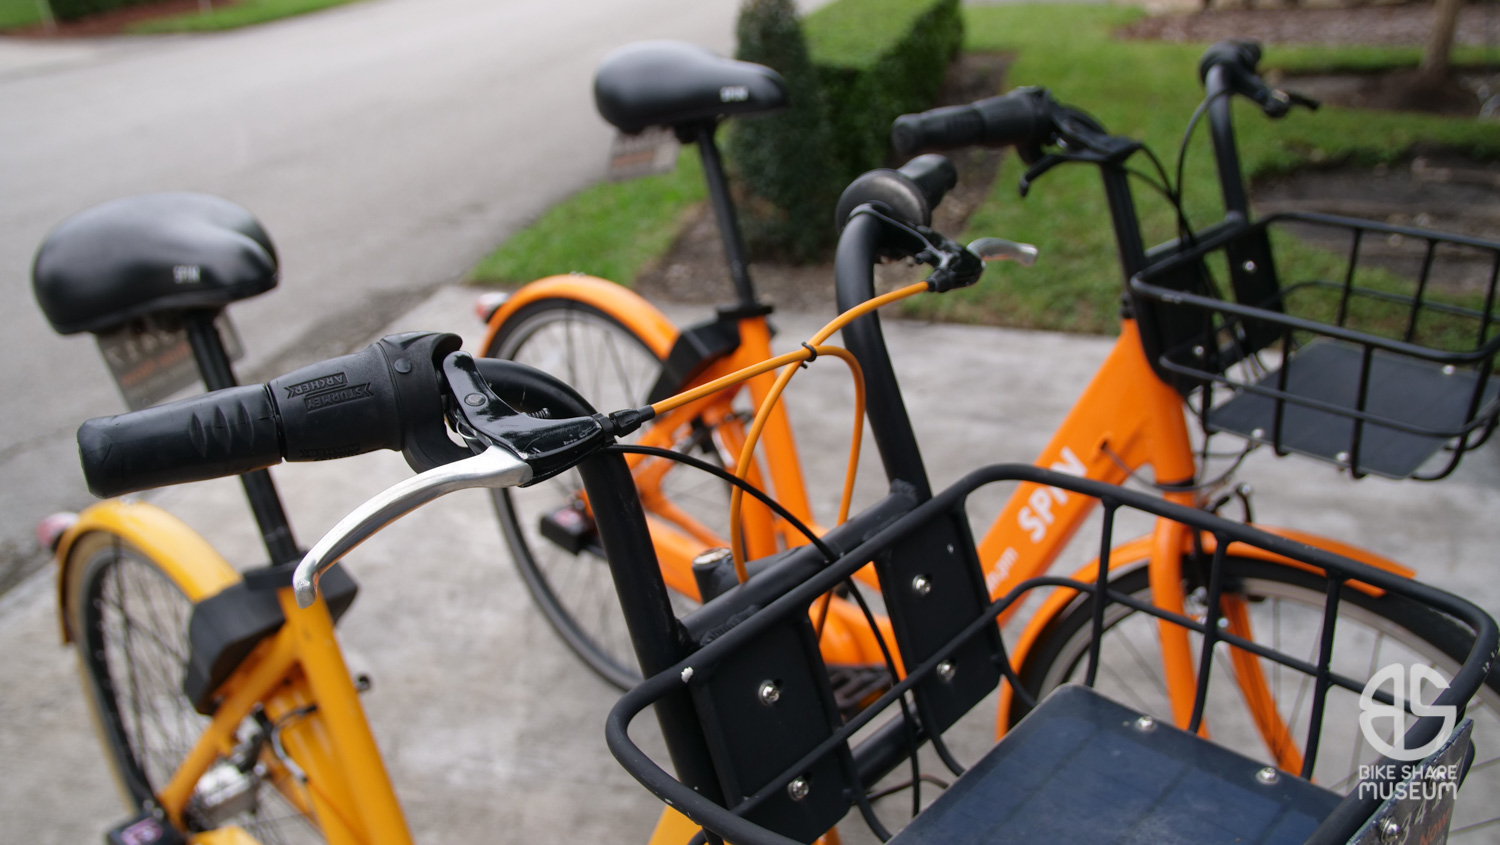
Up at the handlebars, I had a few issues to sort out. First, those grips. Spin’s mechanics had wrapped the bars in electrical tape in an effort to get the grips to stay in place, if barely. It’s no surprise that the Gen 3’s received locking grips from these field experiences. Secondly, I’m not a fan of two-finger brake levers on upright bars, and I happened to have a pair of nice three-finger levers from a junked Electra Loft. Rounding out the issues was the jammed rear brake cable.

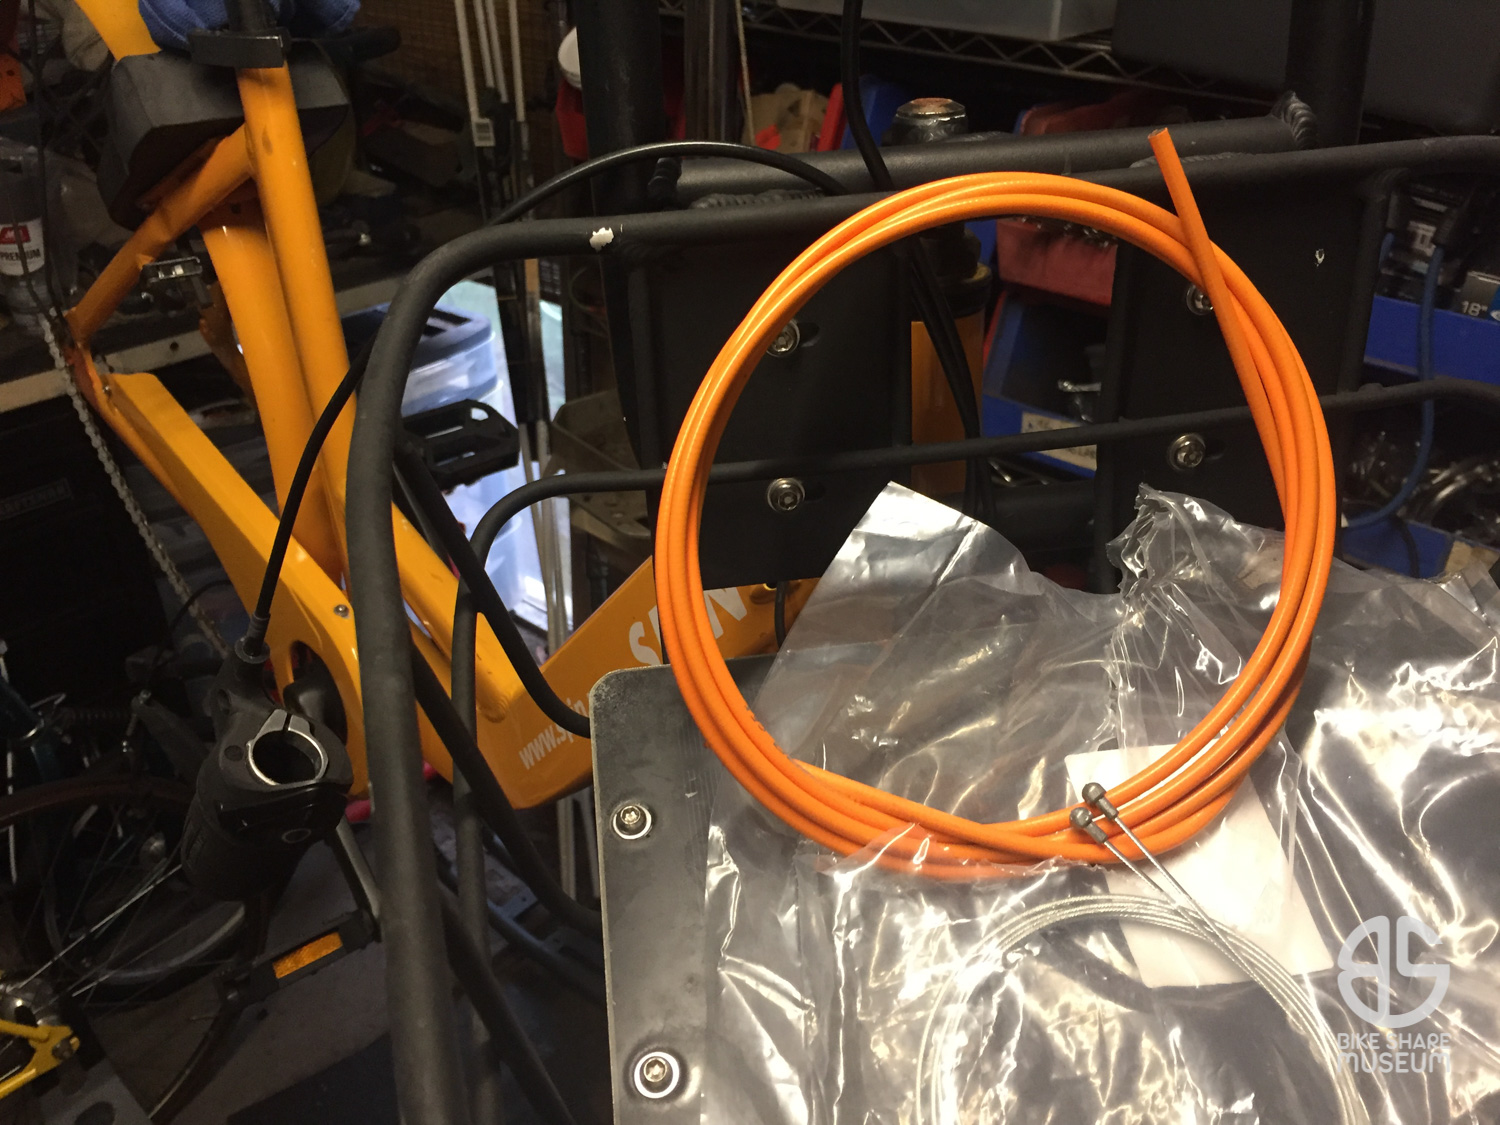

I’m not one that usually goes for matchy-matchy styling, but I couldn’t resist some orange brake cable housing, which was both convenient and cheap. This generic set from Amazon turned out to be a bagged Jagwire set; a nice surprise. The new levers also received the Spin’s original cable adjusters, not the chewed up thing you see in the picture.
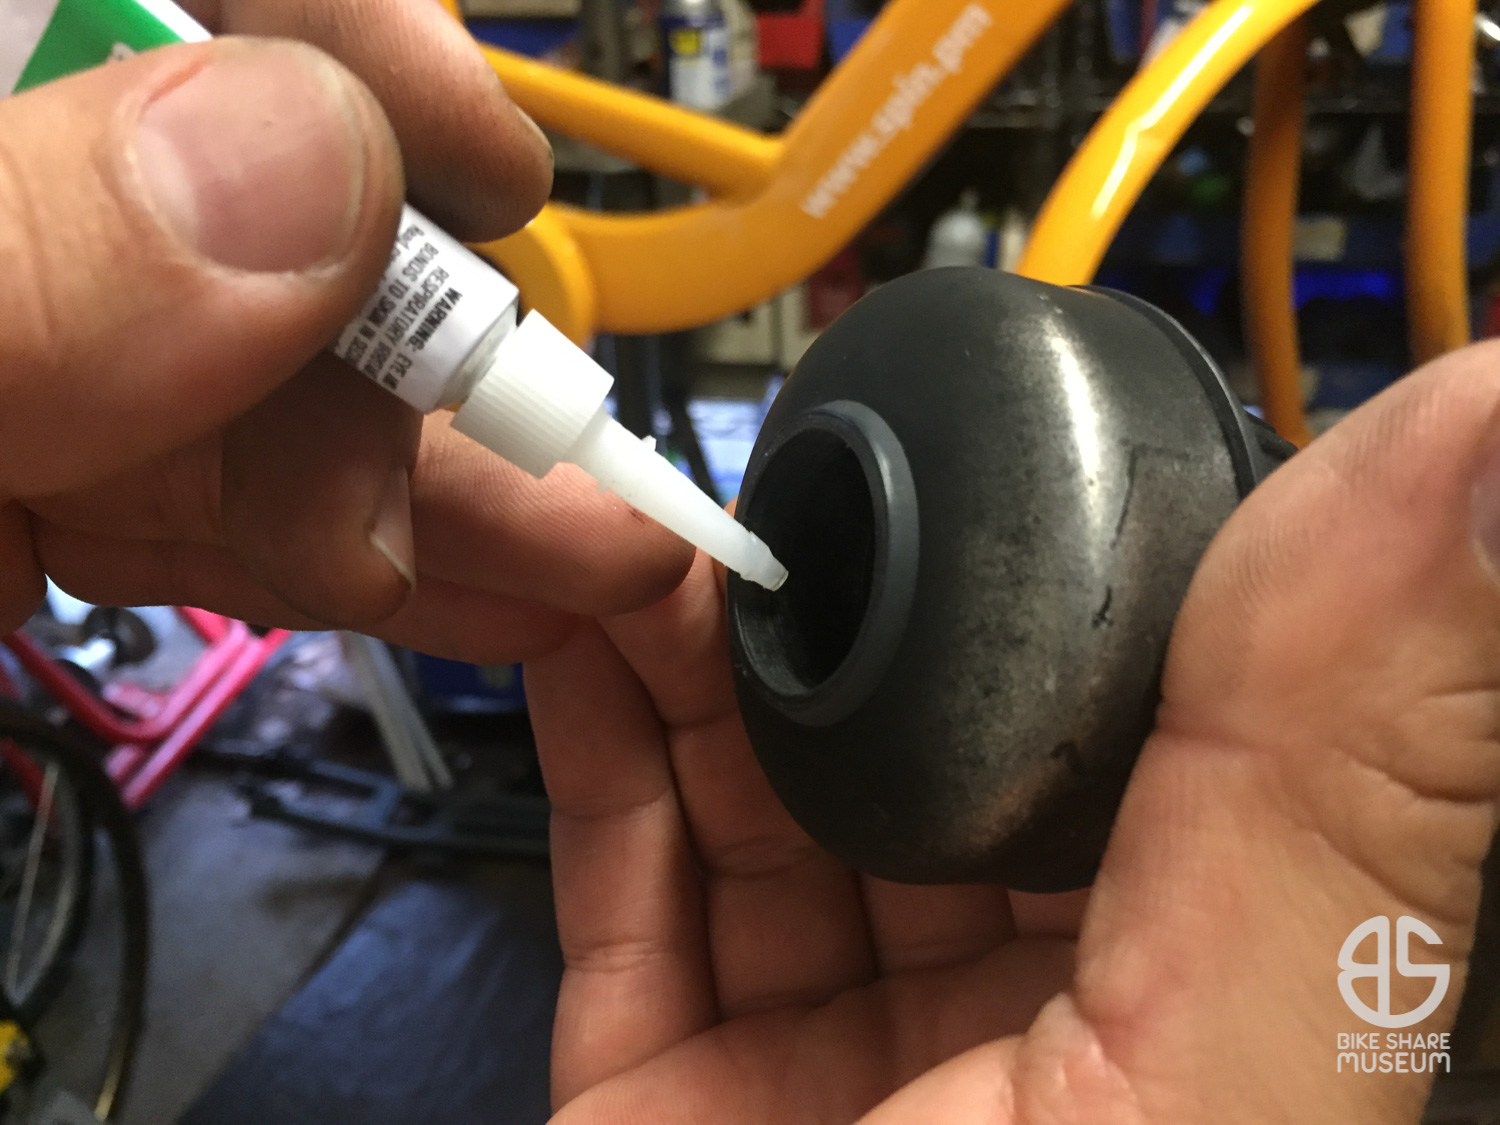
The bell on the handlebar no longer gripped either, but some careful application of CA glue did the trick, just like it did on our Dallas ofo. I wish I could say the same about keeping the grips on, but neither hairspray nor clear spray paint (usually effective on chrome handlebars) could keep them in place – they’re just too wallowed out to stay put. Gorilla Glue is the next trick up my sleeve, unless I swap with one of the few remaining Gen 2’s in parts shape.
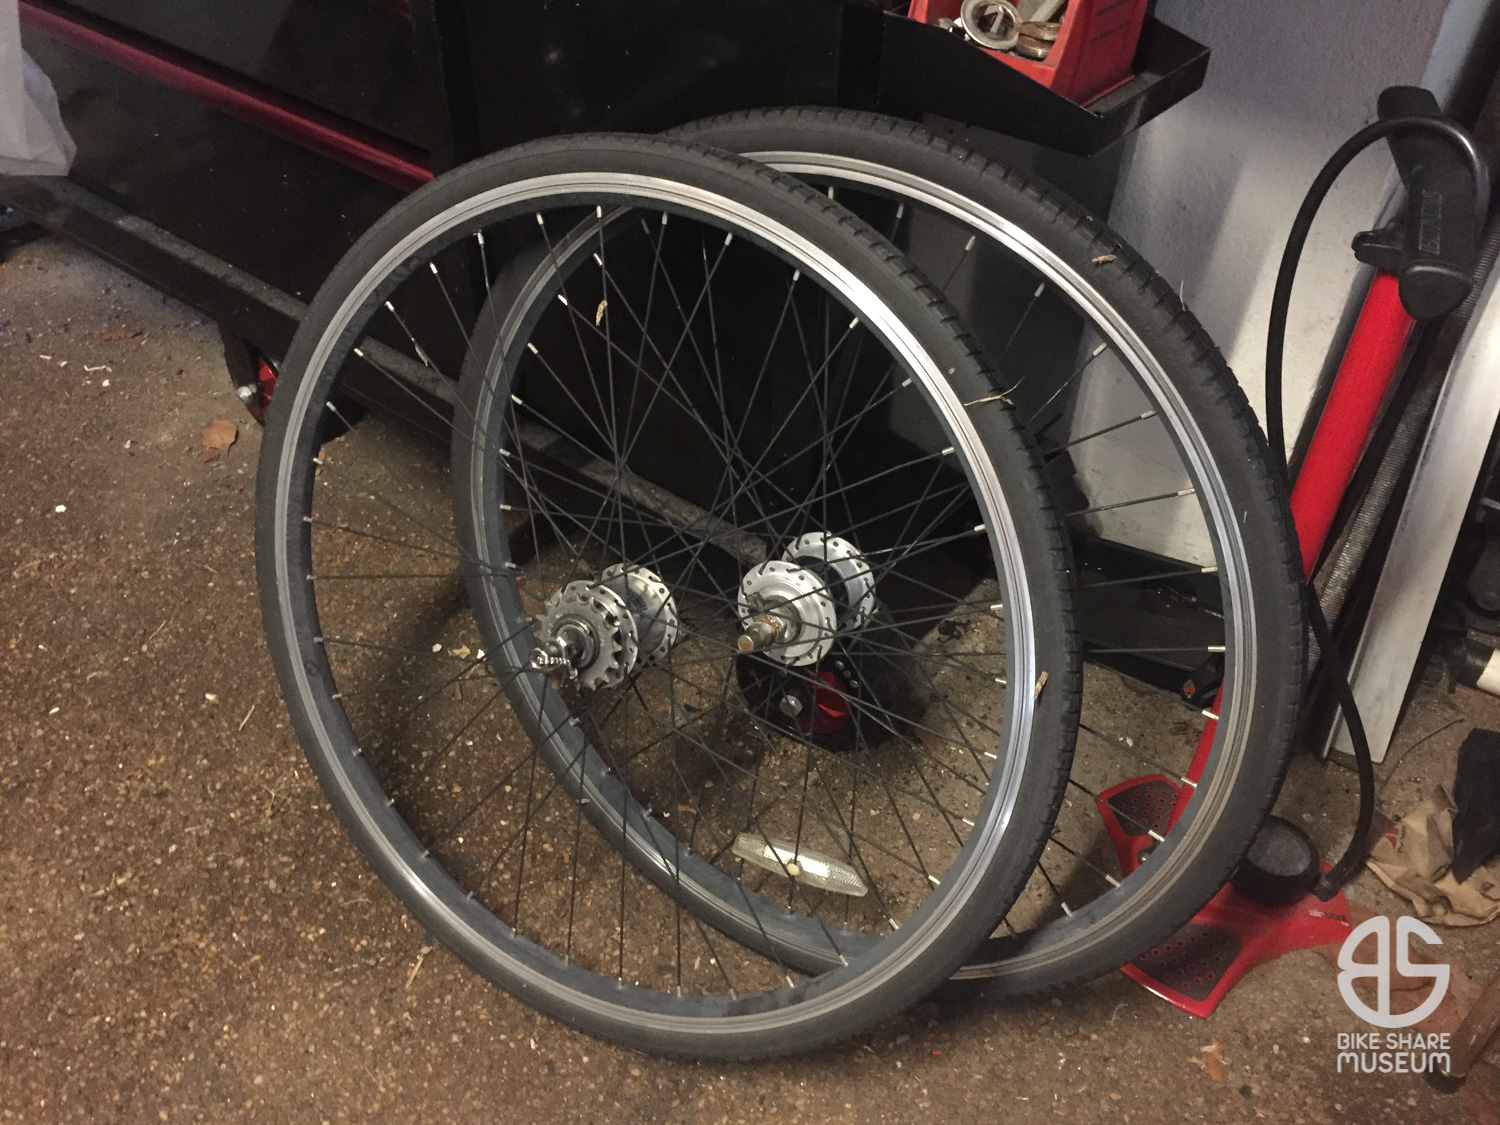
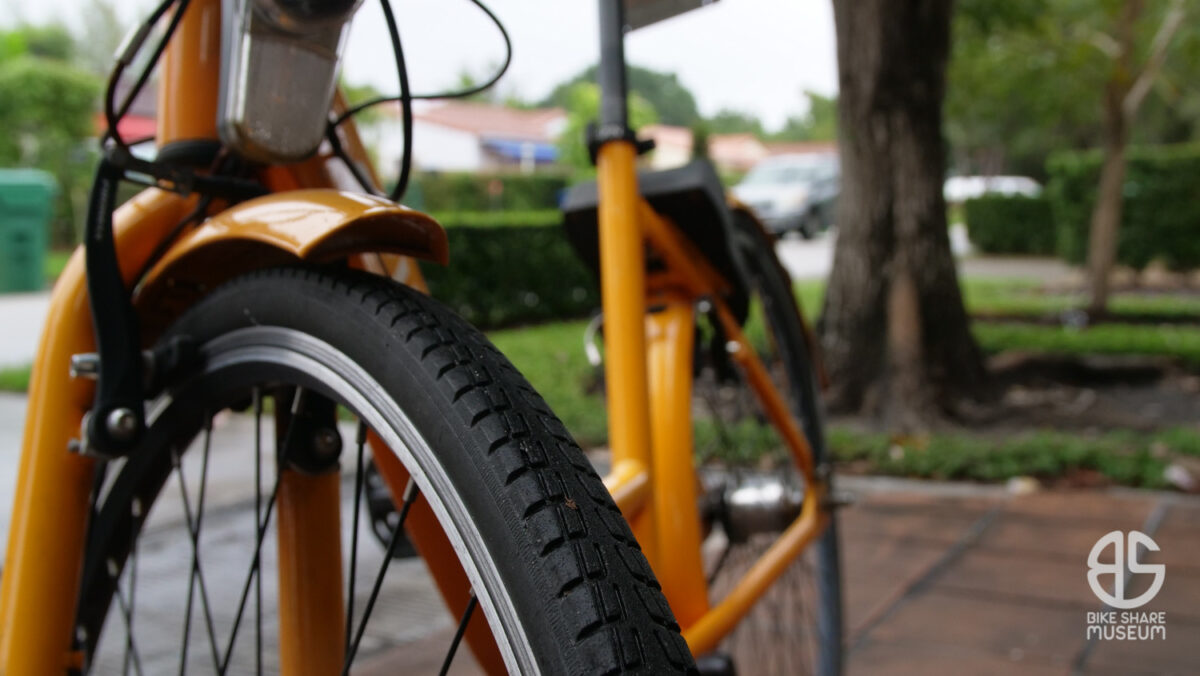
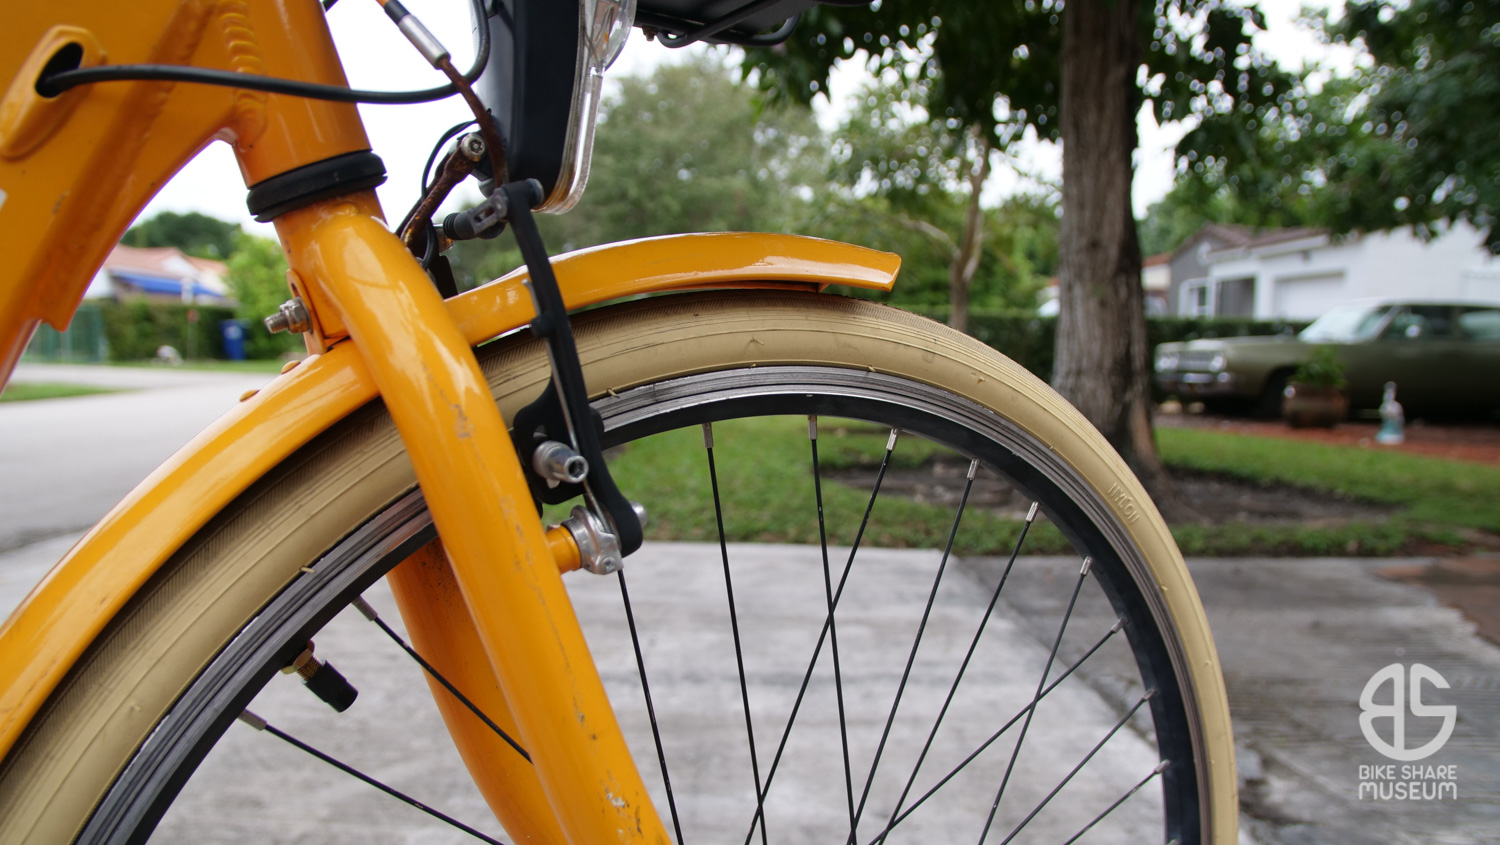
Converting the rims for pneumatic tires and tubes was relatively easy. Though a part of me likes the idea of solid tires for commuter duty, the Gen 2’s stock tires are terrible; the only real fault of the Gen 2 at all. The tires have a squared off tread profile which makes no sense. All that extra rubber on the edge of the tire gets compressed during cornering, and the bike wallows under a rider’s weight. It’s unsettling – this tire shape has no business anywhere except on a 1970’s muscle car.
Why someone decided to engineer a bicycle tire this way is beyond me, but here they are.
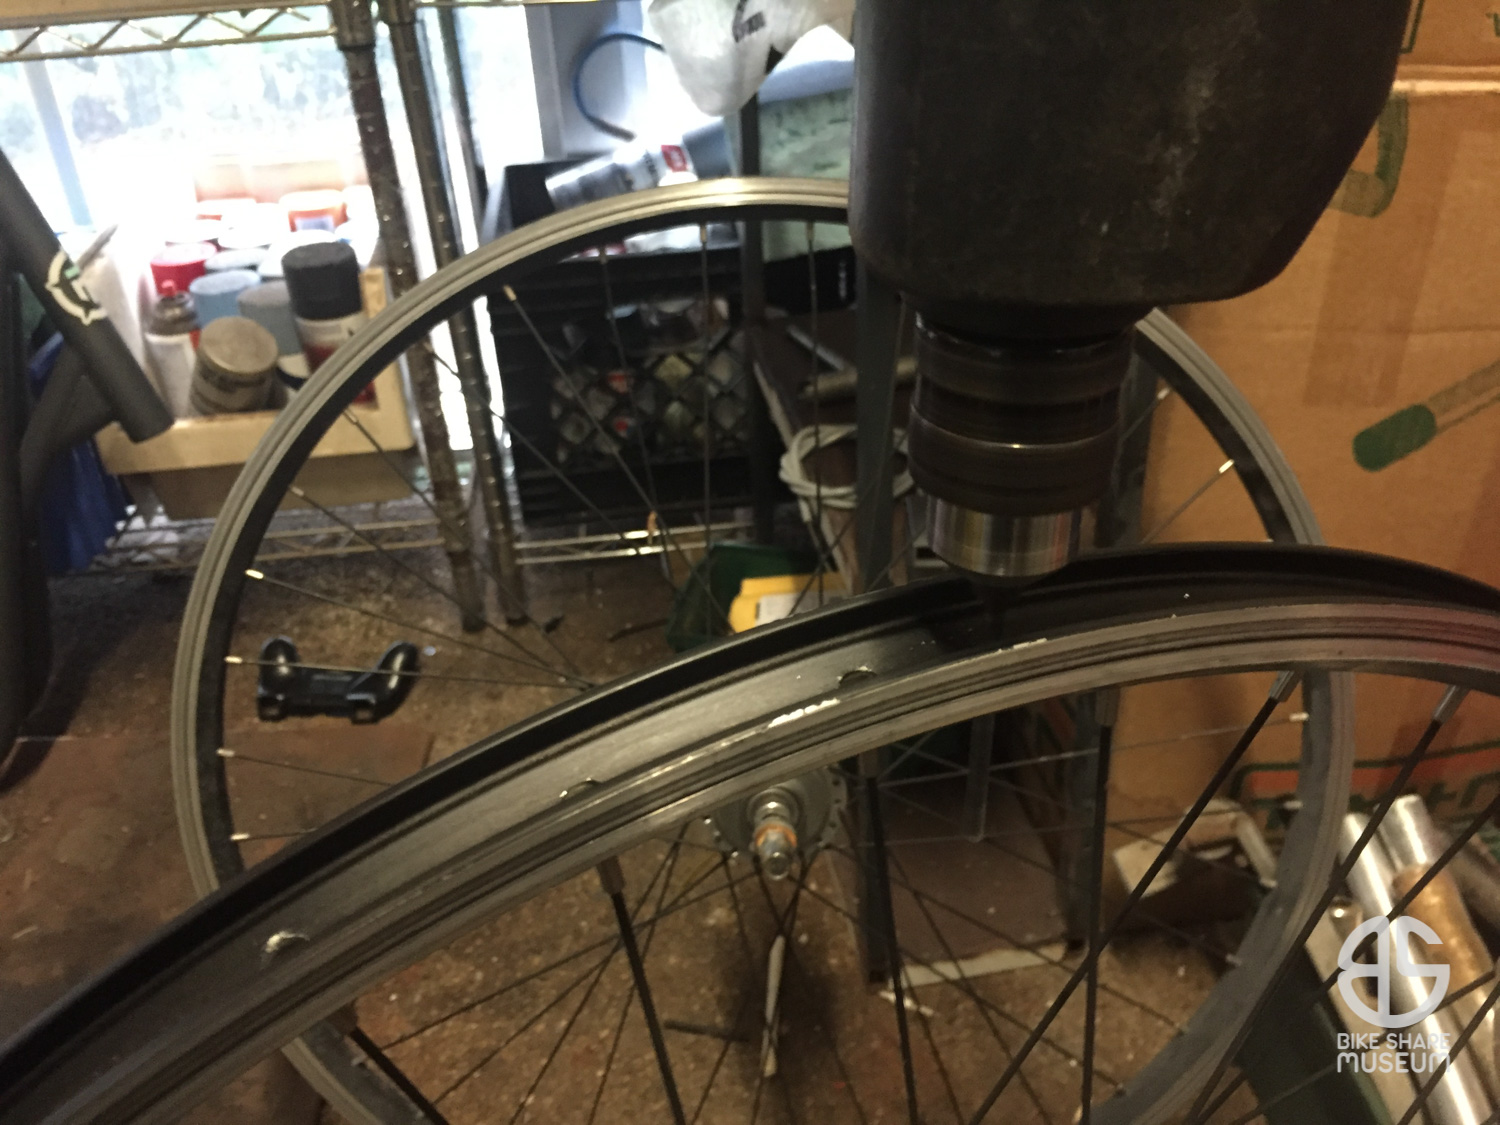
Pulling solid tires off is relatively simple – stick the rubber in a vise, pull the rim towards you until the tire unseats from the bead, then repeat in the opposite direction. With a bit of grunting, they come off. (Yep, I forgot to take a photo of this).
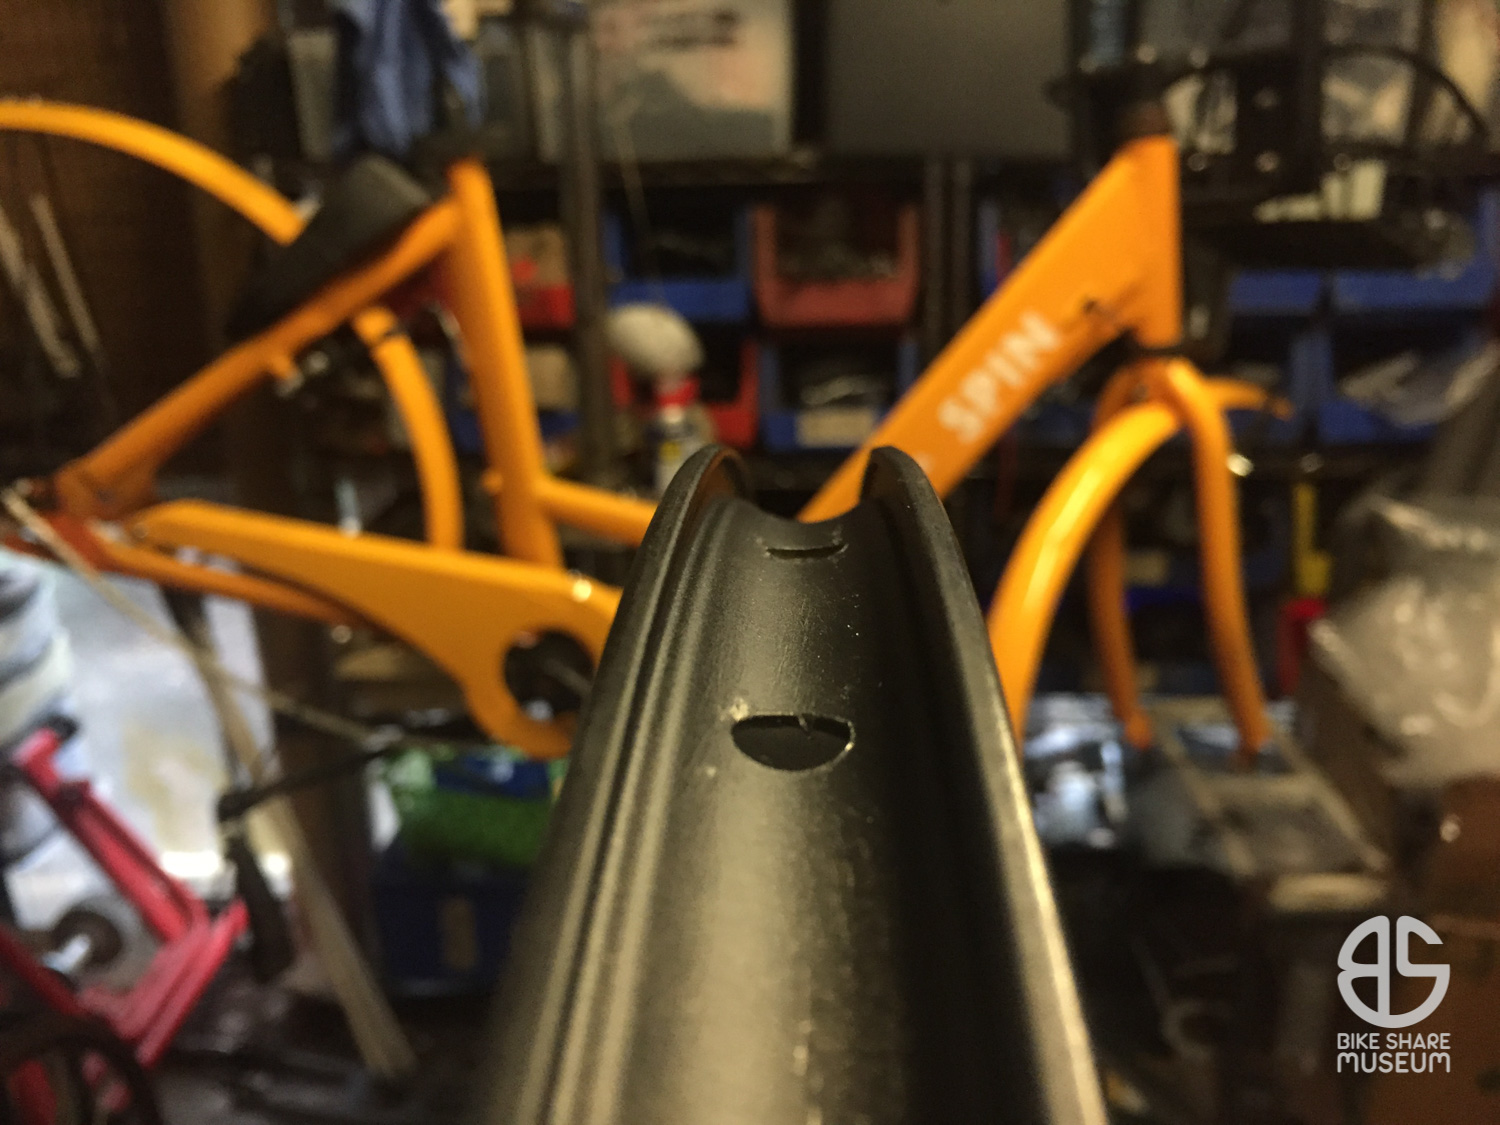
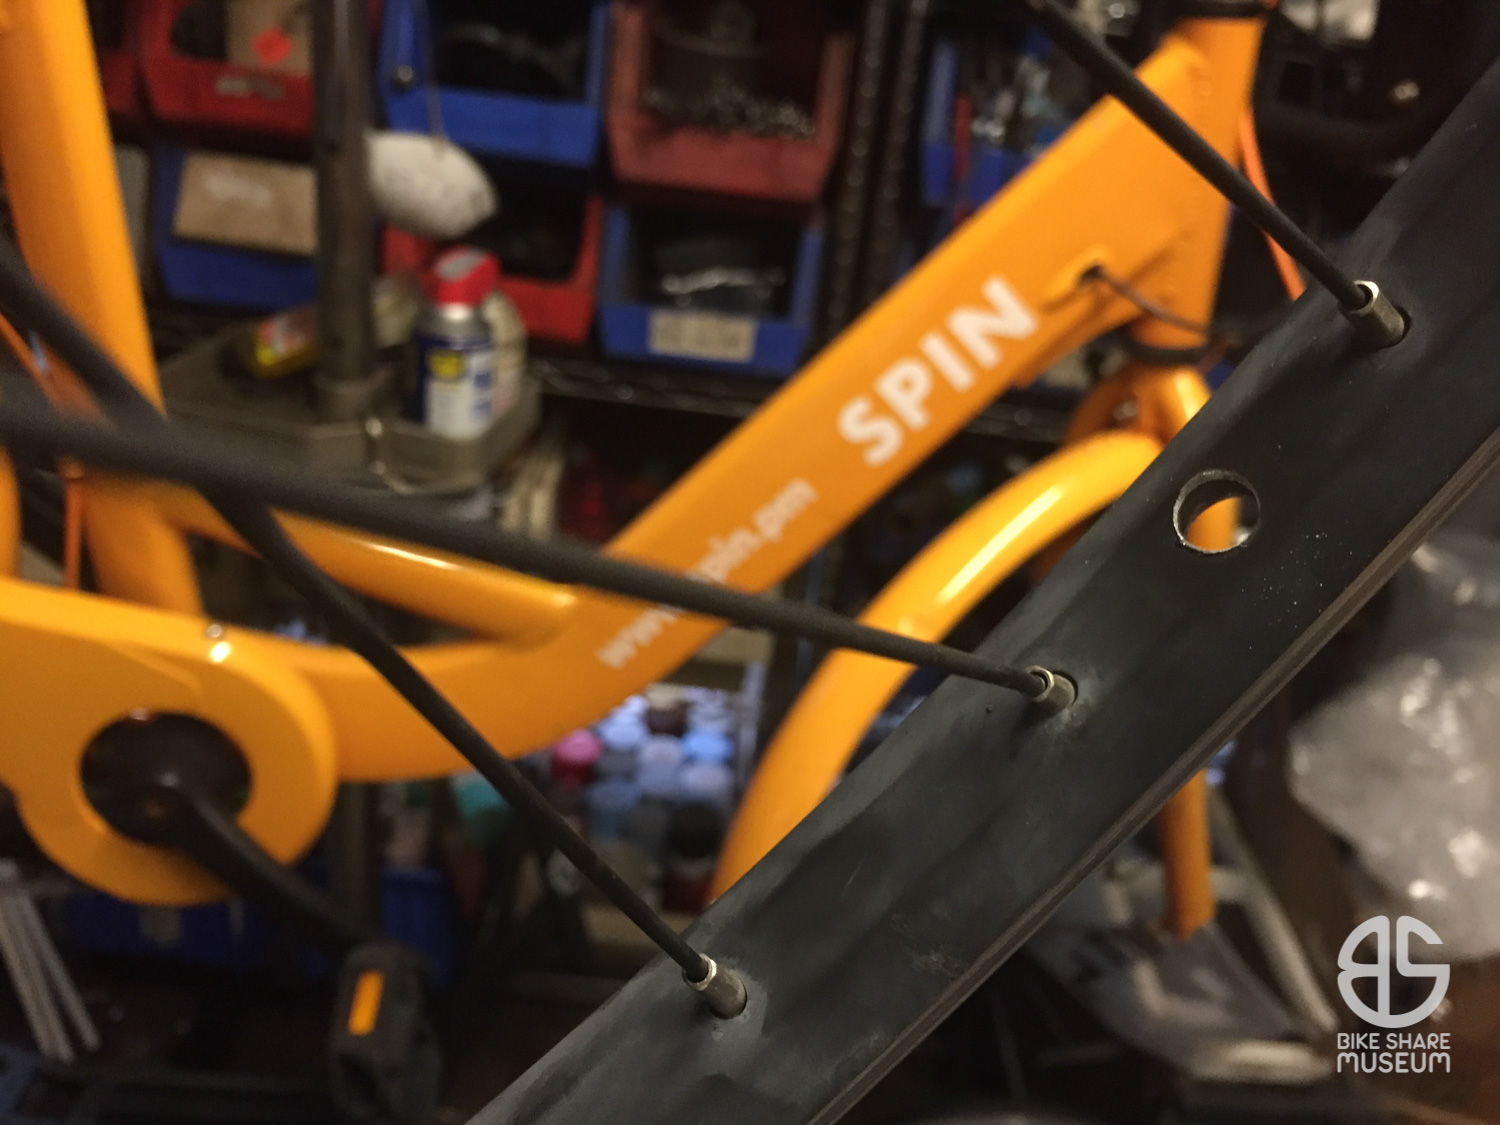
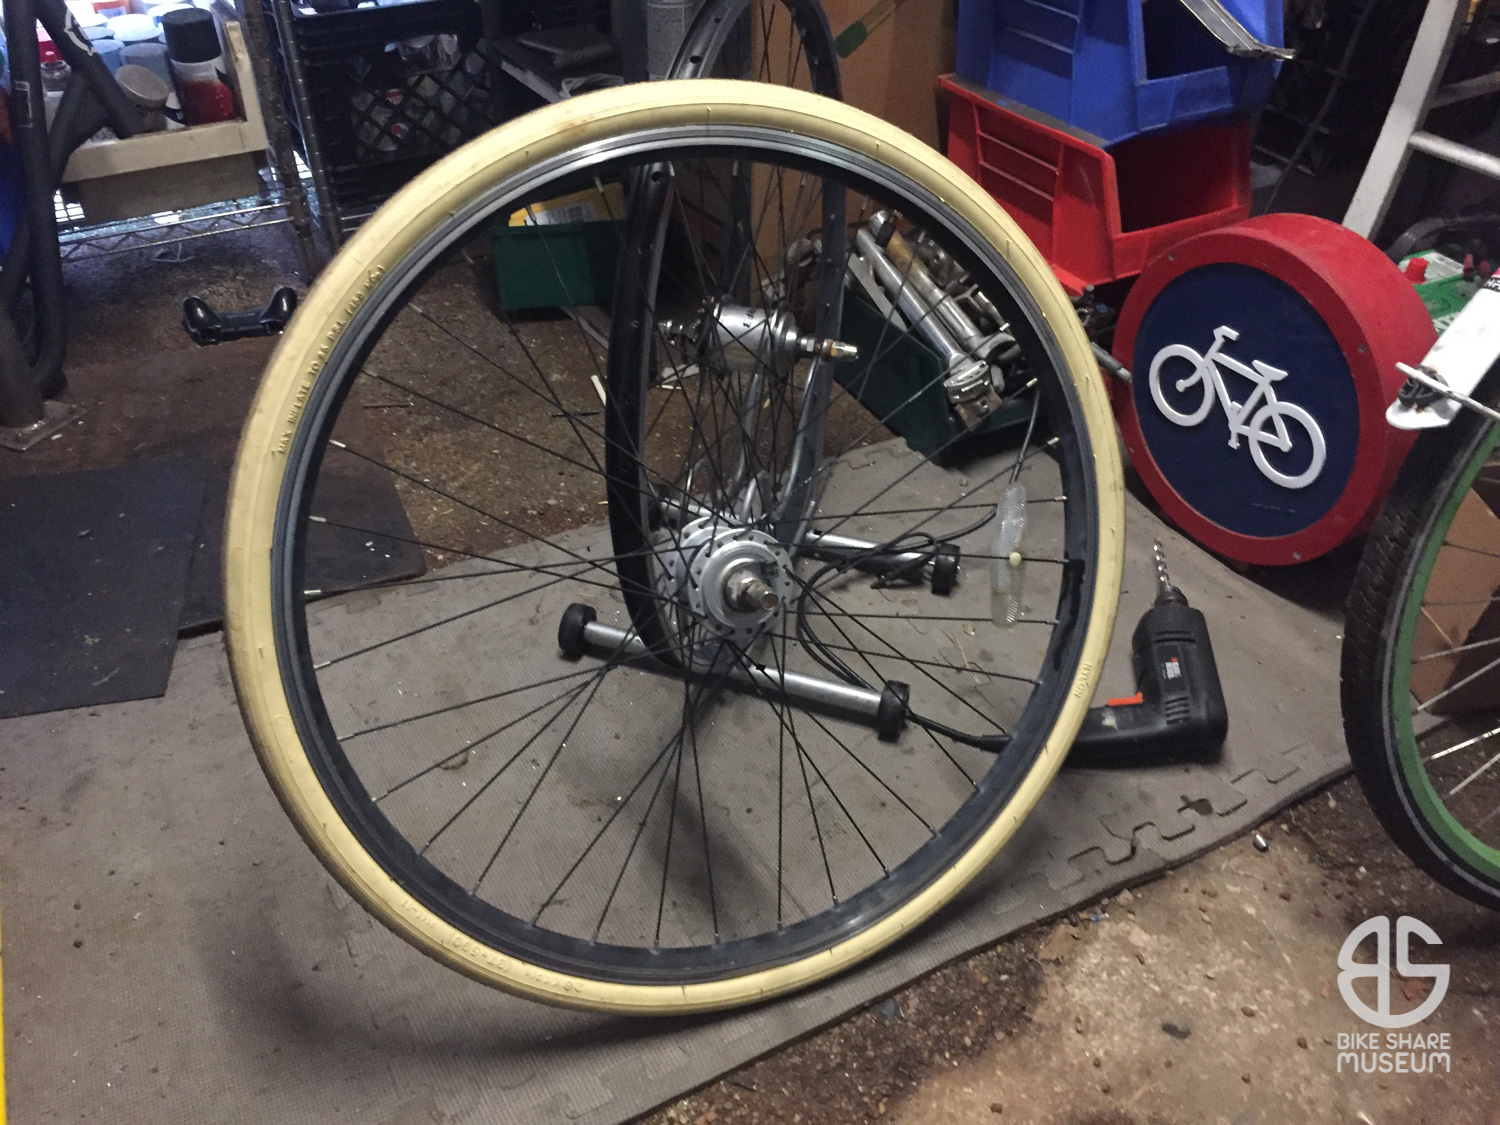
So, moving right along. With exception to the tube valve hole, these rims are of identical construction to any other dual-wall rim. Nothing special for the solid tires at all. A center punch gave me a starting point for the valve hole, and the drill did the rest.
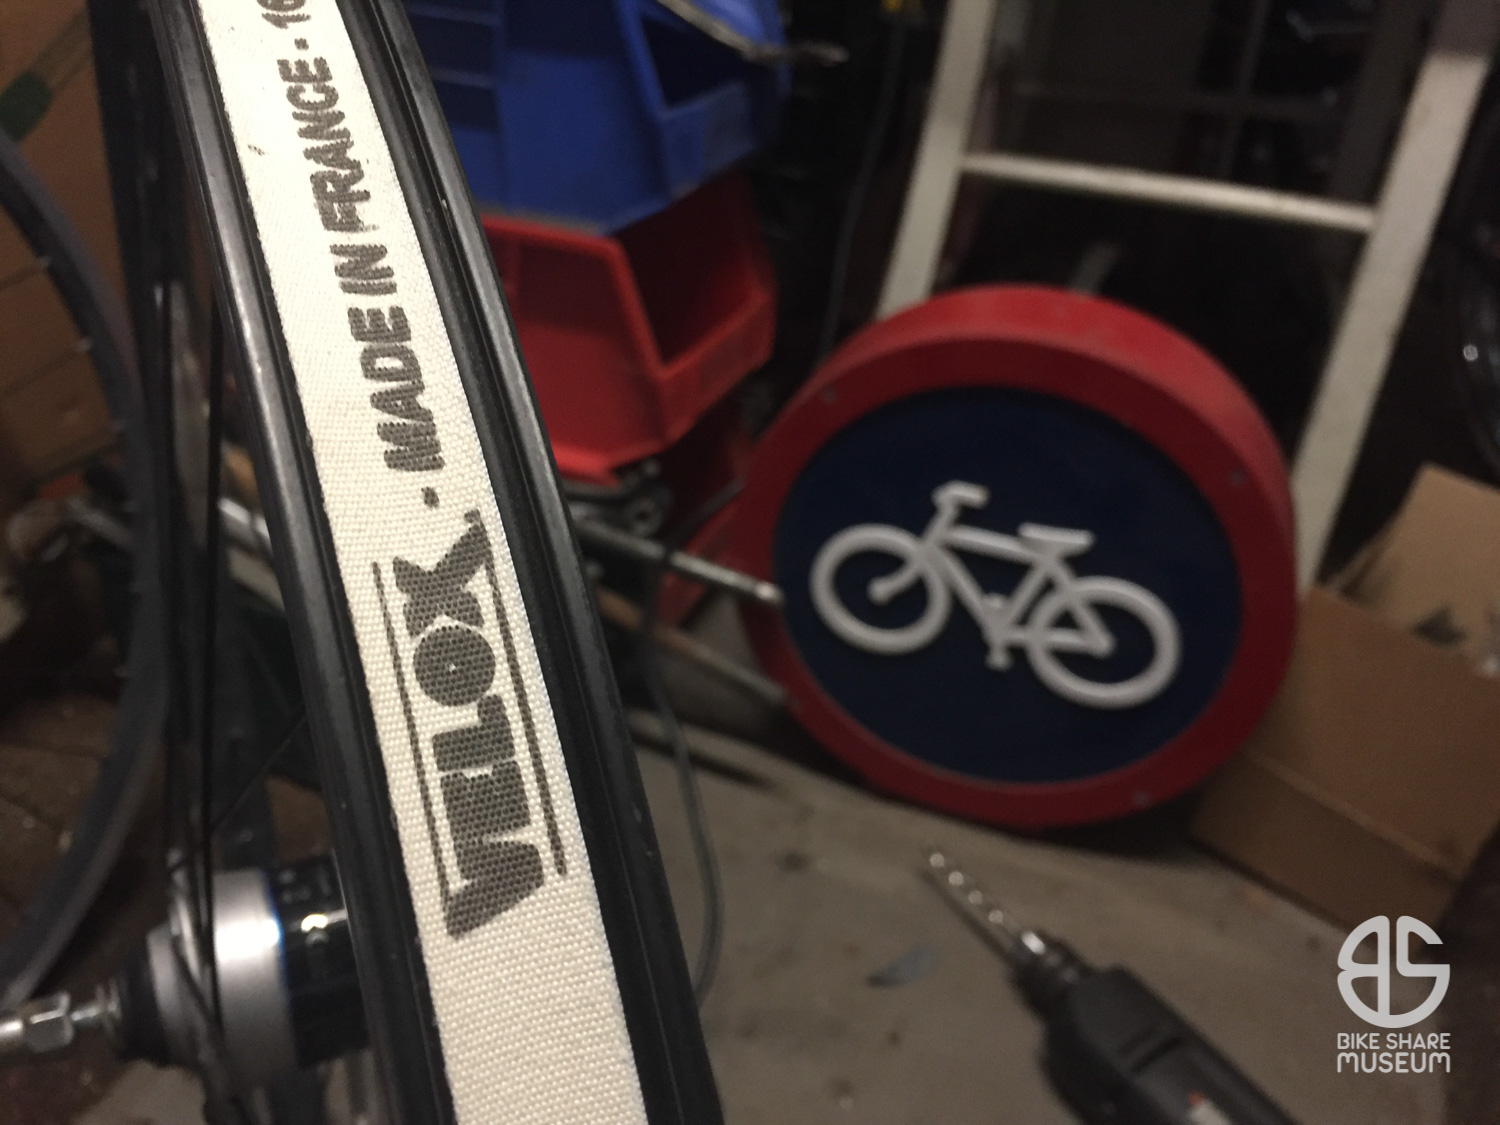
Coincidentally, I was dealing with tire fitment issues on my 1951 Raleigh Sports at the same time. The Spin happens to share the traditional English 26×1-3/8″ EA3 rim and size with the Raleigh, and since the Spin’s rims are hooked bead, I knew that the tire presently blowing off the straight sided Raleigh rim would not present the same problem on the Spin.
The Raleigh received some Schwalbe Delta Cruisers in the meantime, which conform to the non-hooked rim with a lot more precision.
With exception to the kickstand swap – which went well, even if the new donor appears to sit too low – that took care of the majority of the modifications. No other cleanup was done; after all, it’s a commuter bike.
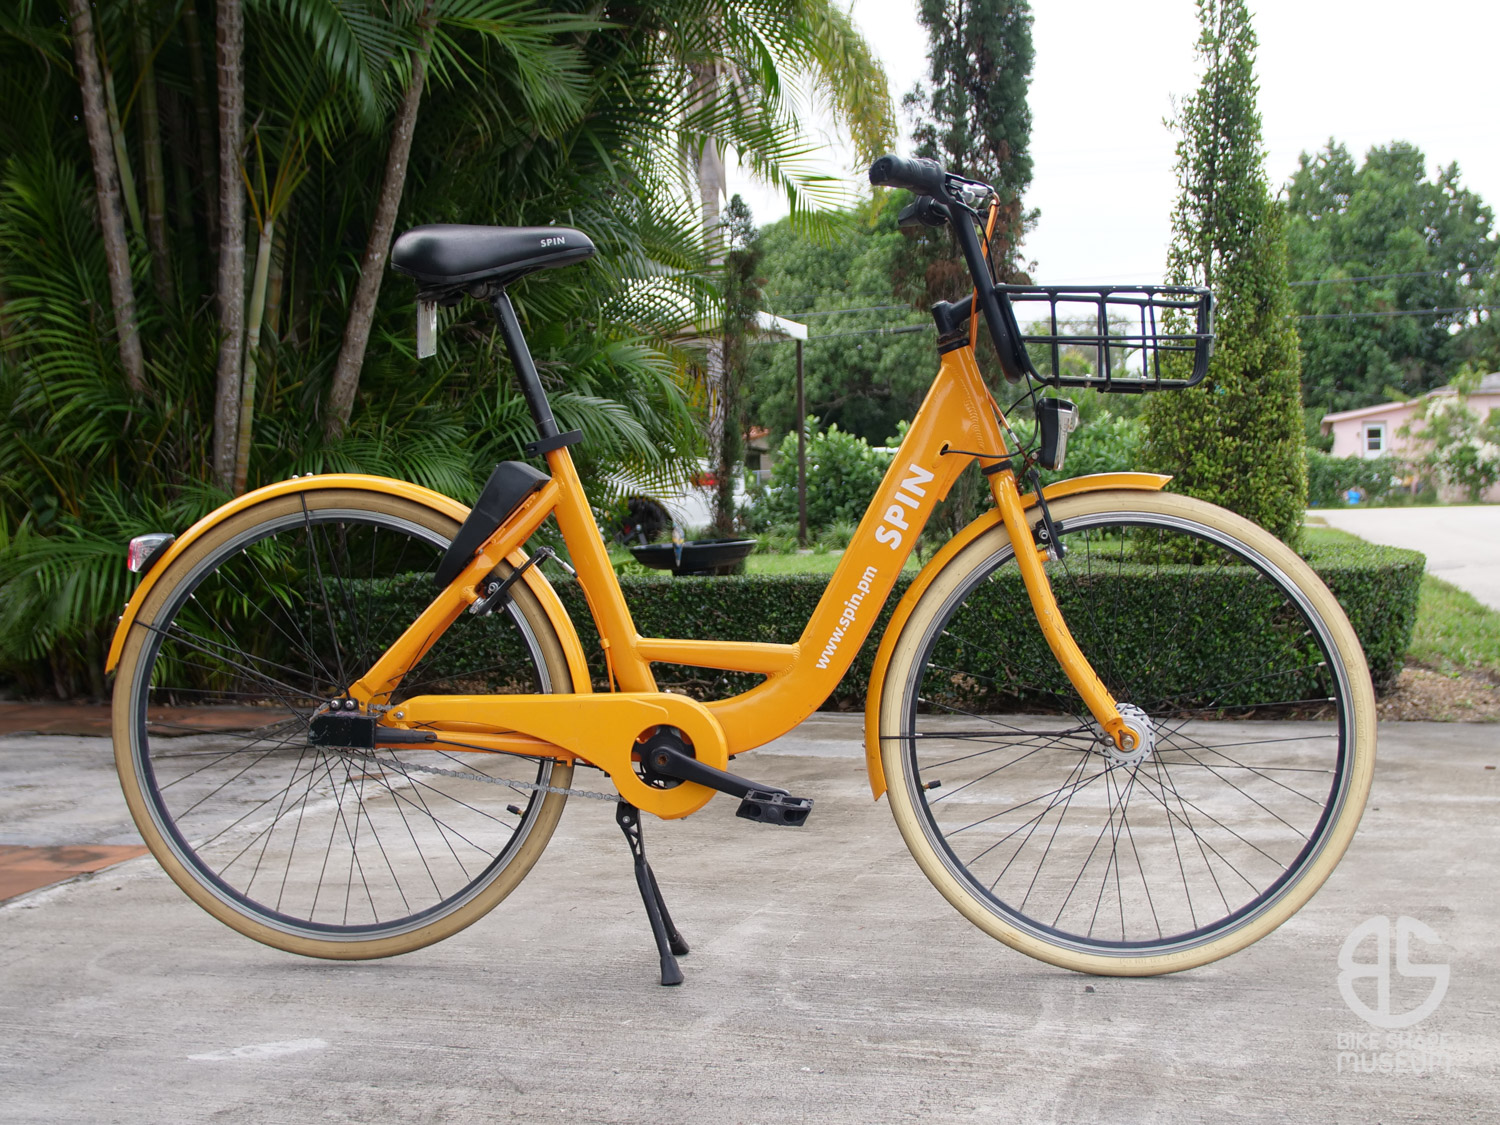
It is peaches and creme time, folks!
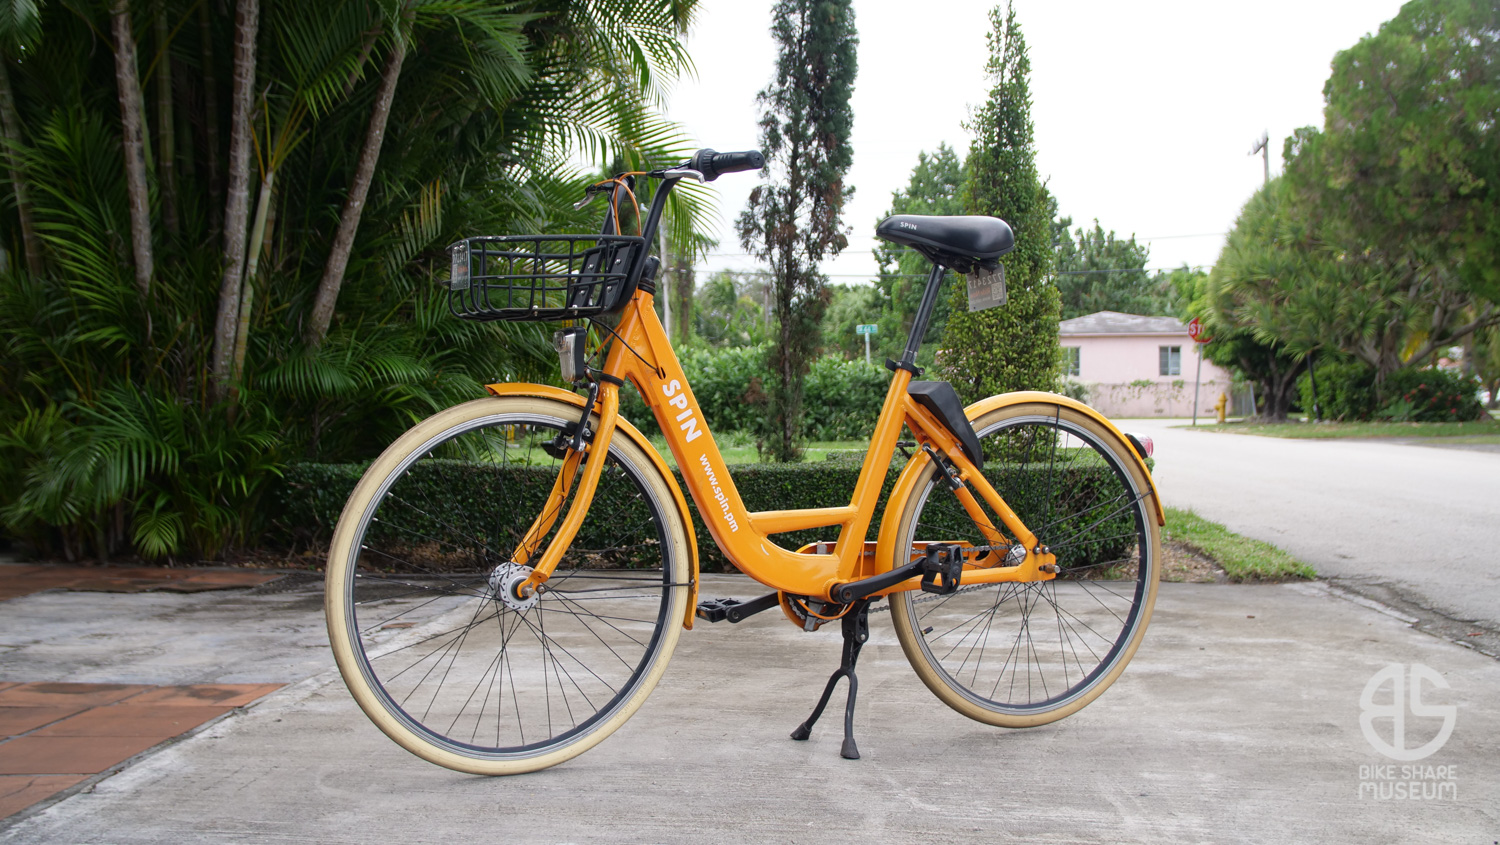
Additional pictures are available on the bike’s page here at the Museum.
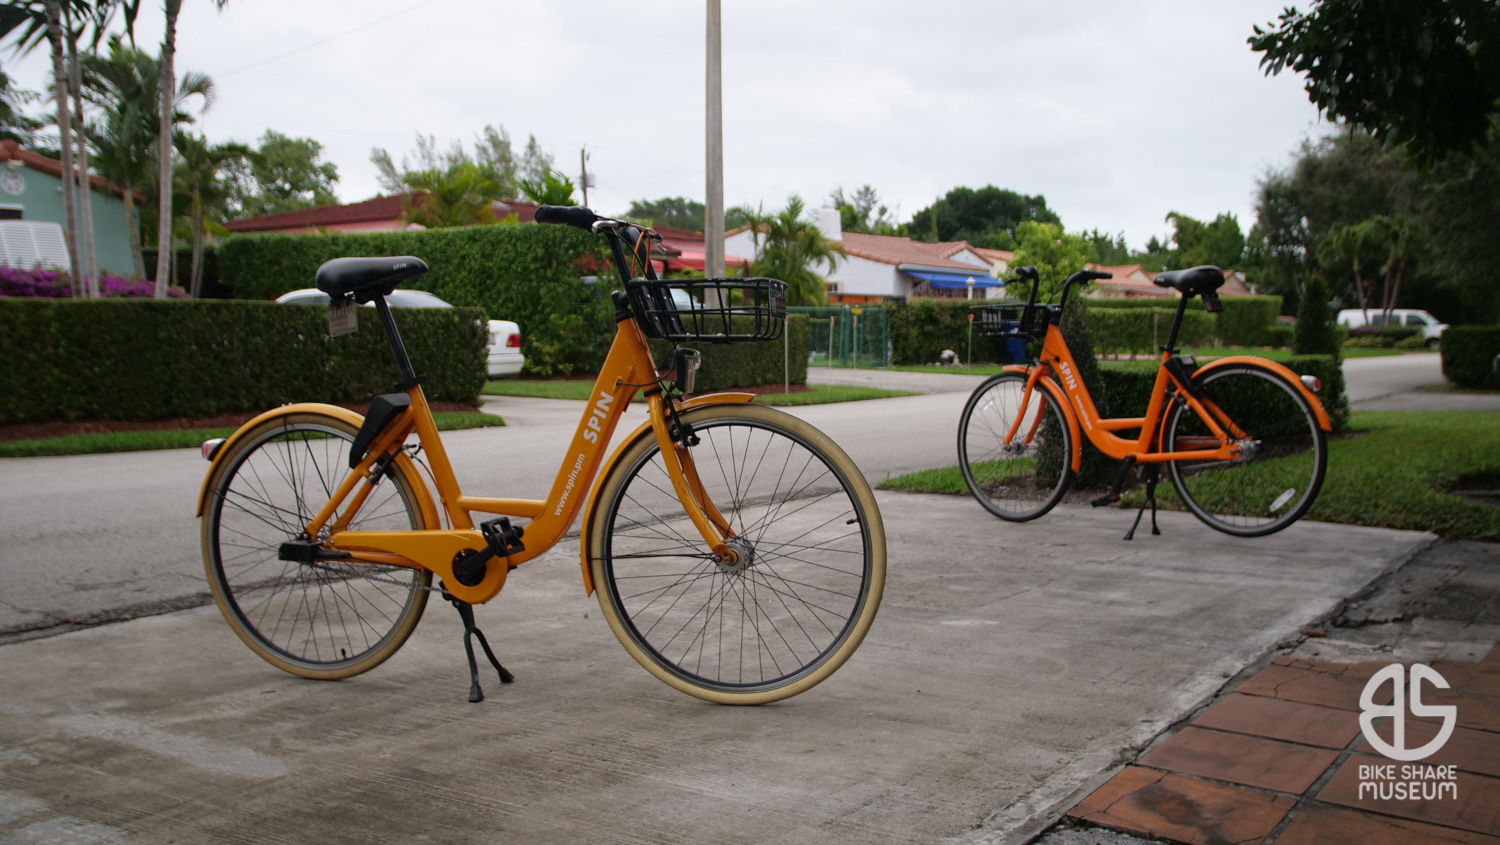
While the test ride brought up two small remaining issues – dry brake pads and a slightly loose bottom bracket cartridge – everything is pretty set. I hope to mount a rear rack to it soon, using a 31.8mm seatpost clamp adapter, but that will come in due time.
Ride reports and rear rack modifications to follow.